
Goldwork Embroidery: A Beginner's Complete Guide
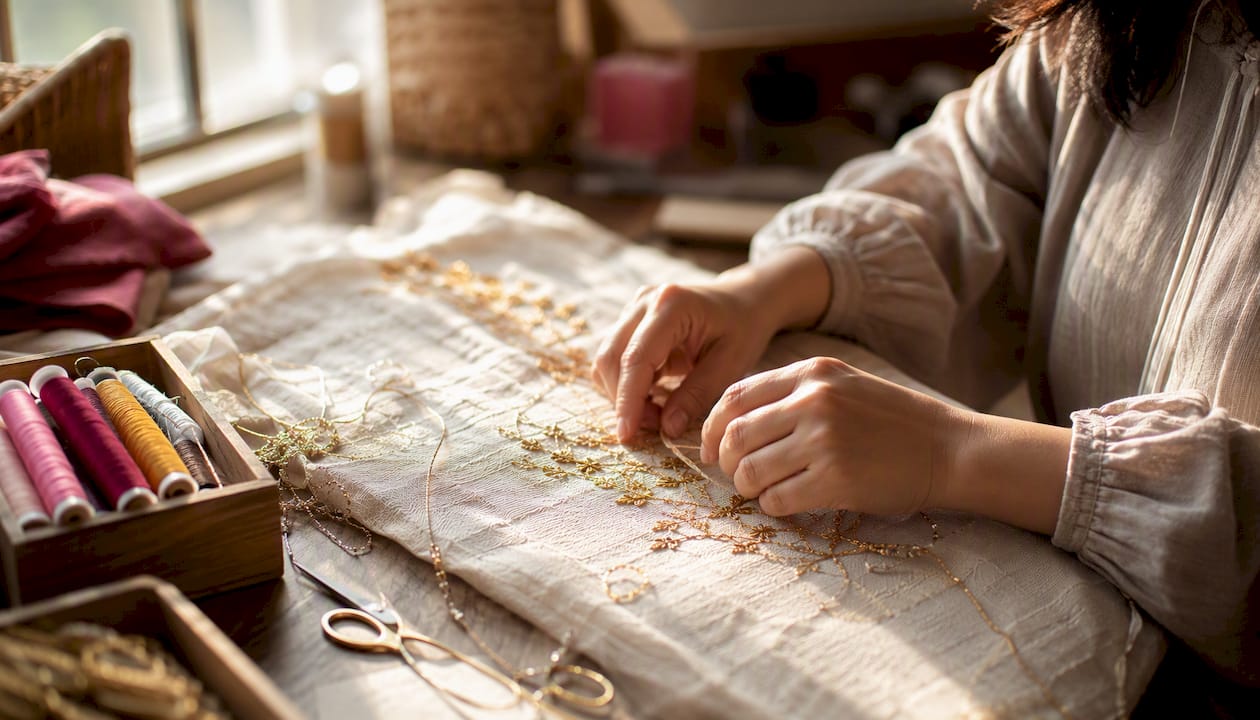
Goldwork Embroidery: A Beginner's Complete Guide ! Hands stitching goldwork embroidery on fabric Goldwork embroidery is surface embroidery that uses metal threads) — often gilt, silvered, or imitation metal — laid on top of fabric and fastened in place by couching rather than pulled through the weave.
Goldwork Embroidery: A Beginner's Complete Guide
Goldwork embroidery is surface embroidery that uses metal threads) — often gilt, silvered, or imitation metal — laid on top of fabric and fastened in place by couching rather than pulled through the weave. That single distinction changes everything about how you work with it. Your first project should be a small sampler, maybe four inches square, where you practice couching a line of passing thread before you ever touch bullion or padding.
Three things to know before you start:
- Metal threads are rarely pure gold. Most are metal leaf or metal strip wound around a textile core, and modern synthetic Japan threads resist tarnish while costing far less.
- The visual effect depends almost entirely on light. Padding lifts the threads off the fabric surface so they catch and reflect light at different angles, which is where goldwork gets its depth.
- Finished pieces need careful storage. Metal alloys oxidize with humidity and skin oils, so treat a completed goldwork piece more like a framed artwork than a washable craft project.
Key Takeaways
Goldwork embroidery rewards precision above all else: even couching tension and careful padding are what separate a piece that glows from one that looks flat, regardless of how expensive the thread is.
| Point | Details |
|---|---|
| Core definition | Goldwork is surface embroidery using metal threads couched onto fabric, not pulled through it. |
| Most important technique | Couching tension determines the final look; practice on spare fabric before starting any real project. |
| Starter kit essentials | You need passing thread, purl, felt for padding, waxed couching thread, a mellore, and a tightly woven ground fabric. |
| Care and preservation | Never wash goldwork; store flat in acid-free tissue in low humidity, or frame under UV-protective glass. |
| Flossom for planning | Flossom catalogs metal threads across 55 brands and auto-generates shopping lists to prevent costly duplicate purchases. |
Table of Contents
- What is goldwork embroidery, and where did it come from?
- What materials do you need for goldwork?
- How do the core goldwork techniques work?
- How do you plan your first goldwork sampler?
- How do you care for and preserve goldwork?
- How difficult is goldwork, and what's the learning path?
- Common mistakes beginners make, and how to fix them
- Why goldwork is worth the effort
- Flossom helps you plan goldwork projects without wasting expensive thread
- Sources
What is goldwork embroidery, and where did it come from?
The Embroiderers' Guild of America traces goldwork's likely origins to China during the Eastern Han period, when artisans developed techniques for applying gold foil, powder, and wrapped threads to textiles. From there, the practice spread along trade routes through Central Asia, the Middle East, and eventually into Europe, picking up regional variations at every stop.
The most celebrated European tradition is Opus Anglicanum, the luxury metal-thread embroidery produced in medieval England between roughly 1100 and 1350. The Victoria and Albert Museum documents Opus Anglicanum as one of the most technically sophisticated embroidery traditions in history, with surviving pieces held in major museum collections worldwide. English workshops supplied vestments and ceremonial garments to the papal court and European royalty, making the work genuinely international in reach.
A few key moments in the tradition's development:
- Eastern Han Dynasty (25–220 CE): Early Chinese gold-thread techniques establish the foundational approach of applying metal to fabric surfaces.
- Medieval Europe (1100–1350): Opus Anglicanum peaks in England; ecclesiastical commissions drive technical refinement.
- 16th–18th centuries: Court embroidery across Europe, Japan, and the Ottoman Empire develops distinct regional styles using local gold and silver threads.
- 19th century onward: Institutions like the Royal School of Needlework (RSN), founded in 1872, formalize goldwork instruction and preserve historical methods that might otherwise have been lost.
The RSN and the V&A together form the backbone of how goldwork is taught and documented in the English-speaking world today, which is why their terminology and standards appear throughout most modern tutorials.
What materials do you need for goldwork?
Getting the materials right matters more in goldwork than in almost any other embroidery discipline. The wrong needle or a fabric with too open a weave can ruin expensive thread before you've laid a single stitch.
Thread types
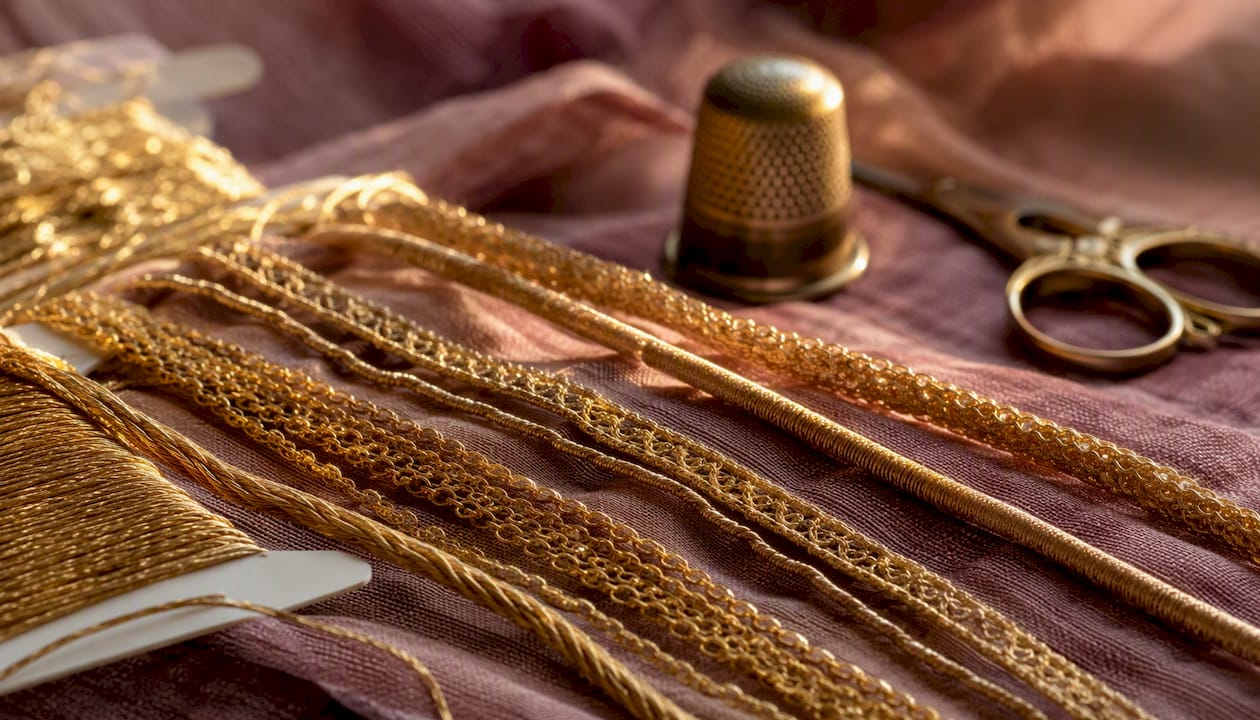
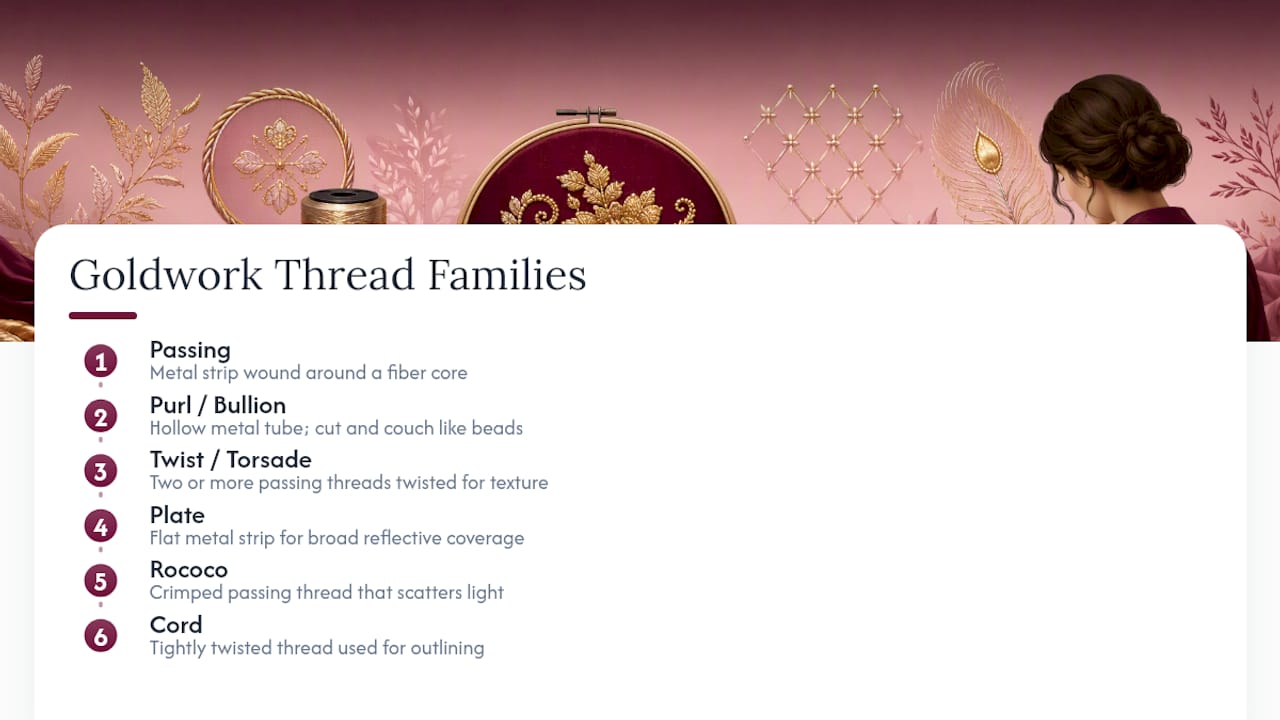
RSN's StitchBank describes the core thread families used in goldwork: passing (a metal strip wound around a fiber core, smooth and reflective), purl or bullion (hollow metal tubes that you cut to length and couch or stitch like beads), twist or torsade (two or more passing threads twisted together for texture), plate (flat metal strip for broad reflective coverage), rococo (a crimped passing thread that scatters light), and cord (a tightly twisted thread for outlining). Spangles — small metal discs — and kid leather add further texture and dimension.
For sourcing, Kreinik is the most widely available American supplier of metal threads, with a numbering system (Braid #4, #8, #16, #32) that indicates thickness. DMC produces metallic embroidery thread that works well for practice and mixed-media projects, though it's a different construction from traditional passing. Hedgehog Handworks carries a curated selection of RSN-approved goldwork supplies, including Japanese passing threads and purls, and is a reliable US retailer for specialty materials.
Backing, padding, and couching thread
| Material | Purpose | Notes |
|---|---|---|
| Felt (wool or acrylic) | Padding foundation under metal threads | Cut in graduated layers to build smooth slopes |
| String or card | Raised padding for dimensional effects | String gives rounded profiles; card gives sharp edges |
| Vellum | Stiff padding for geometric shapes | Traditional; harder to source but very precise |
| Fine silk thread | Couching the passing thread in place | Matches or contrasts metal; waxed for smooth passage |
| Waxed cotton thread | Budget couching alternative | Run across beeswax before use |
Needles and tools
- Chenille needle (sizes 18–22): For sinking thread tails to the back of the fabric.
- Tapestry needle: For couching; blunt tip avoids splitting the fabric.
- Mellore or stiletto: A pointed metal tool for manipulating threads and opening holes in fabric without distorting the weave.
- Lasso or large-eyed needle: Specifically for the sinking technique.
- Embroidery hoop or slate frame: A slate frame keeps fabric drum-tight, which is critical for even couching tension. A hoop works for small samplers.
- Tweezers: For handling cut purl pieces without bending them.
Pro Tip: Wax your couching thread by drawing it across a block of beeswax before you start. It reduces friction, prevents tangling, and helps the couching stitches sit flat against the metal.
How do the core goldwork techniques work?
Couching
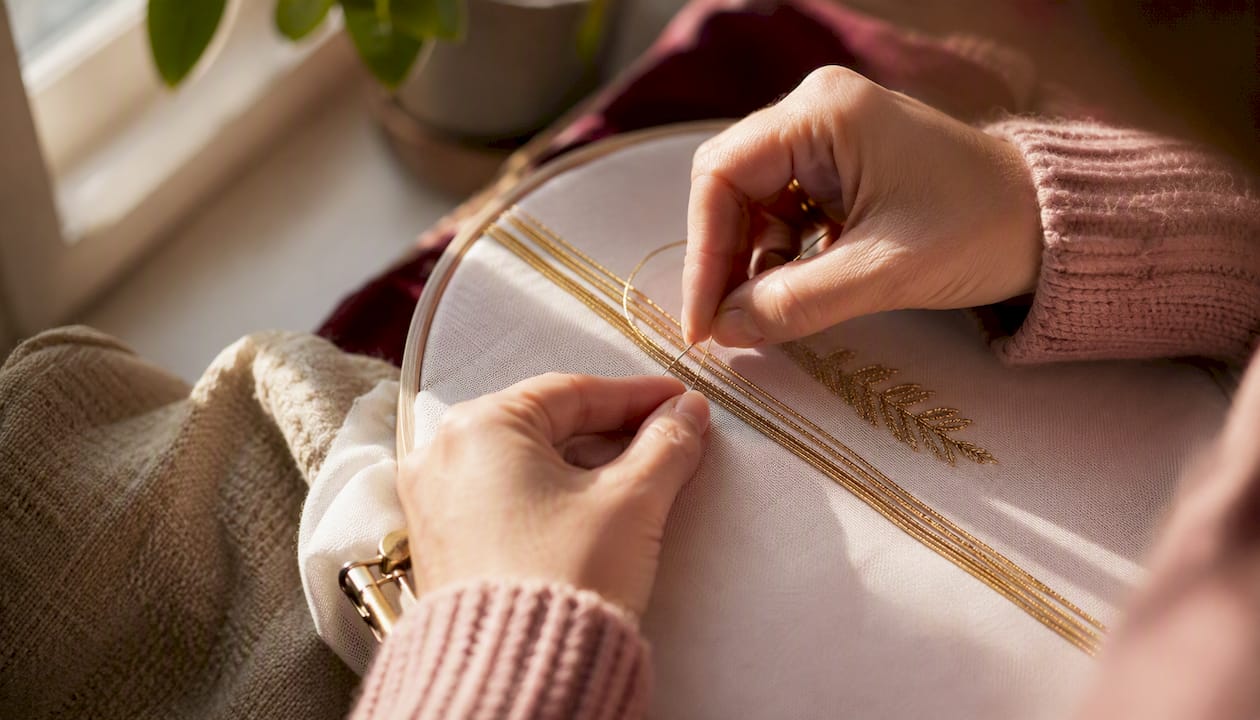
Couching is the foundation of goldwork. You lay the metal thread on the fabric surface and stitch it down with a separate, finer thread at regular intervals, typically every 3–4mm for passing thread. You never pull metal thread through the fabric if you can avoid it; the metal is too rigid and the eye of a needle would damage the surface coating. Goldwork tutorials at Needlery confirm that working pairs of passing threads side by side, couched simultaneously, gives the most even coverage and the cleanest light reflection.
Padding
Padding is what separates flat goldwork from dimensional goldwork. You build up layers of felt, cut in progressively smaller shapes, and stack them to create a gradual slope. When the metal threads are laid over this foundation, they follow the contour and catch light at varying angles. Precision matters: RSN technique guidance emphasizes that uneven padding creates visible ridges once the metal is in place, and those ridges are almost impossible to correct after the fact.
Bricking
Bricking refers to offsetting the couching stitches on adjacent rows so they alternate like brickwork rather than lining up in columns. This distributes the couching thread evenly across the surface and prevents visible lines of stitches interrupting the metal's reflection.
Or Nué
Or Nué (shaded gold) is a technique where colored silk couching stitches are placed more densely in some areas than others, creating a pictorial image across a ground of parallel gold threads. The gold shows through where the silk stitches are sparse; the silk dominates where they're dense. It's an advanced technique, but understanding its logic helps beginners see why couching stitch placement is a design decision, not just a mechanical task.
Bullion and purl work
Cut purl (also called bullion) is handled differently from passing thread. You cut small lengths of the hollow metal tube and stitch through them as if they were beads, or couch them in curved shapes. The cutting itself requires sharp scissors and a steady hand; a jagged cut deforms the tube and makes it sit unevenly on the fabric.
Sinking
Sinking is the finishing technique for passing thread: you thread the tail end through a large-eyed needle or a lasso loop and pull it through to the back of the fabric, then secure it with a few stitches. Done carefully, it produces a clean front edge. Done carelessly, it distorts the fabric or pops the padding underneath.
Pro Tip: Before committing to your final piece, make a small padded mock-up on spare fabric and lay a few inches of passing thread over it. Check how the light reads from different angles. If the padding slope is too abrupt, you'll see a sharp shadow line — fix the padding shape before you start the real work.
How do you plan your first goldwork sampler?
A sampler is the right first project because it lets you practice each technique in isolation before combining them. Budget three to five hours for a 4-inch sampler if you're new to embroidery, or two to three hours if you already stitch regularly.
- Mount your fabric (15–20 minutes). Stretch a piece of tightly woven cotton or linen (28–32 count works well) onto a small slate frame or hoop. The fabric must be taut enough that pressing a finger to the center produces no give.
- Transfer your design (10 minutes). Use a light box or window to trace a simple geometric shape — a leaf, a teardrop, or a small oval — onto the fabric with a fine water-soluble pen.
- Build the padding (30–45 minutes). Cut three graduated layers of felt in your shape. Stitch the largest layer down first, then the medium, then the smallest on top. Test the slope by running a fingertip across it; it should feel like a smooth hill, not a step.
- Lay and couch passing thread (45–60 minutes). Cut a working length of passing thread (no longer than 18 inches to prevent kinking). Lay two threads side by side across your padded shape and couch them down every 3–4mm with waxed silk thread. Turn at the edges by bending the passing thread back on itself with the mellore.
- Add a small purl element (20–30 minutes). Cut three or four pieces of check purl to about 4mm each. Stitch them down in a cluster at one end of your shape, treating each piece like a bead. This introduces you to the feel of cut purl without committing to a large area.
- Sink the tails (15–20 minutes). Use your lasso needle to pull each passing thread tail to the back. Secure with two or three small stitches in the couching thread.
- Finish the edges (10–15 minutes). Couch a single cord thread around the perimeter of the shape to neaten any uneven edges where the passing thread turns.
For planning your material needs before you order, write out the thread types and lengths you'll need for each step — metal threads are sold in small quantities and it's easy to underestimate.
How do you care for and preserve goldwork?
Metal threads tarnish because most are alloys — gold-coated silver, copper-based metals, or similar composites — that react with oxygen, humidity, and the oils from skin contact. Pure Japan thread (real gold-wrapped silk) tarnishes slowly; synthetic Japan thread resists tarnish almost entirely, which is one reason modern practitioners often use it for wearable pieces.
Do:
- Dust the surface lightly with a soft, dry brush if the piece is displayed.
- Frame finished pieces under UV-protective glass to limit oxidation from light and air.
- Store unframed work flat in acid-free tissue paper inside a sealed box, away from direct light.
- Keep storage humidity low; a silica gel packet in the storage box helps.
Don't:
- Machine wash or hand wash goldwork. Water loosens couching stitches and accelerates tarnish.
- Iron directly over metal threads. Heat distorts purl and flattens dimensional padding.
- Fold a finished piece. Creasing cracks the metal surface coating.
- Store in plastic bags, which trap moisture.
For historically significant or very valuable pieces, museum conservators use methods similar to those applied to Opus Anglicanum textiles at the V&A: controlled humidity environments, padded archival mounts, and periodic professional cleaning. You don't need a conservation lab for a personal sampler, but the principle holds — treat goldwork as an heirloom from the moment you finish it.
Modern synthetic Japan threads, available from suppliers like Hedgehog Handworks, offer a practical middle ground: they look nearly identical to traditional passing thread but won't develop the green or brown tarnish that plagues older metal alloys.
How difficult is goldwork, and what's the learning path?
Goldwork is more demanding than standard embroidery, and being honest about that upfront saves frustration. The materials are expensive, the techniques require precision, and mistakes are harder to unpick without damaging the metal. That said, the RSN teaches goldwork as a learnable skill with a clear progression, and most stitchers who can already handle basic embroidery can produce a respectable sampler within a few sessions.
A sensible progression:
- Stage 1 — Couching practice: Work passing thread in straight lines on plain fabric, focusing on even tension and consistent stitch spacing. Do this until the couching stitches are invisible at arm's length.
- Stage 2 — Padding: Practice building felt padding in simple shapes (oval, teardrop) and test how different slope angles affect light reflection.
- Stage 3 — Bricking and coverage: Couch passing thread over a padded shape using bricked stitch placement. Check for gaps and uneven rows.
- Stage 4 — Bullion and purl: Practice cutting and stitching check purl, rough purl, and smooth purl on spare fabric before using them in a design.
- Stage 5 — Or Nué: Work a small panel of parallel gold threads with colored silk couching to understand how stitch density controls color and pattern.
For courses, the RSN offers both in-person and online goldwork classes at multiple skill levels. The Embroiderers' Guild of America (EGA) runs workshops and chapter events that often include goldwork. Short video tutorials on platforms like Domestika give a useful visual introduction before you invest in a full course.
Common mistakes beginners make, and how to fix them
Most goldwork problems trace back to three root causes: wrong tension, wrong fabric, and wrong tool for the job.
Couching tension too loose: The passing thread lifts away from the fabric surface between couching stitches, creating a bumpy, uneven line. Fix it by shortening the interval between stitches to 2–3mm and pulling each couching stitch just firmly enough to dimple the metal slightly.
Fabric too open-woven: Aida cloth and loosely woven linen let the couching thread sink between threads rather than lying on the surface, which distorts the metal line. Use a tightly woven cotton or linen with a count of 28 or higher, or a purpose-made goldwork ground fabric.
Wrong needle for sinking: Using a needle that's too small to carry the passing thread tail tears the fabric when you pull through. A size 18 chenille needle or a dedicated lasso needle handles most passing thread gauges cleanly.
Uneven padding: Rushing the padding stage is the most common reason a finished piece looks flat or lumpy. Cut each felt layer carefully to the template shape and stitch it down at the center before the edges to prevent buckling.
- Test every thread type on a spare scrap before using it in your design.
- Always sink a test tail before you start the real piece, so you know how much resistance to expect.
- Mount your fabric before you cut any thread; the tension changes once it's in the frame.
Pro Tip: If you're working on a budget, synthetic Japan thread from Kreinik or a similar supplier gives you the look and handling of traditional passing thread at a fraction of the cost, and it won't tarnish. Save the real metal purls for the accent details where the texture actually shows.
For keeping track of specialty thread types and their uses across multiple projects, a stash catalog saves real money on expensive metal threads.
Why goldwork is worth the effort
There's a moment in goldwork that doesn't happen in any other embroidery discipline: you lay the first few inches of passing thread over a padded shape, step back, and the piece suddenly looks three-dimensional and alive. The light catches the metal at an angle you didn't plan, and the whole thing glows. That's not a beginner's luck moment — it's the technique working exactly as it was designed to, the same way it worked on a medieval vestment or a Qing dynasty court robe.
What I find genuinely underappreciated about goldwork is how small the entry point actually is. A 4-inch sampler teaches you every foundational skill: couching, padding, sinking, and a little purl work. You can complete one in an afternoon and have something frameable at the end. The heirloom quality isn't a function of scale — it's a function of the materials and the care you put into tension and padding. A small, precise sampler outlasts a large, rushed one by decades.
Flossom helps you plan goldwork projects without wasting expensive thread
Goldwork thread is not cheap. A few meters of real purl or passing thread costs more than an entire skein of standard floss, and buying the wrong quantity or the wrong gauge means wasted money on materials you can't easily return.

Flossom's stash catalog covers 55 thread brands, including Kreinik metal threads, so you can log every spool and length you own before you order anything new. The auto-generated shopping list compares what your pattern needs against what you already have, which is exactly the kind of check that prevents a duplicate order of #4 Braid when you already have half a spool in your kit. The camera color picker helps you match metallic shades when you're working from a photo reference rather than a pattern PDF. Use Flossom's project time calculator to estimate how many sessions your sampler will realistically take, and track your WIP progress with photos so you can see how the padding and couching develop over time. The free tier covers DMC and Anchor threads with up to three projects; Pro unlocks all 55 brands and unlimited projects. Try Flossom free at Flossom.
Sources
- Goldwork - RSN StitchBank
- Goldwork | Royal School of Needlework | Embroidery Technique Courses
- Embroidery Techniques from Around the World: Goldwork | Embroiderers’ Guild of America
- Goldwork 101 — Needlery
- About Opus Anglicanum - V&A
Recommended
We make Flossom — the calm app for cross-stitchers and embroiderers who want their stash, projects, fabric and shopping list in one tidy place.