
Plan Embroidery Project Material Needs Like a Pro
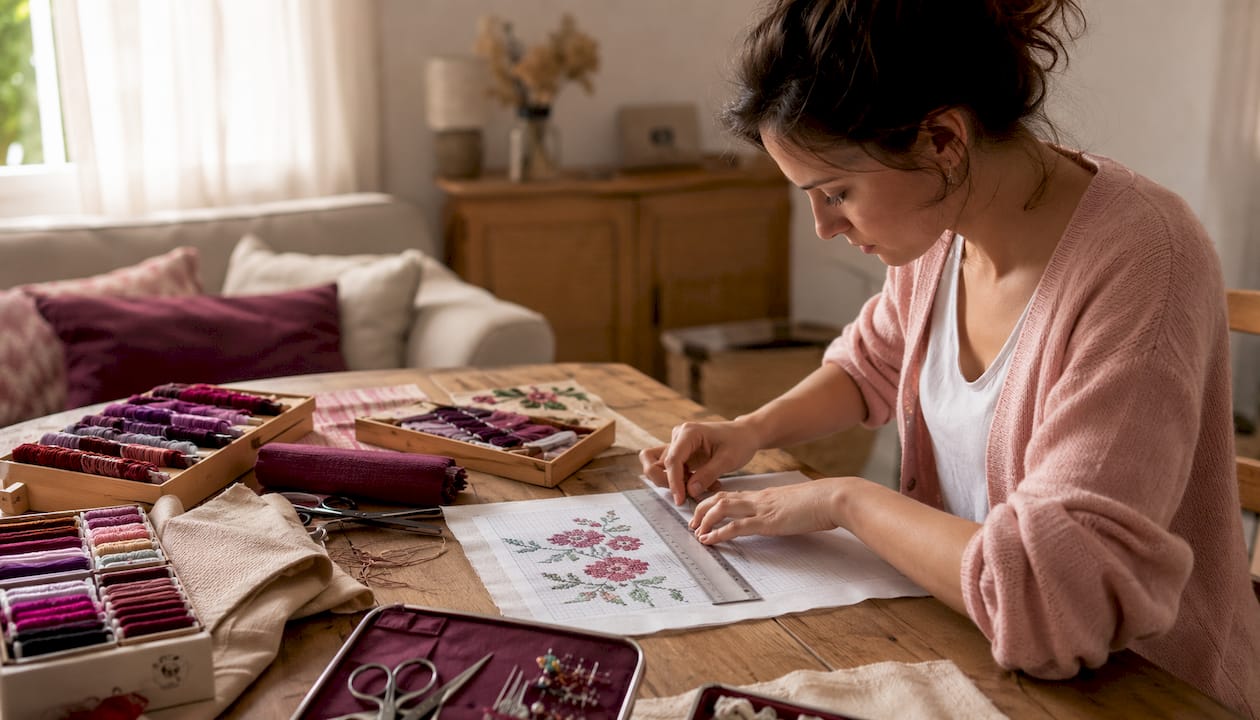
Plan Embroidery Project Material Needs Like a Pro ! Person estimating embroidery materials at table Planning material needs for embroidery projects comes down to five things done in the right order: calculate thread quantities before you buy, estimate fabric yardage with enough margin for hooping, match stabilizers to your fabric type, sequence your stitching to cut down on thread changes, and track everything across projects with a digital tool.
Plan Embroidery Project Material Needs Like a Pro
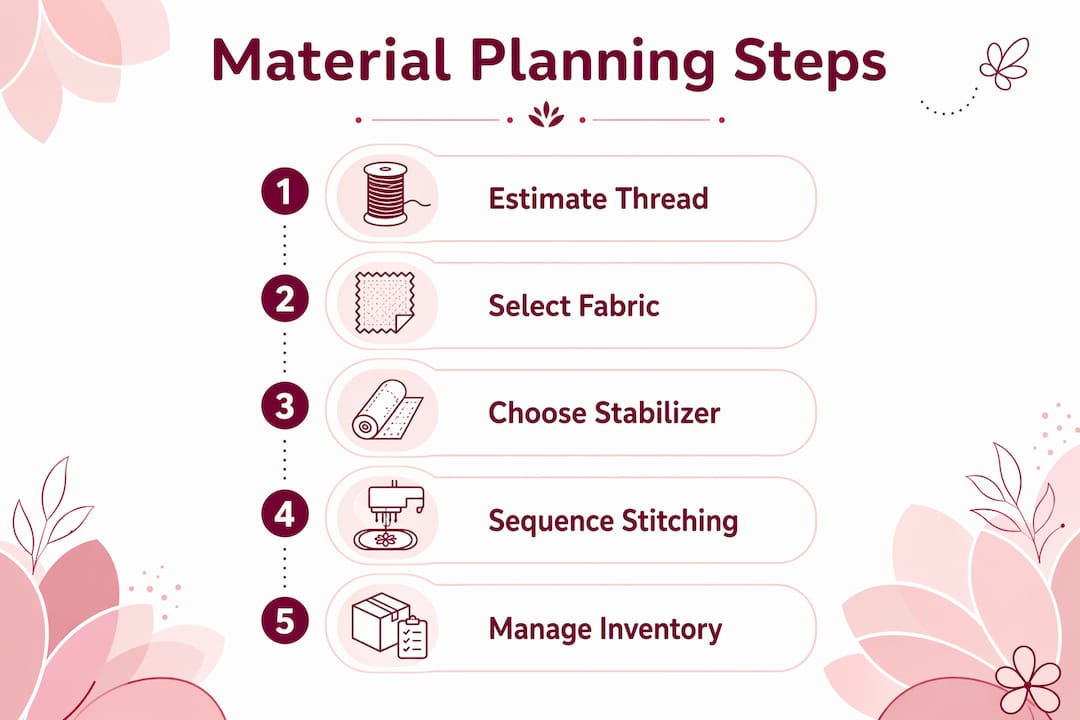
Planning material needs for embroidery projects comes down to five things done in the right order: calculate thread quantities before you buy, estimate fabric yardage with enough margin for hooping, match stabilizers to your fabric type, sequence your stitching to cut down on thread changes, and track everything across projects with a digital tool. Here's the quick checklist to get started:
- Thread: Multiply design width × height × fill density × color count, then divide by 1,000 for total yards needed
- Fabric: Take your hoop size and multiply by approximately 1.2 to get the minimum cut size, then add finishing margin
- Stabilizers: Tear-away for wovens, cut-away for knits, water-soluble topping for napped or sheer fabrics
- Sequence: Center outward, backgrounds before details, grouped colors to reduce stops
- Test first: Always run a test stitch on scrap fabric before touching your final piece
- Inventory: Use a digital companion like Flossom to track thread, fabric, and shopping lists across all your WIPs
Table of Contents
- 1. How to accurately estimate thread and fabric quantities
- 2. How to choose the right stabilizers and fabrics
- 3. How to sequence stitching and test designs before the final piece
- 4. How to manage thread and fabric inventory across multiple projects
- Key Takeaways
1. How to accurately estimate thread and fabric quantities
Thread estimation requires multiplying design width (inches) × height (inches) × fill density (as a percentage) × number of colors, then dividing by 1,000 to get total yards, as in the standard formula. Fill density varies: solid fills are at 100%, outlines at 25–30%, with 60–70% typical for mixed designs. Stitch type alters thread usage: fill stitches use about 5× the stitch path, satin stitches 4×, French knots 3×, and backstitch 2×. Use these multipliers in your estimates.
For fabric, factor your hoop size plus a margin of approximately 1.2× to guarantee enough material for hooping and finishing. A 6" hoop needs at least 7–8" of fabric on each axis before you account for any finishing technique. Flossom's fabric size calculator handles this automatically if you'd rather skip the arithmetic.
Pro Tip: Add a safety buffer to every thread order. Running short mid-project and failing to match the original dye lot is one of the most frustrating problems in embroidery. Order a little extra, especially for colors that anchor large fill areas.
2. How to choose the right stabilizers and fabrics
Stabilizer selection is one of those decisions that looks simple until you get it wrong. The core rule is straightforward: tear-away stabilizers suit woven fabrics, cut-away works for knits and stretch materials, and water-soluble toppings go over napped or sheer fabrics to prevent stitches from sinking into the pile.
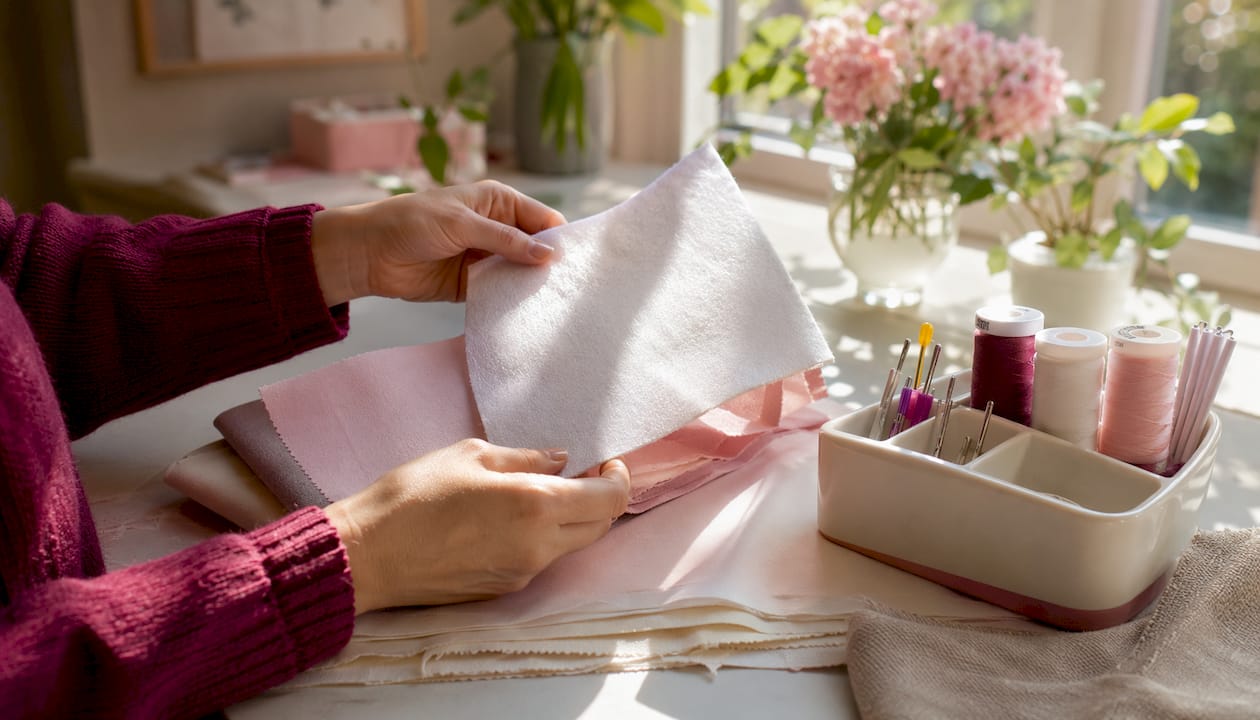
Layer count depends on design density. Light designs with sparse stitching need one stabilizer layer. Heavy fills, 3D puff work, or dense logos generally need two. Going under-stabilized on a dense design is how you get puckering and distortion that no amount of pressing will fix.
Fabric selection deserves the same attention. Key factors to evaluate before you cut:
- Fiber content: Natural fibers (cotton, linen) behave predictably; synthetics and blends may need adjusted tension
- Weave structure: Tight weaves hold stitches cleanly; loose or open weaves need extra stabilization
- Weight per yard: Lightweight fabrics require reduced stitch density to prevent distortion
- Stretch: Any stretch content demands cut-away stabilizer and pull compensation in your digitized file
- Nap or texture: Velvet, fleece, and terry cloth need a water-soluble topping so stitches sit on the surface
Needle choice follows fabric choice. Sharp/microtex needles work for tightly woven cottons and linens. Ballpoint needles are the right call for knits, since they push fibers aside rather than piercing them. Metallic thread needs a metallic needle with a larger eye and a Teflon-coated shaft to reduce friction and thread breakage. Flossom's stabilizer guide covers the full decision tree if you want a deeper reference.
3. How to sequence stitching and test designs before the final piece
Stitching order affects both quality and efficiency more than most hobbyists realize. The standard approach: stitch from the center outward, complete large background fills before any foreground detail, and group similar thread colors together to cut down on stops and trims. Grouping colors alone can meaningfully reduce machine time on complex multi-color designs.
Working backward from detail layers to base layers during the planning phase is a separate but equally useful habit. Visualize the finished piece first, identify which elements sit on top, then plan your sequence so base layers go down before anything that overlaps them. This prevents the frustration of stitching a detailed foreground element only to realize the background fill will partially cover it.
Best practices for sequencing and testing:
- Stitch center elements before moving to edges to prevent fabric shifting
- Complete all instances of one color before moving to the next where design structure allows
- Keep jump stitches and trims to a minimum by planning logical travel paths
- Run a full test stitch on a scrap of the same fabric you'll use for the final piece
- Check for puckering, gaps, misalignment, and thread breaks on the test swatch
- Adjust stitch density and pull compensation based on what the test reveals before touching your good fabric
Pro Tip: When testing, use the exact stabilizer combination you plan for the final piece. Testing on a different backing gives you misleading results — the fabric behavior changes enough to matter.
4. How to manage thread and fabric inventory across multiple projects
Cataloging your stash is the unglamorous part of embroidery planning that separates stitchers who constantly overbuy from those who actually know what they have. Systematic tracking of thread skeins by color number and fabric pieces by size and count lets you pull materials for a new project without a store run, and it shows you exactly where your gaps are before you start.
Digital tools make this practical at scale. Flossom is built specifically for stitchers juggling multiple WIPs: it catalogs your thread stash, tracks fabric inventory, and auto-generates shopping lists by comparing what a pattern requires against what you already own. Upload a pattern PDF, and Flossom flags which colors you're short on rather than making you cross-reference manually. The free tier covers DMC and Anchor with unlimited stash entries and up to 3 projects; Pro unlocks all 55 thread brands, a camera color picker, barcode scanner, and unlimited projects, all synced across devices.
Best practices for multi-project inventory management:
- Log every skein by brand and color number when it enters your stash, not after the project
- Record fabric by count, fiber content, and cut dimensions so you know what's actually usable
- Set low-stock alerts for colors you use frequently across multiple designs
- Group colors by thread type when ordering — buying larger cones for high-use colors cuts cost and reduces reorder frequency
- Organize physical storage by project complexity or type so materials for active WIPs stay accessible
- Export your inventory to CSV periodically as a backup and for budgeting reference
Budgeting across projects is easier when you can see total material costs before you commit. Flossom's shopping list function gives you that view — what you need, what you have, and what the gap costs — across every active project at once. Flossom's thread organization guide goes deeper on physical stash systems if you want to pair the digital tracking with a tidy physical setup.
Pro Tip: Before starting any new project, run your pattern against your existing stash in Flossom first. You'll often find you already own two or three of the colors you'd otherwise add to a shopping cart.
Ready to put this into practice? Flossom's free pattern library includes a thread conversion tool that works across 55 brands, so your estimates translate accurately no matter which thread line you're working with. Start a free account, upload your next pattern, and let Flossom build your shopping list from your actual stash.

Key Takeaways
Accurate material planning across thread, fabric, stabilizers, and sequencing is what separates a smooth embroidery project from a mid-stitch scramble for supplies.
| Point | Details |
|---|---|
| Thread formula | Multiply width × height × fill density × number of colors, divide by 1,000 for total yards needed. |
| Fabric margin | Cut fabric at approximately 1.2× your hoop size to allow for hooping and finishing. |
| Stabilizer matching | Tear-away for wovens, cut-away for knits, water-soluble topping for napped or sheer fabrics. |
| Sequence for efficiency | Stitch center outward, backgrounds before details, and group colors to reduce thread changes. |
| Digital inventory tracking | Flossom auto-generates shopping lists by comparing pattern needs against your existing stash. |
Recommended
We make Flossom — the calm app for cross-stitchers and embroiderers who want their stash, projects, fabric and shopping list in one tidy place.