
Embroidery Project Planning Explained for Every Stitcher
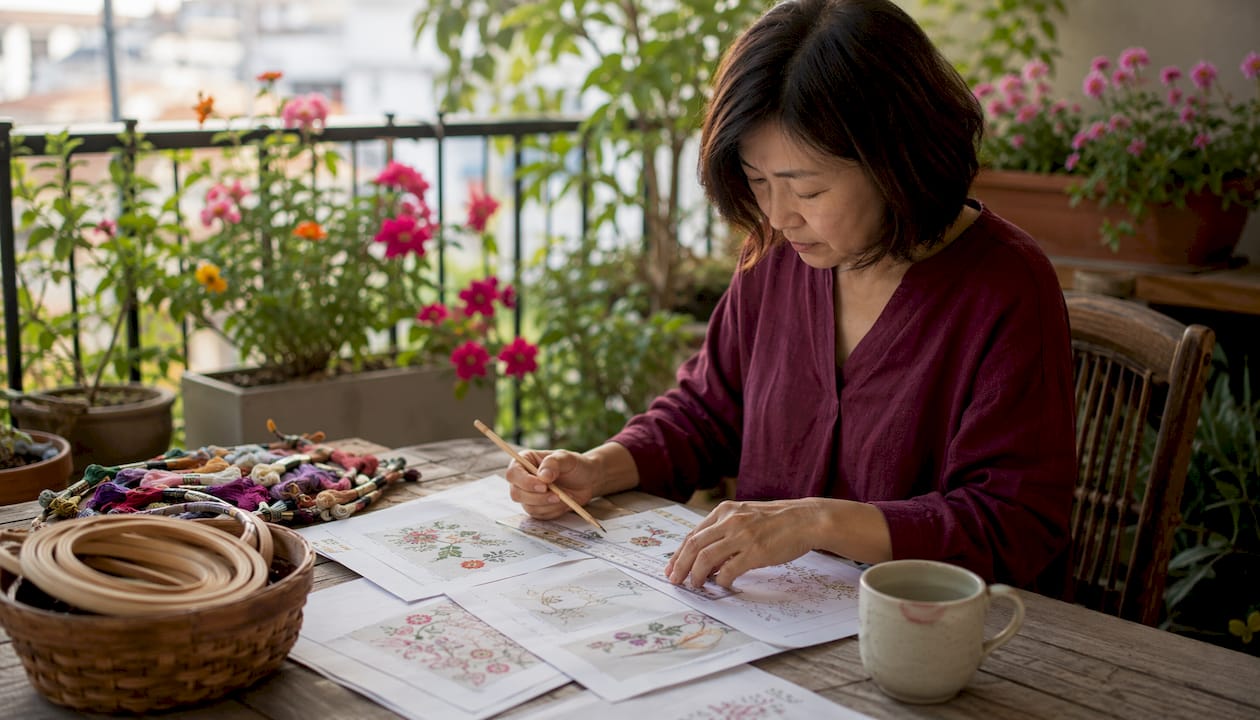
Embroidery Project Planning Explained for Every Stitcher ! Woman reviewing embroidery patterns at home table Embroidery project planning is the systematic process of organizing every element before your needle touches fabric: pattern selection, material prep, workflow sequencing, and finishing.
Embroidery Project Planning Explained for Every Stitcher
Embroidery project planning is the systematic process of organizing every element before your needle touches fabric: pattern selection, material prep, workflow sequencing, and finishing. Get it right, and your project runs smoothly from the first stitch to the last. Skip it, and you'll spend more time unpicking than stitching. Whether you're working by hand or on a machine, the planning phase is what separates a frustrating experience from a finished piece you're proud to display.
The core planning phases every stitcher should work through:
- Design selection: Choose a pattern that matches your skill level and available time.
- Material prep: Source and prepare fabric, thread, stabilizers, and tools before starting.
- Pattern transfer: Get the design accurately onto your fabric using the right method for your fabric type.
- Hoop setup: Select the correct hoop size and tension the fabric properly.
- Stitch practice: Test stitches and thread colors on scrap fabric before committing to the main piece.
- Workflow management: Sequence your tasks, estimate time realistically, and track progress.
- Finishing: Secure threads, wash, press, mount, and frame the completed piece.
Table of Contents
- 1. How to choose and prepare your embroidery pattern
- 2. Fabric selection and preparation for embroidery projects
- 3. How to transfer your embroidery pattern onto fabric
- 4. How to use an embroidery hoop effectively
- 5. Needle and thread selection, and practicing key stitches
- 6. How to organize and manage your embroidery project workflow
- 7. How to maintain and care for your embroidery equipment
- 8. Planning for finishing and framing your completed embroidery
- Flossom keeps your embroidery projects organized from start to finish
- Key Takeaways
1. How to choose and prepare your embroidery pattern
The pattern you pick sets the difficulty ceiling for your entire project. A design that's too complex for your current skill level doesn't just slow you down; it can damage your machine, waste materials, and kill your motivation.
Design complexity is measured by stitch count, stitch density, level of detail, and specialty thread requirements. Designs under 10,000 stitches are beginner-friendly and usually take under an hour; designs with 10,000–30,000 stitches are intermediate and require several hours; designs above 30,000 stitches are advanced and take significant time to complete.
Beyond stitch count, consider what the project is for. A gift for a child calls for bold, simple motifs. A framed heirloom piece warrants more detail. Matching the pattern's purpose to its complexity keeps you motivated through the whole project.
Pro Tip: Before committing to a design, load it into embroidery software like Hatch Embroidery or Janome AcuEdit to preview the stitch order, identify density hotspots, and estimate run time. Catching a problem in software costs nothing; catching it mid-stitch costs fabric, thread, and time.
Key questions to ask when evaluating a pattern:
- Does the stitch count match my skill level?
- Does my machine handle this thread type and density?
- How many color changes does the design require?
- Is a pre-digitized file available, or will I need custom digitizing?
- Does the design fit within my hoop's maximum dimensions?
Pre-digitized professional designs are almost always the better choice for hobbyists. They're optimized for machine performance, which means fewer thread breaks and cleaner finishes right out of the box.
2. Fabric selection and preparation for embroidery projects
Fabric choice affects everything: how the design looks, how the machine performs, and how long the finished piece lasts. The wrong fabric for a dense design will pucker, stretch, and distort no matter how well you stitch.
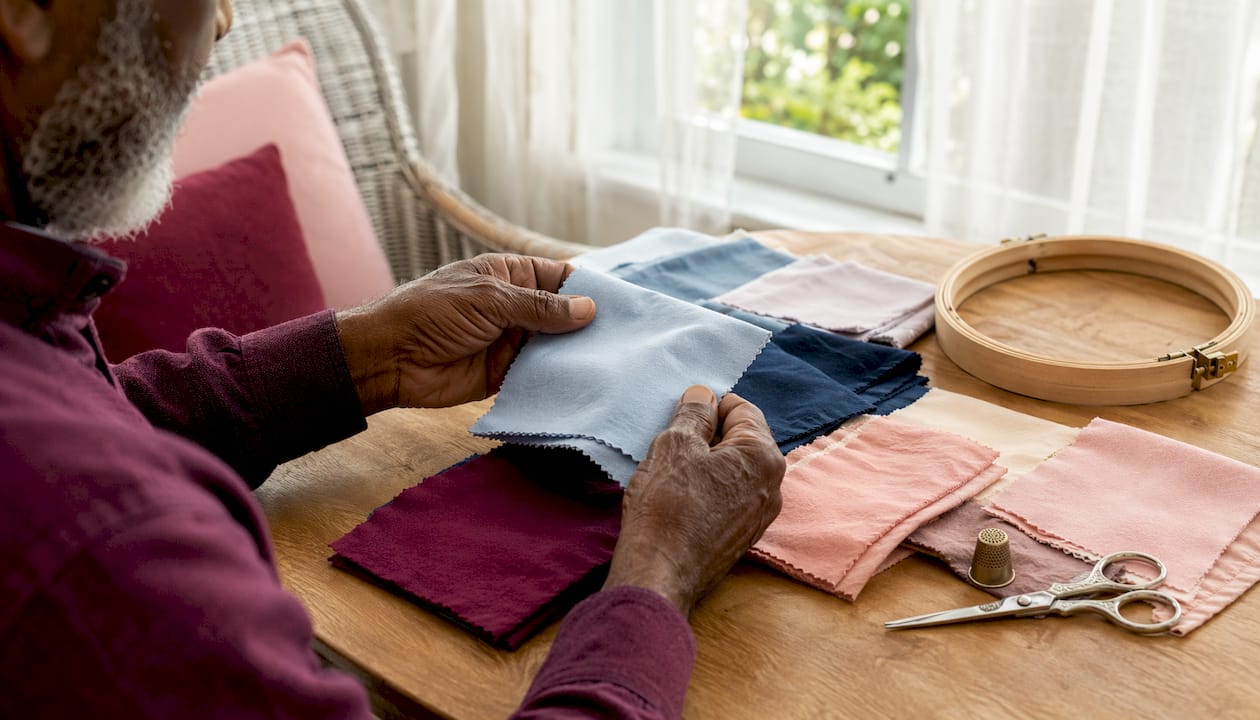
Match fabric weight and stability to your design's density. Dense, high-stitch-count designs need stable bases like canvas or denim. Lighter designs work on cotton, linen, or Aida cloth. Polyester blends are durable and colorfast, making them good for items that will be washed frequently.
| Fabric | Best for | Preparation needed |
|---|---|---|
| Cotton (Aida) | Cross stitch, hand embroidery | Pre-wash, iron flat |
| Linen | Heirloom and fine hand embroidery | Pre-wash, block if needed |
| Polyester | Machine embroidery on wearables | Iron, use cut-away stabilizer |
| Canvas | Dense machine embroidery, bags | Minimal prep, use tear-away stabilizer |
| Denim | High-stitch-count logos and patches | Pre-wash, use cut-away stabilizer |
Proper fabric preparation includes washing, ironing, and stabilizing before you hoop. Washing removes sizing and prevents post-stitch shrinkage. Ironing gives you a flat, even surface. Stabilizers prevent the fabric from shifting or distorting under the needle.
Fabric preparation steps before hooping:
- Wash and dry the fabric to remove sizing and prevent shrinkage.
- Iron on the appropriate heat setting for the fabric type.
- Cut the fabric larger than the design area, leaving at least 2 inches of border on all sides.
- Apply the correct stabilizer: cut-away for knits and stretchy fabrics, tear-away for stable wovens.
- Check the fabric size you'll need against your design dimensions before cutting.
For a deeper look at how different fabrics behave under the needle, the cross stitch fabric guide on the Flossom blog breaks down each type by skill level and use case.
3. How to transfer your embroidery pattern onto fabric
Getting the design accurately onto your fabric is one of the most underrated steps in the whole process. A slightly off-center transfer, or one that smudges mid-stitch, can ruin hours of work.
The right transfer method depends on your fabric type and design complexity. Here's a quick breakdown of the most common options:
- Tracing: Works on light-colored, semi-transparent fabrics. Tape the pattern to a light box or window, lay the fabric over it, and trace with a water-soluble pen.
- Heat transfer pens: Draw or trace the design onto paper, then iron it onto the fabric. Good for bold, simple designs. Not reversible, so test on scrap fabric first.
- Water-soluble pens: Mark directly on the fabric. Lines disappear when wet, which is ideal for hand embroidery on washable fabrics.
- Transfer paper: Carbon-style paper placed between the pattern and fabric, then traced over. Works on darker fabrics where a light box won't help.
- Printable stabilizer sheets: Print the design directly onto water-soluble or tear-away stabilizer, hoop it with the fabric, and stitch through both layers. The stabilizer washes away after stitching.
Materials checklist by transfer method:
- Tracing: light box or bright window, water-soluble pen, tape
- Heat transfer: transfer pen or pencil, iron, parchment paper
- Transfer paper: graphite or dressmaker's carbon paper, stylus or ballpoint pen
- Printable stabilizer: inkjet printer, water-soluble stabilizer sheets, scissors
Whichever method you use, always test on a scrap piece of the same fabric before marking your main piece. Some pens leave ghost marks on certain fabrics even after washing.
4. How to use an embroidery hoop effectively
The hoop is your fabric's anchor. A poorly hooped piece will shift, pucker, and produce uneven stitches no matter how steady your hand or how well-tuned your machine.
Choose a hoop that's slightly larger than your design but not dramatically so. Too much empty space in the hoop lets the fabric shift during stitching. For machine embroidery, always match the hoop to your machine's specifications and the design's maximum dimensions.
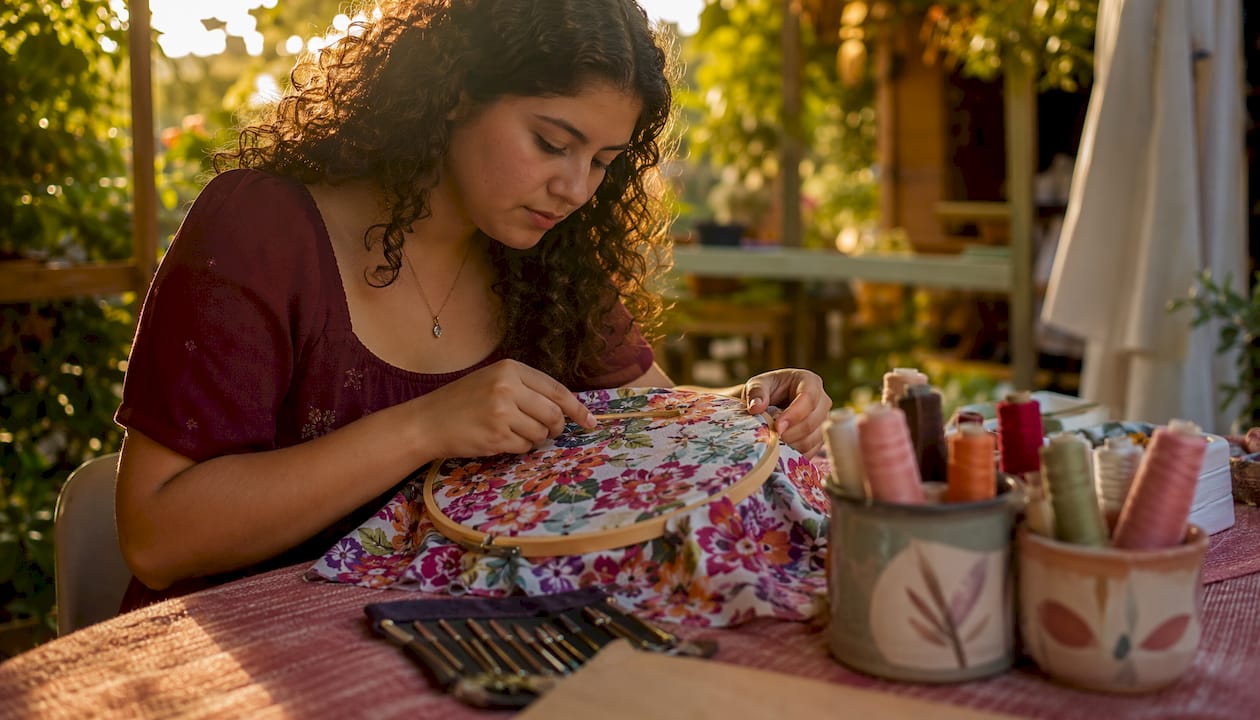
Proper hooping requires the fabric to be stretched taut but not overly tight. When you tap the hooped fabric, it should sound like a drum. If it sags or ripples, re-hoop. If it's so tight that the weave distorts, loosen it slightly.
Pro Tip: For hand embroidery, wrap the inner hoop with twill tape or cotton batting before hooping delicate fabrics. This gives the fabric something to grip and prevents the hoop from leaving marks.
Common hooping mistakes to avoid:
- Using a hoop that's too large, leaving excess fabric that shifts during stitching.
- Over-tightening the fabric until the grain distorts.
- Hooping on the bias instead of along the straight grain.
- Forgetting to re-hoop when moving to a new section of a large design.
- Using a wooden hoop without conditioning it, which can snag delicate threads.
For machine embroidery, wooden hoops are generally not recommended. Plastic or magnetic hoops hold tension more consistently and are easier to release without damaging the fabric.
5. Needle and thread selection, and practicing key stitches
The right needle and thread combination makes stitching feel effortless. The wrong one causes skipped stitches, thread breaks, and fabric damage.
Needle size should match both the fabric and the thread. For hand embroidery on Aida cloth, a size 24 or 26 tapestry needle works well. For machine embroidery on wovens, a size 75/11 or 80/12 embroidery needle is a standard starting point. Heavier fabrics like denim need a larger needle, typically 90/14 or 100/16.
Thread type matters just as much. Cotton thread is the standard for cross stitch and hand embroidery, offering a soft matte finish. Polyester thread is more durable and colorfast, making it the go-to for machine embroidery on items that will be washed repeatedly. Specialty threads like metallics and variegated flosses add visual interest but require slower machine speeds and sometimes a specialty needle to prevent shredding. For a full breakdown of specialty thread options, the embroidery thread guide on Flossom covers each type in detail.
Pre-project checklist for needles and thread:
- Select needle size based on fabric weight and thread thickness.
- Wind or pre-cut thread lengths to avoid tangling (arm's length is a good rule for hand embroidery).
- Check thread color in natural light against the fabric before committing.
- Thread the machine with the correct tension settings for the thread type.
- Have backup needles on hand; change the needle every 8–10 hours of machine stitching.
Before starting the main project, practice your key stitches on a scrap piece of the same fabric. Test stitching on scrap fabric verifies tension, thread choice, and color interactions before you risk the main piece. For beginners, this is where you'll catch most of your setup errors.
6. How to organize and manage your embroidery project workflow
A clear workflow is what keeps a project moving from start to finish instead of stalling in a pile of half-finished WIPs. The biggest planning mistake stitchers make is underestimating time, especially for machine embroidery.
Home embroidery machines operate at 400–600 stitches per minute in real-world conditions, not the maximum speeds advertised on the box. Machines slow automatically for corners, short stitches, and intricate details. On top of that, each color change adds roughly 30–60 seconds for trimming and re-threading. A design with ten color changes adds at least five to ten minutes of non-stitching time to your estimate.
Strategic layout planning before you start stitching can reduce material waste by up to 30%. Arranging design elements systematically on the fabric surface before committing to the hoop helps you spot alignment issues, optimize thread usage, and avoid costly re-dos.
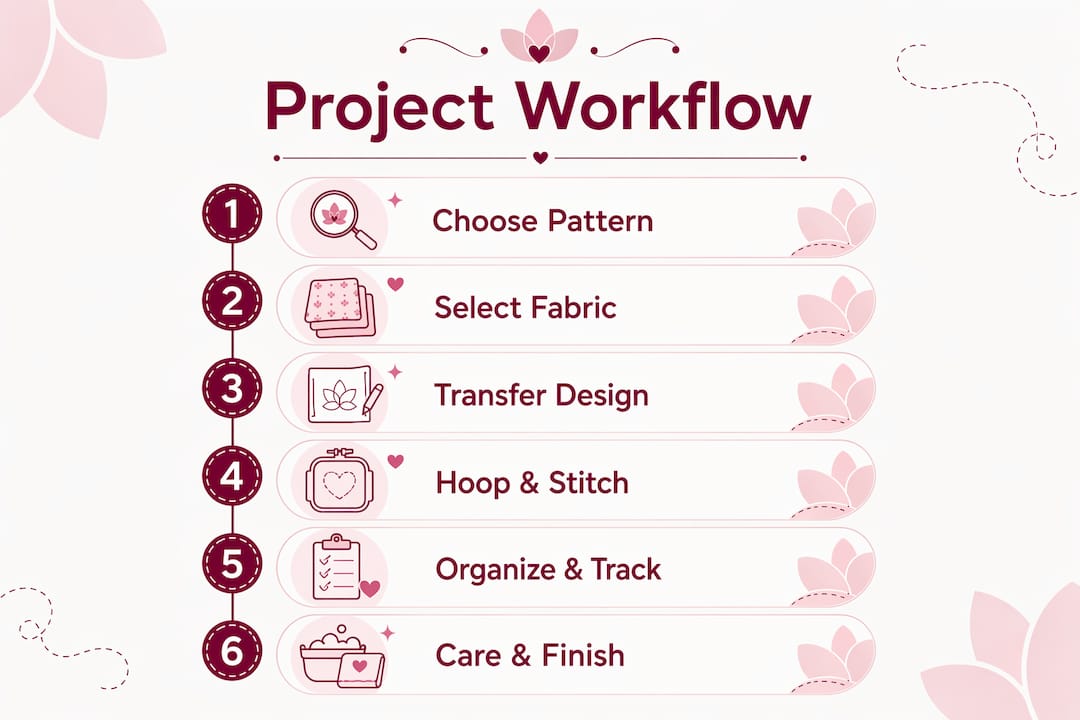
Workflow phases for any embroidery project:
- Design selection and complexity grading: Confirm the design matches your skill level and machine capabilities.
- Material sourcing: Cross-check what the pattern needs against what you already own. Flossom's auto-generated shopping lists do this automatically.
- Test stitching: Run the design on scrap fabric to verify tension, color, and stabilizer choice.
- Execution: Stitch in planned sessions, accounting for color changes and trimming as scheduled tasks, not interruptions.
- Progress tracking: Photograph your WIP at each major stage. Photos make it easy to spot tension issues or color inconsistencies you might miss while stitching.
Treating thread changes and trimming as scheduled workflow steps rather than annoying interruptions changes how you experience the whole project. It also makes your time estimates far more accurate.
For stitchers juggling multiple projects, tracking each WIP with photos and notes is the difference between staying organized and losing track of where you left off. The Flossom blog covers managing multiple WIPs in detail if you're working on more than one project at a time.
Pro Tip: Use Flossom's project time calculator to build a realistic schedule based on your design's stitch count and your machine's actual operating speed, not the advertised maximum.
7. How to maintain and care for your embroidery equipment
Well-maintained equipment produces cleaner stitches, fewer thread breaks, and longer machine life. Neglecting maintenance is one of the most common reasons hobbyists blame their designs for problems that are actually mechanical.
For embroidery machines, clean the bobbin area after every project or every few hours of stitching. Lint buildup in the hook race is the leading cause of skipped stitches and thread breaks. Use the brush that came with your machine, and avoid compressed air, which pushes lint deeper into the mechanism.
Change your needle regularly. A dull or slightly bent needle causes more fabric damage and thread breakage than almost any other single factor. Most experienced machine embroiderers change the needle every 8–10 hours of stitching time, or immediately after hitting a pin.
For hand embroidery tools, keep hoops clean and free of oils from your hands. Wooden hoops can be lightly sanded if they develop rough spots that snag thread. Store needles in a needle minder or case to prevent rust, and keep thread away from direct sunlight to prevent fading.
A simple maintenance routine:
- Clean the bobbin area and hook race after each project.
- Oil the machine according to the manufacturer's schedule (not all machines require oiling; check your manual).
- Replace the needle every 8–10 hours of stitching.
- Check thread tension before each new project.
- Store stabilizers flat and sealed to prevent moisture absorption.
Reducing stitch density by around 20% in your embroidery software reduces machine stress and fabric puckering without sacrificing the visual result. It's a simple adjustment that extends both machine life and fabric integrity.
8. Planning for finishing and framing your completed embroidery
Finishing is where most stitchers rush, and it shows. A beautifully stitched piece mounted on the wrong materials will yellow, warp, and deteriorate within a few years. Plan for finishing from the start, not as an afterthought.
The three core finishing phases for cross stitch and hand embroidery:
- Securing threads: Weave thread tails under existing stitches on the back rather than knotting. Knots create bulk and can work loose over time.
- Washing and pressing: Hand wash in cool water with a gentle detergent, then roll in a clean towel to remove excess moisture. Press face-down on a thick towel while still damp to flatten the fabric without crushing the stitches.
- Mounting and framing: Stretch the fabric over acid-free foam core and secure using either the pinning or lacing method before placing in the frame.
Acid-free materials are non-negotiable for anything you want to last. Regular foam core and acidic tape will yellow your fabric and degrade thread colors within years. Acid-free foam core, archival tape, and rust-proof pins are widely available at art supply stores and cost only marginally more than standard materials.
For mounting, lacing gives the most even tension and is fully reversible, making it the preferred archival method. Pinning with rust-proof T-pins is faster and works well for pieces you may want to reframe later. Whichever method you choose, pull the fabric taut enough to lie flat, but not so tight that the stitches distort.
When it comes to glazing, acrylic is the better choice over glass for textile pieces. It's shatterproof and blocks UV rays that cause fading over time. If you use glass, always include a mat board to keep the glass from pressing directly against the stitches, which would flatten the texture.
For cross stitch specifically, leave at least 2 inches of unstitched fabric around the design area when you cut your fabric at the start of the project. That border is what you'll fold around the mounting board, and without it, framing becomes much harder.
Flossom keeps your embroidery projects organized from start to finish
Planning a project well means knowing exactly what you have, what you need, and where every WIP stands. That's precisely what Flossom was built for.

Flossom is a cross-stitch and embroidery companion that catalogs your thread and fabric stash, tracks your projects, and auto-generates shopping lists by comparing what your pattern needs against what you already own. Upload a pattern PDF, and Flossom tells you which colors you're missing before you ever open a browser tab to order. The free tier covers DMC and Anchor catalogues with unlimited stash entries and up to 3 projects. Pro unlocks all 55 thread brands, a camera color picker, barcode scanner, fabric stash tracking, and unlimited projects. Everything syncs across devices, exports to CSV, and stays completely ad-free.
If you're the kind of stitcher who photographs WIP progress, sets aside time to plan layouts, and wants to stop buying duplicate thread colors, Flossom fits right into the workflow this article describes. Start with the free tier and explore the full tools and calculators to see how much planning time you can cut from your next project.
Key Takeaways
Embroidery project planning works best when design complexity, material prep, and workflow sequencing are addressed together before the first stitch goes in.
| Point | Details |
|---|---|
| Grade your design first | Designs under 10,000 stitches are beginner-friendly and take under an hour; 10,000–30,000 stitches are intermediate and require several hours; above 30,000 stitches are advanced and require significant time. |
| Prepare fabric before hooping | Wash, iron, and stabilize fabric to prevent puckering and distortion during stitching. |
| Build realistic time estimates | Home machines run at 400–600 stitches per minute; each color change adds 30–60 seconds of non-stitching time. |
| Use acid-free materials for framing | Acid-free foam core and archival tape prevent yellowing and protect thread colors long-term. |
| Flossom for stash and WIP tracking | Flossom auto-generates shopping lists and lets you track WIP progress with photos across unlimited stash entries. |
Recommended
We make Flossom — the calm app for cross-stitchers and embroiderers who want their stash, projects, fabric and shopping list in one tidy place.