
Embroidery Finishing Methods: Your Complete How-To List
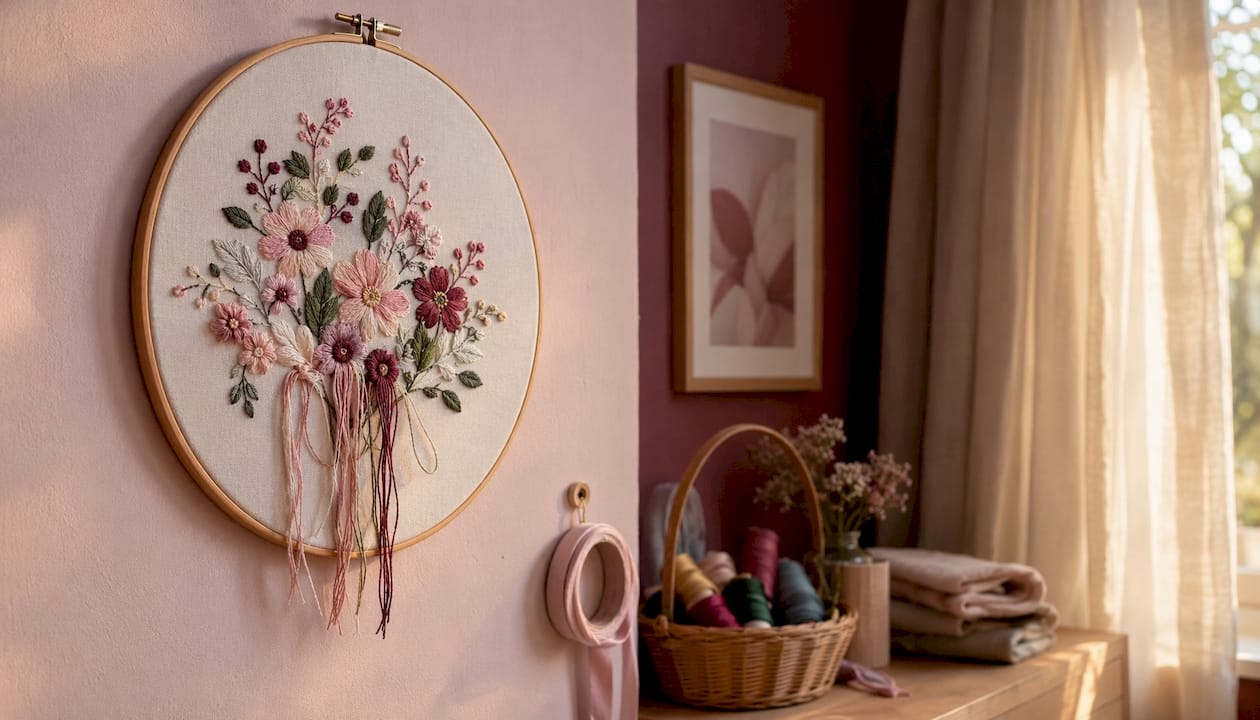
Embroidery Finishing Methods: Your Complete How-To List ! Close-up of finished embroidery on fabric A finished embroidery piece is only as good as its finishing.
Embroidery Finishing Methods: Your Complete How-To List
A finished embroidery piece is only as good as its finishing. The embroidery finishing methods list below covers every core technique you need, from trimming thread tails to mounting your work for display, so nothing gets skipped before you frame, gift, or wear your piece.
What are the main embroidery finishing methods?
Every well-finished piece moves through the same set of steps. Here is the full list of finishing techniques for embroidery you will work through:
- Trimming thread tails on the back to remove excess length
- Removing stray threads that cross the design or show through the fabric
- Checking for and repairing missing stitches and loops
- Securing fabric edges to prevent fraying (overcasting, pinking shears, bias tape, seam sealant)
- Framing and mounting in hoops, traditional frames, shadow boxes, or on canvas
- Pressing and blocking to restore fabric shape and smooth out hoop marks
- Applying backing stabilizers for durability and shape retention
- Cleaning and washing the finished piece before display or gifting
Each method builds on the last. Skip pressing and your framed piece will look puckered. Skip edge finishing and your fabric will fray before you ever get it mounted.
1. How to trim thread tails and remove stray threads
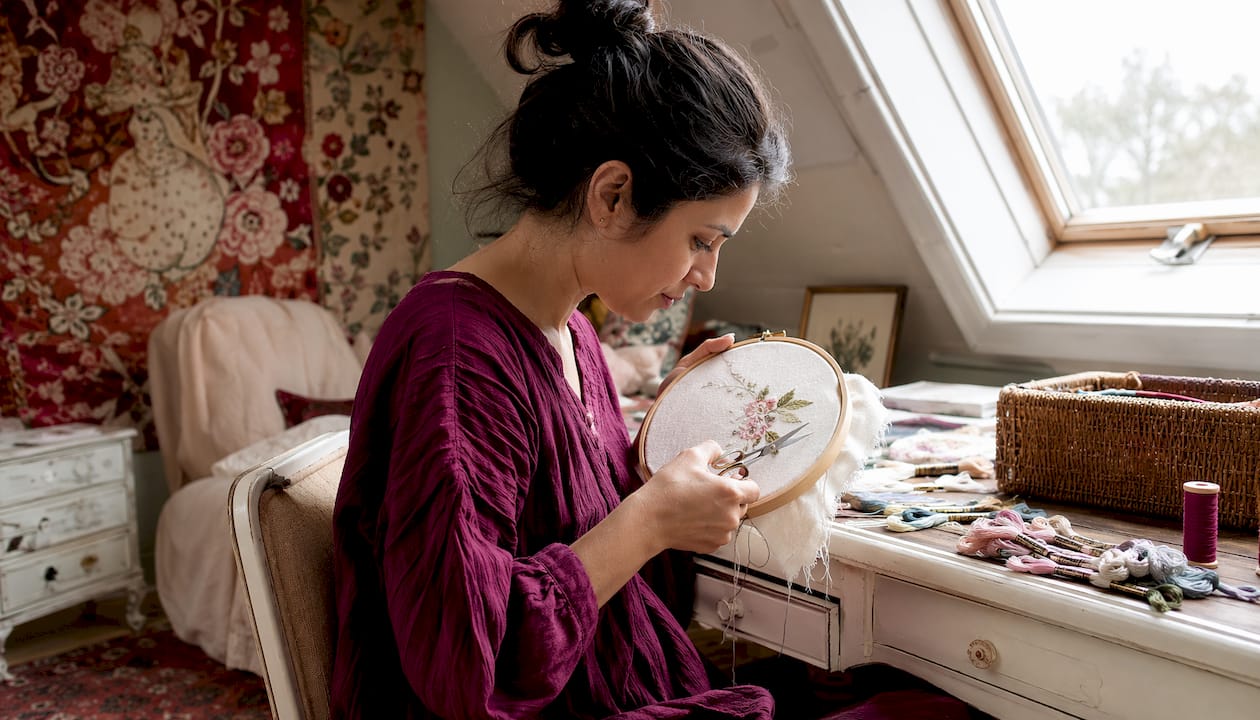
Clean thread management on the back of your work is the first step toward a professional embroidery finish. Stray threads that cross open areas of fabric can shadow through to the front, especially on lighter linens.
- Flip your hoop to the back and work in good light.
- Use sharp, fine-tipped embroidery scissors to trim each tail to about 1/4 inch. Cutting too close risks unraveling; leaving too much creates bulk.
- Run a seam ripper gently under any thread that crosses a large open area, then snip it away.
- Check the front for any thread that has migrated across the design surface and remove it with tweezers.
- Do a final pass holding the piece up to a light source to catch any remaining strays.
Pro Tip: Never trim a tail shorter than 1/4 inch before you have secured it by weaving or knotting. Cutting first, securing second is how threads unravel in the wash.
The right tool matters here. A pair of dedicated embroidery specialty scissors with fine, curved tips gets into tight spots that standard sewing scissors cannot reach.
2. How to check for and repair missing stitches and loops
Catching errors before you frame is far easier than fixing them after. Missing stitches and unanchored loops are the two most common problems.
- Missing stitches: Hold the piece at arm's length and compare it to your pattern. Gaps in a satin fill or a broken outline are usually visible immediately.
- Unanchored loops: Gently tug the fabric from both sides. A loop that moves or puckers has not been secured properly.
- Tension inconsistencies: Look for areas where stitches sit higher or lower than their neighbors. Uneven tension often signals a thread that was not pulled through fully.
- Color gaps: Check under natural light, not just indoor lighting, which can hide subtle gaps in coverage.
To repair a missing stitch, re-thread with the same floss color and stitch count. Anchor the new thread by weaving under three or four existing stitches on the back before you begin. Maintain the same tension as the surrounding stitches so the repair blends in. For a loose loop, pass the needle back through the loop from the back, snug it down, and secure the tail immediately.
3. How to secure fabric edges and prevent fraying
Preventing fabric fraying is one of the most practical finishing techniques for embroidery, and the right method depends on your fabric and how the piece will be used.
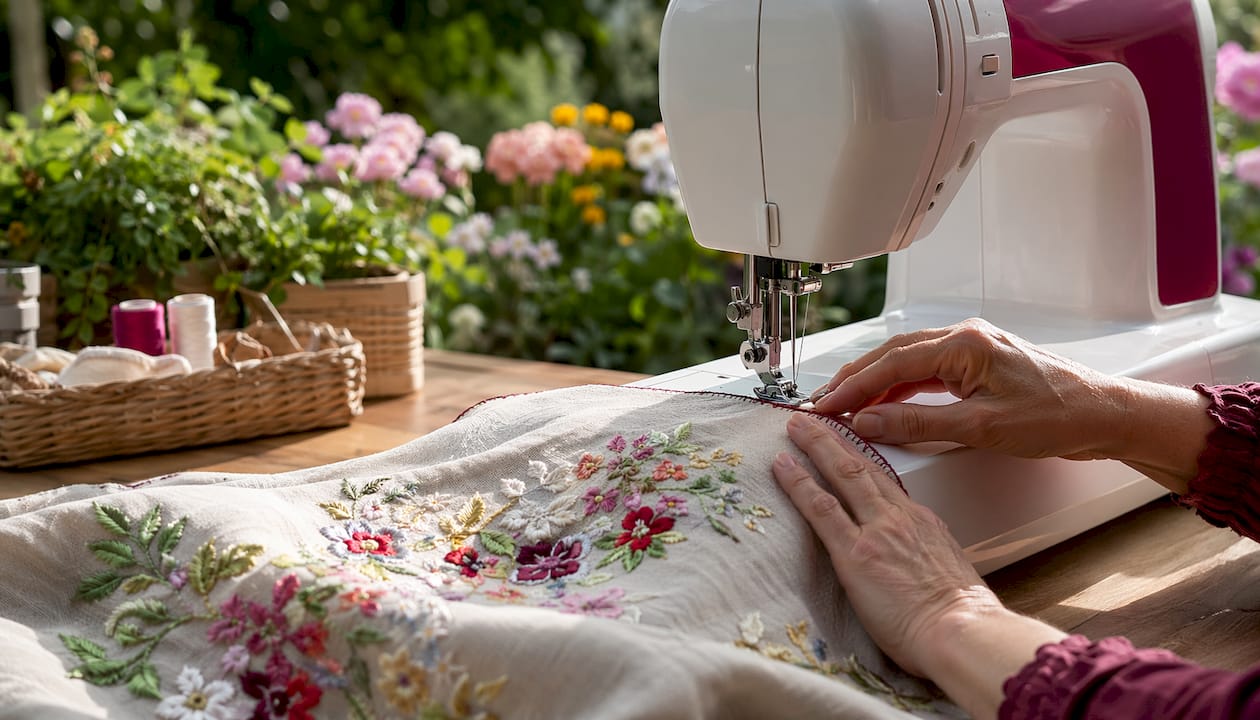
- Machine overcasting (zigzag stitch): Set your sewing machine to a zigzag slightly wider than the default. Run it along each raw edge so the stitch encloses the warp and weft threads. Fast, durable, and the standard finish on pre-cut embroidery fabric kits.
- Pinking shears: Cut along each edge with pinking shears to create a zigzag cut that slows fraying. Some fraying will still occur over time, but it works well for pieces that will be trimmed before framing.
- Bias binding: Fold single or double-fold bias tape around the raw edge and stitch it in place. This is the most durable option for large pieces that will be handled repeatedly before mounting.
- Liquid seam sealant: Products like Fray Check from Prym Dritz or Fray Block from June Taylor dry clear and work on any fabric. On dark or silky fabrics, test a hidden corner first, as the sealant can leave a slight sheen.
| Method | Ease | Durability | Best for |
|---|---|---|---|
| Machine overcasting | High | High | Most fabric types |
| Pinking shears | Very high | Moderate | Pieces to be trimmed later |
| Bias binding | Moderate | Very high | Large or heavily handled pieces |
| Liquid seam sealant | High | Moderate | Any fabric, quick application |
The most common mistake here is applying seam sealant too heavily, which stiffens the fabric edge and makes it harder to gather or fold neatly when mounting.
4. How to frame and mount embroidery for display
Common display options for finished embroidery include hoop framing, traditional frames, shadow boxes, dowel banners, and canvas stretching. Each suits a different aesthetic and level of permanence.
- Hoop framing: Center and tension the fabric in a clean hoop. Trim the excess fabric slightly beyond the inner ring, then either gather and glue with Fabri-Tac or work a running stitch around the edge and pull to gather. Finish the back with a felt circle cut to size and attached with blanket stitch.
- Traditional frames: Use acid-free mat board to prevent discoloration over time. Stretch the fabric taut over the board, fold the edges to the back, and secure with stitching or archival tape before placing in the frame.
- Shadow boxes: Ideal for three-dimensional or raised work. The depth of the box keeps the glass from touching the stitching.
- Dowel banners: Sew the embroidered piece between two fabric strips, insert dowels at top and bottom, and hang with ribbon or cord. A good option for pieces too large for a standard hoop.
- Canvas stretching: Staple the fabric over canvas stretcher bars using a staple gun, pulling evenly from opposite sides to keep the grain straight.
Finishing transforms embroidery from a stitched piece into a professional, gallery-ready object. Pressing from the back, mounting with the right method for the project's final use, and choosing acid-free materials are what separate a piece that lasts decades from one that deteriorates in a few years.
5. Expert tips for professional-quality embroidery finishing
The difference between a tidy finish and a truly polished one usually comes down to a few techniques most crafters skip.
Knotless thread securing is the standard among experienced stitchers. Industry best practice is to weave thread tails under several existing stitches on the back rather than tying a knot, which hides the tail without adding bulk. For dense areas like satin stitch or long-and-short stitch, the burial method works best: slide the needle under the laid stitches in one direction, then reverse direction once for a cross pattern that locks the tail in place securely. Knotting offers reliable security for washable garments but can cause bulk on delicate fabrics, where weaving is the cleaner choice.
Pressing from the back is non-negotiable for removing hoop marks. Lay the piece face-down on a thick towel, which cushions the stitches and prevents them from being crushed flat. Press with a warm iron and a pressing cloth, moving in short strokes rather than dragging. Never press from the front.
Pro Tip: Leave generous thread tails when finishing. Short tails are hard to weave securely, and forcing the last few stitches with a barely-there tail is how threads work loose after washing.
For garments specifically, loop securing adds durability without bulk: pass the needle under a nearby stitch, leave a small loop, pass the tail through it, and pull snug. Repeat once. It distributes stress across the fabric rather than concentrating it at a single knot point. For framed art that will never be washed, straight weaving under three or four back stitches is sufficient and keeps the back looking flat.
Washing before framing is worth the extra step. A gentle hand wash with mild soap removes hoop oils and handling marks that become permanent once the piece is mounted. Test for colorfastness on a small area first, especially with hand-dyed threads or older floss.
Keep your next project organized with Flossom

Finishing a piece well starts long before you pick up the scissors. Flossom helps you track every thread in your stash, plan your next project, and auto-generate shopping lists so you always have the right floss on hand. The Flossom tools and calculators page gives you everything from thread conversion across 55 brands to fabric stash tracking, all in one ad-free app. If you are looking for your next project to finish beautifully, the free pattern library has designs ready to stitch and display. And if you are shopping for a fellow stitcher, this creative hobby gift guide is worth a look.
Key Takeaways
Finishing embroidery well requires knotless thread securing, proper edge treatment, pressing from the back, and mounting with acid-free materials suited to the project's final use.
| Point | Details |
|---|---|
| Trim and secure before cutting | Weave thread tails under existing stitches before trimming to prevent unraveling. |
| Match edge finish to fabric use | Use bias binding for heavily handled pieces; pinking shears for pieces to be trimmed later. |
| Press face-down on a towel | Pressing from the back on a thick towel protects stitch dimension and removes hoop marks. |
| Choose knotless methods for delicate work | Weaving and burial methods keep the back flat and prevent bulk on sheer or fine fabrics. |
| Wash before mounting | A gentle hand wash removes hoop oils and handling marks that become permanent once framed. |
Recommended
We make Flossom — the calm app for cross-stitchers and embroiderers who want their stash, projects, fabric and shopping list in one tidy place.