
Chain Stitch Explained for Embroidery Beginners
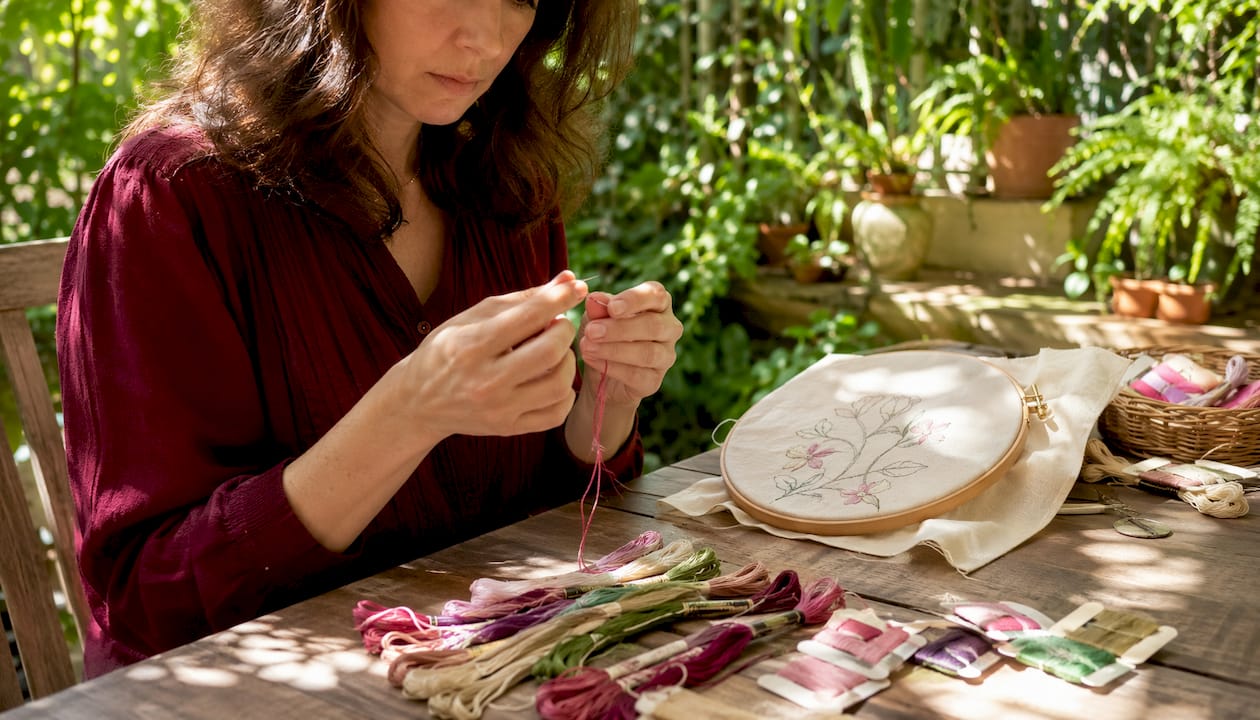
Chain Stitch Explained for Embroidery Beginners ! Close-up of hands threading crewel needle The chain stitch is a series of interlocking loops that form a chain-like line on fabric.
Chain Stitch Explained for Embroidery Beginners
The chain stitch is a series of interlocking loops that form a chain-like line on fabric. To make your first link right now: (1) bring the needle up through the fabric, (2) go back down through the same hole while holding a loop of thread on the surface, then (3) bring the needle up a short distance ahead, inside that loop, and pull forward gently. That's one link. To anchor the final loop securely, take the needle down over the top of the last loop to create a small straight holding stitch, then bury the tail on the back. Skip that step and the whole chain can unravel from the end.
The Royal School of Needlework (RSN) and the Embroiderers' Guild of America (EGA) both treat the chain stitch as a foundational technique worth mastering early. Flossom's guides build on that same foundation, so you'll find thread and project planning tools ready when you're ready to scale up.
Pro Tip: Try your first three links on a scrap of cotton before touching your actual project. Muscle memory for the forward pull builds faster than you'd expect.
Table of Contents
- What do you need to start chain stitching?
- How to do the chain stitch: step-by-step
- How does the reverse chain stitch work?
- How do you secure the last loop so it won't unravel?
- What can you make with chain stitch variations?
- Why does your chain look wrong, and how do you fix it?
- Practice exercises that actually build the right technique
- Key Takeaways
- The part most tutorials skip
- Flossom helps you plan and track your stitch practice
- Further reading and resources
What do you need to start chain stitching?
You don't need much, but the right setup prevents most beginner frustration.
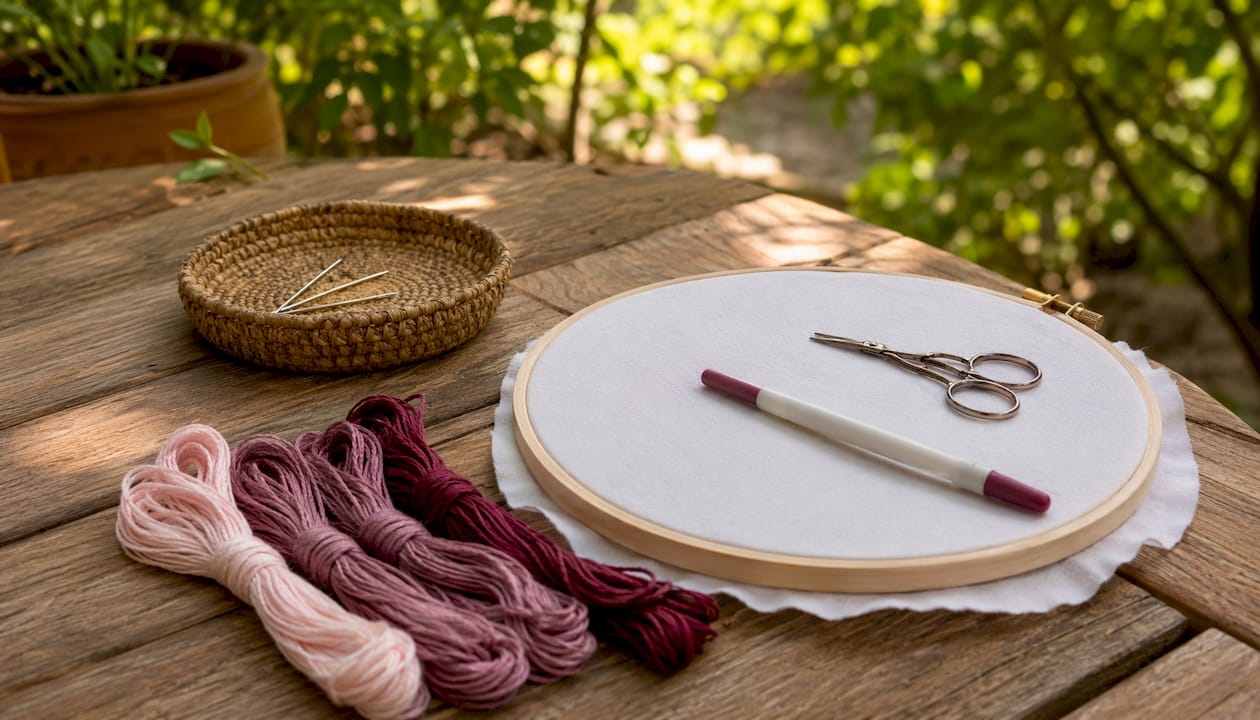
Needles: Use a crewel or embroidery needle, sizes 3–9. A larger eye makes threading easier; a sharp point pierces woven fabric cleanly.
Thread: Stranded cotton floss (like DMC) is the standard starting point. You can split the six strands and use two or three for a finer line. Perle cotton is a single twisted thread that gives a more defined, open chain. According to the EGA, fuzzy matte threads look denser while sleek perle cotton yields a more open chain, so match texture to the look you want, not just the color. For a deeper look at specialty options, the embroidery thread types guide on Flossom's blog covers the full range.
Fabric: Linen, evenweave, and quilting cotton all work well. Avoid stretchy knits until you're comfortable with tension. Wash and iron your fabric before you start so it won't shrink or distort after you've stitched it.
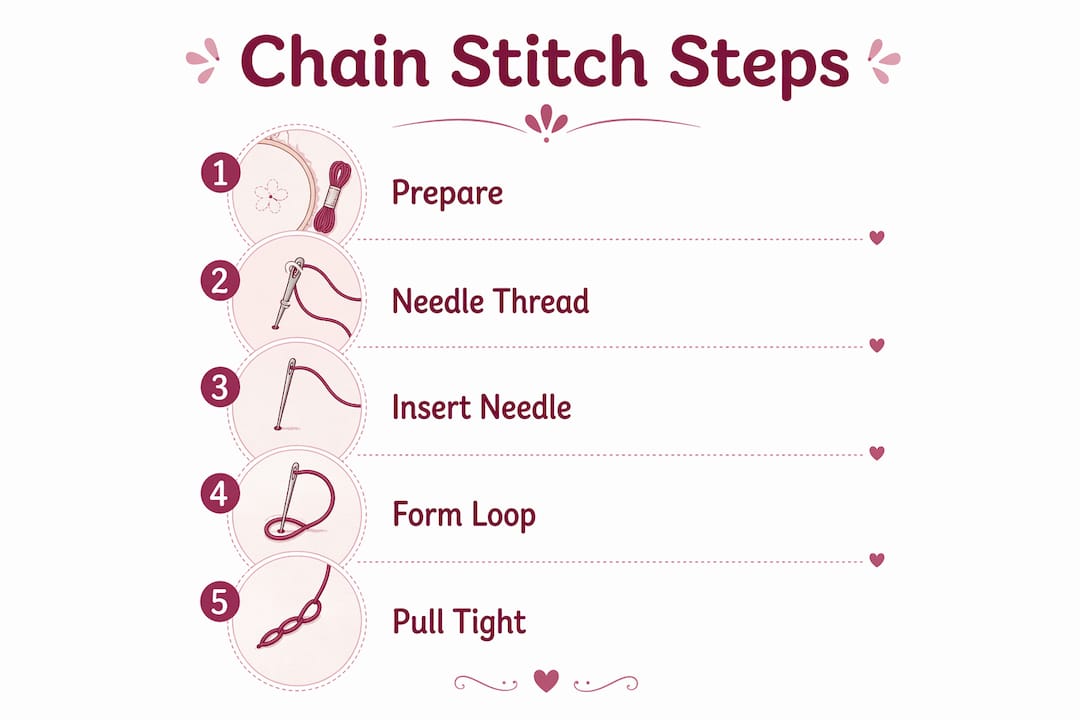
Hoop or frame: A 6-inch or 8-inch embroidery hoop keeps fabric taut and prevents puckering. Tighten the outer ring until the fabric feels like a drum, not a trampoline.
Other basics: Small embroidery scissors, a water-soluble or heat-erasable marking pen to draw your practice lines, and a needle minder if you tend to lose track of your needle mid-session.
Two working methods exist: the sewing method (needle goes in and out in one motion, works well without a hoop) and the stab method (two separate movements, preferred in a tight hoop). Makenstitch notes that the stab method gives more control when fabric is stretched in a frame, which is the better default for beginners. For a full rundown of fabric choices and prep, the cross stitch fabric types guide is worth bookmarking.
How to do the chain stitch: step-by-step
Draw a simple line on your fabric first. That line is your guide.
- Bring the needle up at point A (the start of your line). Pull the thread all the way through.
- Go back down through the same hole at A, or just a thread's width away. Before pulling through completely, hold a loop of thread on the surface with your non-dominant thumb.
- Bring the needle up at point B, roughly 4–6mm ahead along your line, inside the loop you're holding. This is the most important step: the needle must emerge inside the loop.
- Pull forward in the direction of travel, not upward. Pulling forward produces a rounded, full link. Pulling upward flattens it.
- Repeat from step 2, going back down inside the link you just formed.
Keep your spacing consistent. A 4–6mm link works well for most threads; shorter links suit finer threads, longer links suit heavier ones. If your chain starts flattening after a few links, check your pull direction first.
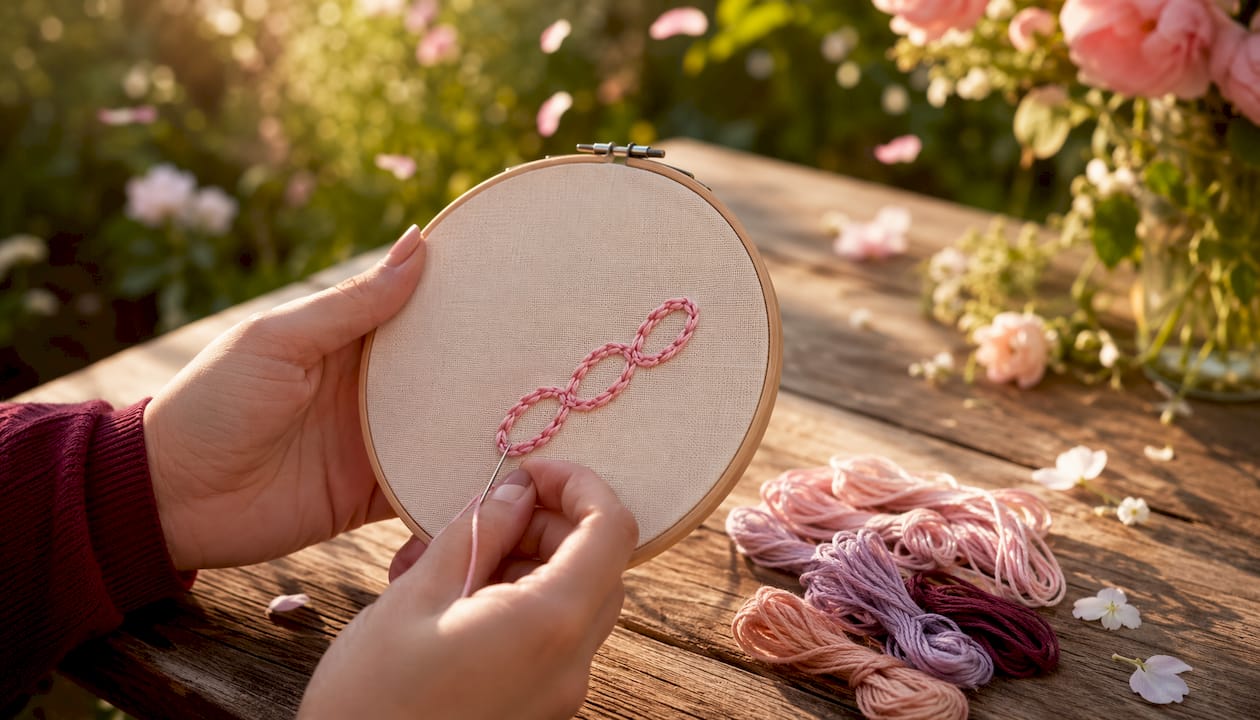
Pro Tip: After every five or six links, lay your hoop flat and look at the chain from directly above. Uneven links almost always trace back to inconsistent needle placement, not thread tension.
How does the reverse chain stitch work?
The reverse (backwards) chain stitch produces the same visual result but travels in the opposite direction, which some stitchers find more natural for curves that sweep toward the body.
- Anchor the thread with a small straight stitch at the far end of your line (this becomes the first "holding" stitch).
- Bring the needle up one link-length back along the line.
- Pass the needle under the holding stitch without piercing the fabric, then go back down through the hole you came up from, forming a loop.
- Bring the needle up another link-length back, inside the new loop, and pull forward (toward the anchor end).
- Repeat, always stitching back toward the anchor.
Forward vs. reverse at a glance:
- Direction of travel: Forward moves away from you; reverse moves toward you.
- Best for: Forward suits long straight lines and lettering; reverse suits tight curves and stitchers who find the backwards motion more controlled.
- Finishing: Forward ends with an anchor stitch over the last loop; reverse ends at the original anchor, so the tail is already secured at the far end.
- Feel: Reverse requires slightly more setup but gives a cleaner start on curved stems.
How do you secure the last loop so it won't unravel?
Finishing correctly is what separates a chain that lasts from one that falls apart in the wash.
- Complete your final link as normal, bringing the needle up inside the last loop.
- Take the needle down over the top of that loop, just outside it, creating a small straight holding stitch that pins the loop flat. The RSN Stitch Bank describes this as the standard anchor method.
- Pull taut so the holding stitch lies flat against the fabric without distorting the link.
- Bury the tail by running the needle under several stitches on the back of the fabric, then trim close.
For decorative edges where you want a clean finish on both sides, a tiny knot before burying works fine. For practical projects that will be washed repeatedly, the holding stitch plus buried tail is more reliable than a knot alone.
Pro Tip: Before cutting your thread, flip the hoop over and check that the tail is woven under at least 2–3 stitches on the back. A tail secured under only one stitch will work loose over time.
What can you make with chain stitch variations?
The chain stitch's real strength is that it reads like a drawn line, which makes it ideal for anything that follows a curve: stems, lettering, monograms, and outlines. Work it in close parallel rows and it becomes a solid fill. The EGA frames it as a basic stitch with practically infinite variations, and that's not an exaggeration.
| Variation | What it looks like | Best use | Difficulty |
|---|---|---|---|
| Whipped chain | Chain with a contrasting thread woven through the links | Raised outlines, color-play borders | Beginner+ |
| Cable chain | Links separated by a small bar stitch | Geometric borders, heavier lines | Beginner+ |
| Detached chain (lazy daisy) | Single isolated loops | Flower petals, leaf clusters | Beginner |
| Knotted chain | Each link has a small knot at the base | Textured outlines, rustic designs | Intermediate |
| Dense chain filling | Rows of chain worked tightly side by side | Solid color fills, monograms | Beginner+ |
Makenstitch confirms that chain stitch is especially effective for cursive lettering and filling shapes when rows are worked tightly together. Whipped chain is the best first variation to try: you already know the base stitch, and adding a second thread color through the links takes about two minutes to learn.
Why does your chain look wrong, and how do you fix it?
Most problems trace back to one of five causes.
- Flattened links: You're pulling upward. Redirect the pull forward along the line of travel.
- Skipped loops: The needle came up outside the previous loop instead of inside it. Slow down and watch needle placement at step 3.
- Uneven spacing: Mark evenly spaced dots along your line with a marking pen before you stitch. Eyeballing spacing is harder than it looks at first.
- Fabric puckering: Hoop tension is too loose. Re-hoop and tighten until the fabric is drum-taut.
- Thread tangling: Cut working lengths to about 18 inches. Longer thread twists on itself and creates knots mid-stitch.
To fix a bad stretch, don't cut the thread. Use a seam ripper or the blunt end of a needle to gently lift and remove the problem links one at a time, then re-stitch from the last good link. Removing just two or three links is usually enough.
Pro Tip: Every 10–15 links, let your needle dangle freely and spin. This untwists the thread before tension builds up, and it takes about three seconds.
Practice exercises that actually build the right technique
Three short exercises cover everything a beginner needs to build consistent chain stitch technique.
Straight line drill (spacing focus). Draw a 4-inch straight line and stitch it end to end with 4mm links. Aim for three complete rows with even spacing before moving on. This is the fastest way to internalize the forward pull and consistent link size.
Gentle S-curve (curve control). Draw a shallow S-shape about 5 inches long. Stitch it twice. Curves reveal whether you're adjusting needle angle as the line changes direction. Shorter links (3mm) help on tighter bends.
Small filled teardrop (filling practice). Draw a teardrop shape about 1.5 inches tall. Fill it with rows of chain stitch, each row just inside the previous one. This exercise builds the patience and spacing control needed for the dense chain filling variation.
Photograph each completed exercise before you move on. Seeing your own progress across three or four sessions is more motivating than any tip. Flossom's WIP tracking tools make it easy to log photos and notes for each practice piece, so nothing gets lost between sessions.
Key Takeaways
The chain stitch forms rounded, even links when you bring the needle up inside the previous loop and pull the thread forward in the direction of travel, not upward.
| Point | Details |
|---|---|
| Core technique | Bring the needle up inside the loop and pull forward; pulling upward flattens the links. |
| Finishing method | Anchor the final loop with a small straight holding stitch, then bury the tail under back stitches. |
| Thread choice | Perle cotton gives an open, defined chain; matte stranded floss gives a denser look. |
| Best first variation | Whipped chain adds color and texture with no new base technique to learn. |
| Flossom | Track practice photos and manage your thread stash with Flossom's free project and stash tools. |
The part most tutorials skip
The single most underrated part of learning the chain stitch isn't the stitch itself. It's the finishing. Every beginner tutorial walks you through the loops, but half of them gloss over the anchor stitch at the end, and that's where the work falls apart, literally. A chain stitch line that isn't properly anchored will unravel from the tail end the first time it snags on anything.
The other thing worth saying: thread texture matters more than most beginners realize. Switching from stranded cotton to perle cotton on the same design changes the whole character of the stitch, not just the sheen. The EGA's point about matching thread texture to the intended visual effect is genuinely useful advice that most people only discover by accident after buying the wrong thread twice.
Chain stitch is also one of the few embroidery stitches with a direct line to more complex techniques. Once you can do a clean forward chain, whipped chain, cable chain, and detached chain are all within reach without learning a fundamentally new motion. That's a rare thing in embroidery, where most "advanced" stitches require starting from scratch.
Flossom helps you plan and track your stitch practice
Once you've got the chain stitch down, the next challenge is keeping your practice projects organized and your thread stash from turning into a tangled mystery. Flossom's free tier gives you an unlimited stash catalog, three active projects, and access to DMC and Anchor thread libraries, so you can log exactly which floss you used for each practice piece and never accidentally buy a duplicate.

The project time calculator is especially handy when you're planning a first real chain-stitch project and want a realistic estimate of how long it'll take. Pro users get all 55 supported thread brands, a camera color picker, and barcode scanning for fast stash entry. Start free, no subscription required, and add to your stash as you go.
Further reading and resources
Good visuals make a real difference when you're learning a stitch from scratch. These sources are worth bookmarking.
- RSN Stitch Bank: Chain Stitch — The Royal School of Needlework's reference entry covers technique, history, and the anchor method with authoritative detail.
- Embroiderers' Guild of America: Chain Stitch Tips — Practical guidance on thread choice, tension, and variations from one of the leading American embroidery organizations.
- Crafting Step-by-Step: How to Chain Stitch — Clear photo-driven steps with inline troubleshooting; good for visual learners.
- Makenstitch: Chain Stitch in Embroidery — Covers both the sewing and stab methods, plus creative applications like lettering and filling.
- Wikipedia: Chain Stitch — Useful for historical context, stitch variants, and the industrial/machine applications of chain-like stitches.
- Discount Swag: Screen Printing vs Embroidery — A practical look at how commercial embroidery compares to other decoration methods, useful if you're curious how hand techniques translate to machine production.
Recommended
We make Flossom — the calm app for cross-stitchers and embroiderers who want their stash, projects, fabric and shopping list in one tidy place.