Cross Stitch Project Size Categories: A Stitcher's Guide
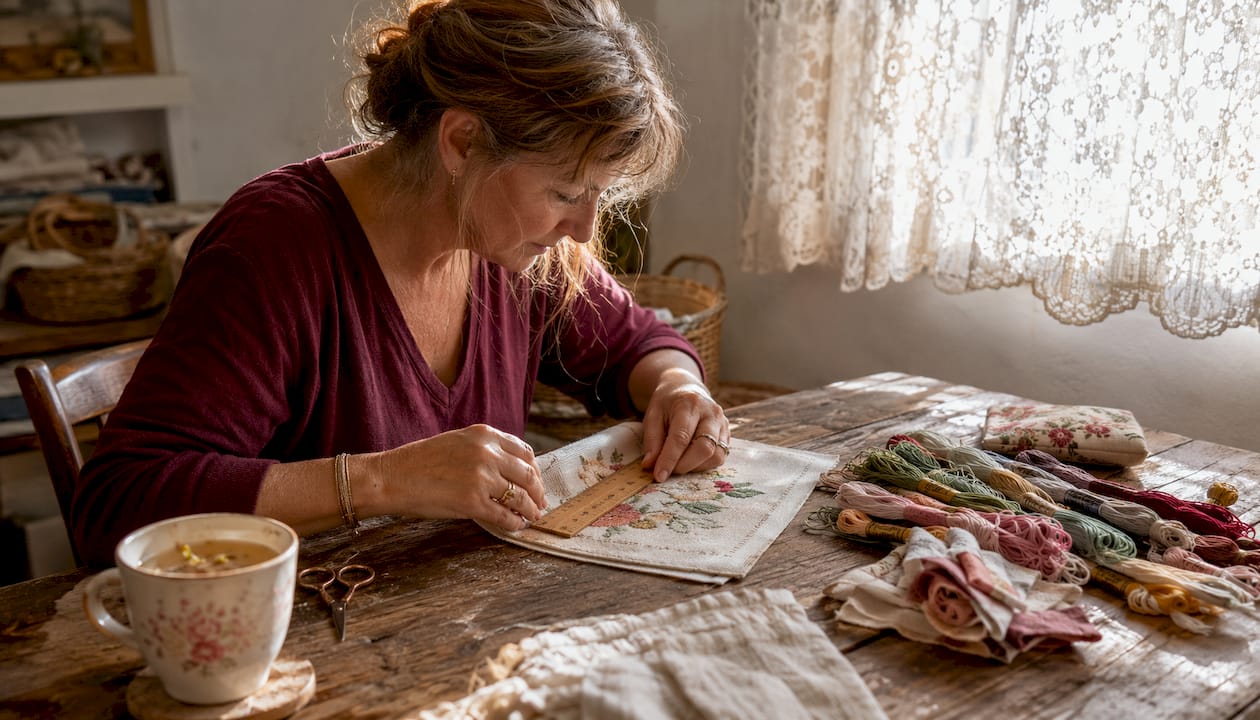
Cross Stitch Project Size Categories: A Stitcher's Guide ! Person measuring cross stitch project with ruler Cross stitch project size categories are defined by total stitch count first, finished dimensions second.
Cross Stitch Project Size Categories: A Stitcher's Guide
Cross stitch project size categories are defined by total stitch count first, finished dimensions second. The rule is simple: count the stitches in your pattern (width × height), then divide by your fabric count to get finished inches. Here are the five standard categories:
- Tiny: under 50×50 stitches (roughly 3.5×3.5 in on 14-count) — ornaments, bookmarks, gift tags
- Small: 50×50 to 100×100 stitches (3.5–7 in on 14-count) — cards, small frames, quick gifts
- Medium: 100×100 to 150×200 stitches (7.1–11 in on 14-count) — 8×10 frames, wall clusters
- Large: 150×200 to 220×280 stitches (11–16 in on 14-count) — statement wall pieces, 11×14 or 16×20 frames
- Epic: over 220×280 stitches — full-coverage samplers, heirlooms, anything that takes months
What shifts the perceived size of a project beyond raw stitch count:
- Fabric count: the same 100×100 pattern is 7.1 in on 14-count but only 5.6 in on 18-count
- Coverage: a fully filled background adds far more stitching time than an open, airy design at the same grid size
- Color count: jumping from 10 to 25+ colors multiplies thread changes and planning complexity
- Confetti stitches: isolated single stitches scattered across the design slow progress dramatically
- Specialty stitches: French knots, backstitching, and beads add hours that stitch count alone won't predict
Table of Contents
- What do the size categories look like in finished inches?
- How do you calculate finished size from stitch count?
- How long will a project actually take?
- Which project size fits your intended display or use?
- Can you resize a pattern without re-charting it?
- Planning checklist before you cut a single thread
- How Flossom helps you plan sizes, materials, and deadlines
- Key Takeaways
- The project you finish is better than the one you abandon
- Plan your next project with Flossom
- Useful calculators and references
What do the size categories look like in finished inches?
The table below maps each size bucket to finished dimensions at 14-, 16-, and 18-count Aida, along with typical US frame implications. The formula behind every cell is the same: finished inches = stitch count ÷ fabric count.
| Size Category | Stitch Count (W×H) | 14-count Aida | 16-count Aida | 18-count Aida | Typical US Frame |
|---|---|---|---|---|---|
| Tiny | 40×40 | — | — | — | No standard frame; hoop or ornament |
| Small | 50×50 | — | — | — | 5×7 (with mat) |
| Small–Medium | 100×100 | 7.1×7.1 in | 6.25×6.25 in | 5.6×5.6 in | 8×10 (with mat) |
| Large | 150×200 | 11×14.3 in | 9.4×12.5 in | 8.3×11.1 in | 11×14 or 16×20 |
| Epic | 220×280 | 16×20 in | 13.75×17.5 in | 12.2×15.6 in | 16×20 or custom |
One thing the table can't show: a 150×200 pattern with full background coverage stitches like a much larger project than a 150×200 silhouette on bare fabric. When you're comparing two patterns at the same stitch count, check the coverage before assuming they'll take similar time.
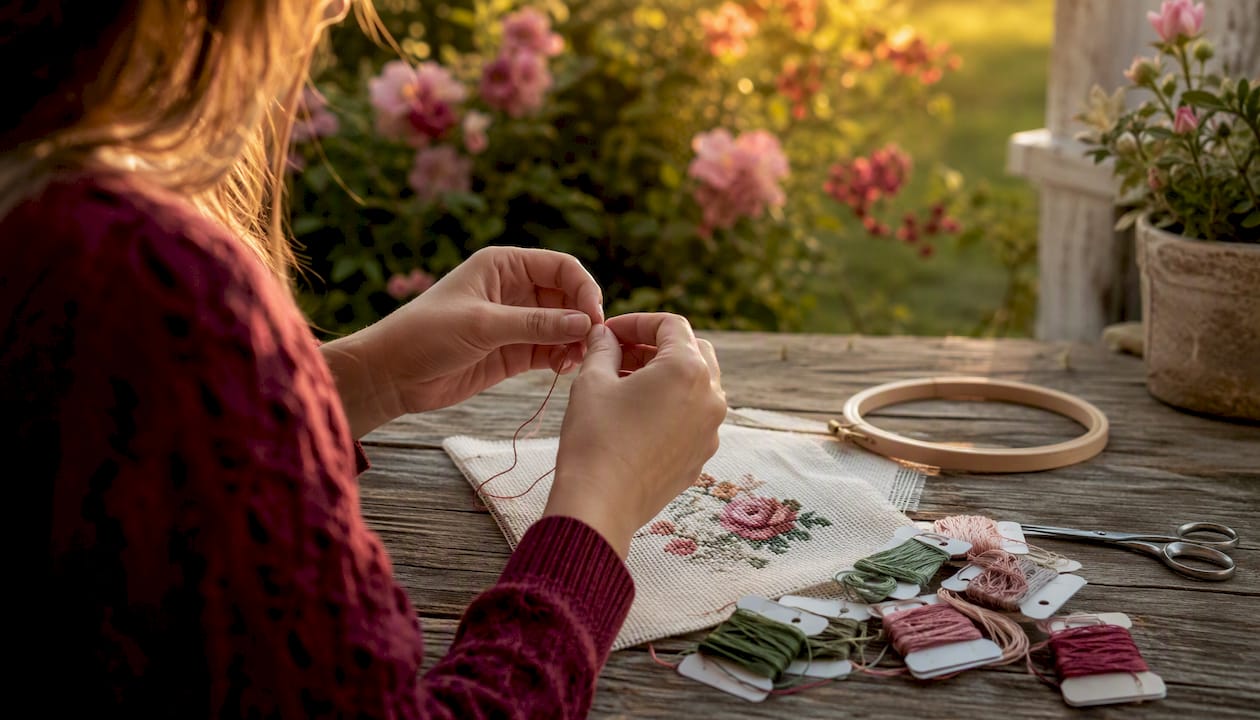
Standard US frame openings generally correspond to typical stitch count ranges on 14-count Aida fabric, facilitating framing choices for cross stitch projects.
How do you calculate finished size from stitch count?
The formula has two parts: the stitched area, and the fabric you actually cut.
Step 1 — Stitched area:
Finished inches = stitch count ÷ fabric count
Step 2 — Fabric cut size:
Fabric cut = stitched area + 3–4 inches per side for framing and finishing
So a 140×140 pattern on 14-count Aida gives you a 10×10 in stitched area. Add 3 inches per side and you cut a 16×16 in piece of fabric. Switch to 18-count and the same 140×140 pattern shrinks to 7.8×7.8 in stitched, with a 13.8×13.8 in fabric cut.
Worked examples:
- 140×140 on 14-count: 140 ÷ 14 = 10.0 in stitched → cut 16×16 in
- 140×140 on 18-count: 140 ÷ 18 = 7.8 in stitched → cut 13.8×13.8 in
- 200×150 on 16-count: 200 ÷ 16 = 12.5 in wide, 150 ÷ 16 = 9.4 in tall → cut 18.5×15.4 in
The fabric-size calculator at Flossom runs these numbers instantly, including the margin addition, so you don't have to do the arithmetic by hand every time.
Over-two stitching on evenweave or linen: when you stitch over two threads on 28-count evenweave, treat it as 14-count for all size math. Forgetting this step is one of the most common reasons stitchers end up with a finished piece that's half the size they expected.
Pro Tip: Always add your margin before you cut, not after. Cutting fabric to the exact stitched area and hoping to frame it later is how you end up buying a second piece of fabric.
How long will a project actually take?
Raw stitch count gives you a starting estimate, but complexity is what determines whether a project takes weeks or months. Stitch complexity including confetti stitches, French knots, and higher color counts increases difficulty significantly according to stitcher experience surveys — not simply with a larger grid.
Rough stitching times vary by project size, with smaller projects taking hours and epic projects potentially requiring multiple months, depending on complexity and coverage
These ranges assume moderate coverage and a typical color count. A medium-sized pattern with 30+ colors and heavy confetti can easily push into large-project territory for time. Moving from a 30×40 cm piece to a 40×50 cm piece can roughly double your total stitching time, so the jump between size categories is never linear.
Before you commit to a project, audit your available stitching time honestly:
- Estimate your personal stitching speed (most stitchers average 100–300 stitches per hour depending on the design)
- Multiply total stitch count by your per-hour rate to get a rough total-hours figure
- Divide by your realistic weekly stitching hours to get a week count
- Add 20–30% buffer for confetti, specialty stitches, and life interruptions
- If the result is longer than you want to commit, drop one size category or choose a higher fabric count
Pro Tip: Tracking multiple WIPs? Flossom's WIP progress tracker lets you log photos and stitch counts per project so you can see at a glance which ones are stalling before they become abandoned hoops.
Which project size fits your intended display or use?
The intended home for a finished piece should drive your size decision as much as personal preference. A piece that looks stunning on your worktable can disappear on a large wall, and a large pattern framed for a small shelf overwhelms the space.
| Use Case | Recommended Finished Size | Approx. Stitch Count (14-count) | US Frame Size |
|---|---|---|---|
| Ornament / gift tag | Under 3×3 in | under 50×50 | Hoop or no frame |
| Greeting card insert | 3×4 in | 50×50 to 100×100 | No frame |
| Small frame / desk | 5×7 in | 100×100 to 150×200 | 5×7 |
| Gallery wall cluster | 8×10 in | 154×196 | 8×10 |
| Bedroom focal piece | 11×14 in | 154×196 to 224×280 | 11×14 |
| Statement wall piece | 16×20 in+ | over 224×280 | 16×20 or custom |
For portrait work, aim for at least a 30×40 cm (roughly 12×16 in) finished size. At smaller dimensions, facial features lose definition and the piece reads as a blur from across the room. The Cavalier King Charles pattern in Flossom's free library is a good example of a portrait-scale design where finished size genuinely matters for the result.
A few practical rules for display:
- Viewing distance: pieces hung above a couch are typically viewed from 8–10 feet; at that distance, anything under 8×10 in tends to read as a small accent rather than a focal point
- Mat allowances: when using a mat inside a standard frame, your stitched area needs to be smaller than the frame opening — aim for the stitched area to be roughly 1.5–2 in smaller per side than the frame opening
- Avoid custom framing costs by designing or resizing your project to hit a standard frame opening; targeting standard sizes with a mat is almost always cheaper than custom framing
Can you resize a pattern without re-charting it?
Yes, and it's one of the most useful tricks in cross stitch. The stitch count is fixed in the pattern; the finished size is controlled entirely by your fabric count choice. Swap the fabric, keep every stitch the same.
Here's what that looks like in practice with a 150×200 pattern:
- On 14-count Aida: 11×14.3 in (fits a 16×20 frame)
- On 16-count Aida: 9.4×12.5 in (fits an 11×14 frame)
- On 18-count Aida: 8.3×11.1 in (fits an 11×14 frame with a mat)
Going up in fabric count (finer fabric) shrinks the finished piece. Going down (coarser fabric) enlarges it. The fabric types guide on the Flossom blog covers the full range of Aida and evenweave options if you want to explore beyond the standard three counts.
Other non-destructive resizing options:
- Add a border: stitching a simple geometric border around the design adds stitches without changing the original chart, effectively increasing finished size
- Change the mat width: a wider mat inside the same frame makes a smaller piece feel more substantial
- Crop to a focal area: for a large pattern you want to finish quickly, stitch only the central motif and frame it as a standalone piece
Pro Tip: When switching between Aida and evenweave, or stitching over two on linen, always recalculate your fabric cut size from scratch. The effective count changes, and so does the margin you need to add.
Planning checklist before you cut a single thread
Getting the planning right before you start saves you from the two most common and expensive mistakes: cutting fabric too small and running out of a discontinued thread color mid-project.
Work through this list before you buy anything:
- Confirm the stitch count from the pattern (width × height in stitches)
- Choose your fabric count based on desired finished size and your eyesight comfort
- Calculate finished stitched area (stitch count ÷ fabric count for each dimension)
- Add framing margins — 3–4 inches per side minimum; 4 inches if you plan to lace or stretch
- Compute your fabric cut size and buy at least that size, ideally slightly larger
- Count required floss colors and cross-reference against your stash before ordering
- Flag confetti-heavy sections in the pattern and add extra time buffer for those areas
- Note any specialty stitches (French knots, beads, specialty threads) and source materials early
- Plan your backing and finishing method — hoop, frame, card, or ornament form — before you start, since each has different margin requirements
Common mistakes and quick fixes:
- Not adding margins: you realize after stitching that there's not enough fabric to frame. Fix: always calculate cut size before cutting, never after.
- Underestimating confetti time: a pattern looks manageable until you hit a sky full of isolated single stitches. Fix: scan the pattern for confetti density before committing to a deadline.
- Ignoring blended threads: patterns using two-strand blends from different colors double your thread management. Fix: plan material needs before you start, not mid-project.
- Buying fabric to the exact stitched size: leaves no room for error. Fix: always add the full margin.
How Flossom helps you plan sizes, materials, and deadlines
Flossom is built around exactly the planning problems this article describes. The fabric-size calculator takes your stitch count and fabric count, applies the formula, and adds your chosen margin automatically. No arithmetic, no second-guessing.
The core workflow looks like this:
- Upload your pattern (PDF or photo) to Flossom and confirm the stitch count
- Run the fabric-size calculator to get your stitched area and cut size at your chosen fabric count
- Add required floss colors to your project and compare against your existing stash
- Generate a shopping list for anything you don't own, with quantities calculated from the pattern
- Use the thread converter if your pattern calls for a brand you don't stock — Flossom covers 55 thread brands and converts between them instantly
Key Flossom features that directly reduce sizing and planning mistakes:
- Fabric-size calculator with margin control
- Pattern upload for PDF and photo patterns
- Stash comparison that flags what you already own vs. what the pattern needs
- Auto-generated shopping lists with quantities
- 55-brand thread conversion including DMC, Anchor, and dozens more
- WIP photo tracking to monitor progress across multiple projects
- Low-stock alerts so you reorder before you run out mid-project
The free tier covers DMC and Anchor with up to 3 projects, which is plenty to test the full planning workflow on your next small or medium project.
Key Takeaways
Stitch count is the single most reliable axis for classifying any cross stitch project, and finished size is always a function of stitch count divided by fabric count.
| Point | Details |
|---|---|
| Five size categories | Tiny (under 50×50), Small (50–100), Medium (100×100 to 150×200), Large (150×200 to 220×280), Epic (over 220×280) — all measured in stitches per side. |
| Fabric count controls size | The same 100×100 pattern is 7.1 in on 14-count and 5.6 in on 18-count; change the fabric, not the chart. |
| Always add framing margins | Add 3–4 inches per side to your stitched area before cutting fabric for professional framing or lacing. |
| Complexity beats size for difficulty | Confetti stitches, French knots, and 25+ color counts increase effort faster than a larger grid alone. |
| Flossom for planning | Flossom's fabric-size calculator, stash comparison, and auto-generated shopping lists handle the math and material planning before you cut a single thread. |
The project you finish is better than the one you abandon
There's a version of this conversation that focuses entirely on technique and math, and then there's the version that actually matters: will you finish it?
The most common reason stitchers stall isn't that a project is too hard. It's that they chose a size that doesn't fit their real life. A 200-hour epic started in January with a March deadline is a recipe for a hoop that lives face-down on a shelf for two years. That's not a failure of skill. It's a planning mismatch.
The size categories in this article aren't just organizational labels; they're a reality check. If your weekly stitching window is four hours, a large project will take you six months minimum. That's fine if you know it going in. What kills motivation is discovering it three weeks into a pattern you thought you'd finish by summer.
Starting smaller builds the kind of momentum that actually sustains a hobby long-term. A finished small project feels better than a half-done large one every single time. Once you've completed a few small and medium pieces, you have a real sense of your pace, your preferences, and which complexity factors slow you down most. That knowledge is worth more than any size chart.
Plan for the stitcher you are right now, not the one you imagine having unlimited evenings.
Plan your next project with Flossom
Knowing your size category is step one. Getting the fabric cut right, the floss quantities accurate, and the shopping list ready before you start is where most projects either succeed or stall.
Flossom handles all of it in one place: calculate your finished size and fabric cut, check what you already own against what the pattern needs, and generate a shopping list for the gaps. Try a pattern from the free pattern library to run through the full workflow at no cost. The free tier covers DMC and Anchor with three projects, which is enough to see exactly how the planning tools work before committing to Pro.

Start with the fabric-size calculator, add your pattern, and let Flossom tell you what to buy and what you already have.
Useful calculators and references
| Resource | What it helps with |
|---|---|
| Flossom Fabric-Size Calculator | Converts stitch count to finished size and fabric cut at any Aida or evenweave count, with margin control |
| StitchLark Framing Cheat Sheet | Maps stitch counts to standard US frame openings (5×7 through 16×20) with mat guidance |
| StitchPatternMaker Count Guide | Explains the fabric-count effect with worked examples across 14-, 16-, and 18-count Aida |
| Lost in Cross Stitch Fabric Calculator | Covers evenweave and linen over-two calculations alongside standard Aida |
| CrossStitchVienna Difficulty Guide | Breaks down complexity factors (confetti, color count, specialty stitches) with survey data |
| Stitchly Studio Size Guide | Time estimates by finished size and advice on portrait dimensions for room-distance viewing |
Recommended
We make Flossom — the calm app for cross-stitchers and embroiderers who want their stash, projects, fabric and shopping list in one tidy place.