
What Is Cross Stitch? A Beginner's Guide to Getting Started
What Is Cross Stitch? A Beginner's Guide to Getting Started !
What Is Cross Stitch? A Beginner's Guide to Getting Started
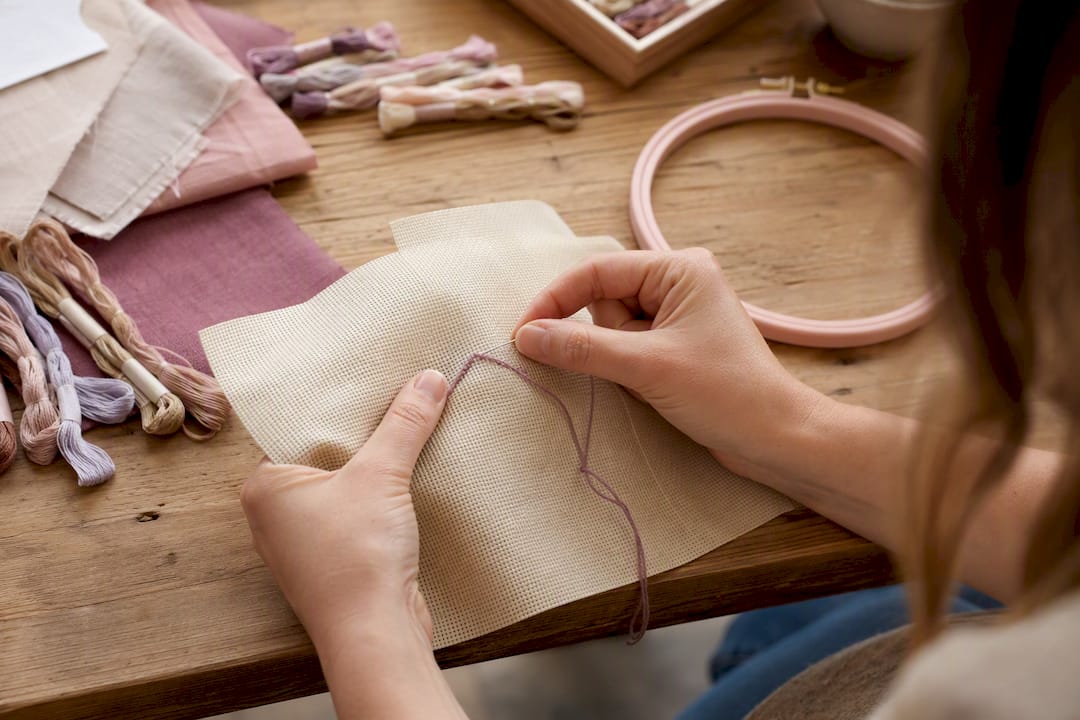
Cross stitch is a form of counted-thread embroidery where you form little X-shaped stitches across a grid of fabric to build up a picture, one square at a time. It belongs to the broader embroidery family, but it works on a stricter system: you follow a chart, count squares, and place each stitch in an exact spot rather than drawing freehand with a needle.
Cross stitch splits into two methods: counted cross stitch, where you count squares on blank fabric and place every stitch yourself, and stamped cross stitch, where the design is already printed on the fabric and you just stitch over it. Counted is more common and more flexible.
If you want to start today, buy a beginner kit built around 14-count Aida cloth, a few skeins of DMC floss, and a size 24 tapestry needle. Stitch one full X. That's it. You've just done the whole craft in miniature, and everything else in this guide builds from there.
Key Takeaways
Cross stitch is counted-thread embroidery built from X-shaped stitches on evenweave fabric, and a $10 to $20 kit with 14-count Aida is enough to start today.
| Point | Details |
|---|---|
| Definition | Cross stitch uses X-shaped stitches counted onto a grid of evenweave fabric like Aida. |
| Pick counted over stamped | Counted patterns transfer to any future design; stamped locks you into one preprinted layout. |
| Buy fabric, floss, and needle together | A matched kit with 14-count Aida, DMC floss, and a size 24 needle avoids sizing mismatches. |
| Master the full cross first | It's the foundational stitch behind most of any pattern, with fractional stitches added for detail. |
| Keep stitch direction consistent | A uniform top diagonal across your piece produces the smooth, professional surface beginners chase. |
| Track your stash as it grows | Flossom catalogs thread and fabric by brand and color and builds shopping lists from what a pattern still needs. |
Table of Contents
- What Is Cross Stitch, Exactly?
- Cross Stitch Supplies Every Beginner Needs
- How Do You Read a Cross Stitch Pattern?
- The Basic Stitches Every Beginner Should Learn
- Your First Cross Stitch Project, Step by Step
- How Long Does It Take and What Does It Cost?
- Common Beginner Mistakes and Quick Fixes
- Where to Find Patterns, Kits, and Support
- Cross Stitch Terms Every Beginner Should Know
- Why the Fussy Details Actually Matter Here
- How Flossom Helps You Get Started Without Overbuying
- Sources
What Is Cross Stitch, Exactly?
At its core, cross stitch is a grid discipline. Every full stitch is two diagonal lines crossing to form an X, worked over one square of fabric, and thousands of those X's stacked together produce the finished image. The fabric itself acts as a built-in graph: you're not sketching, you're counting.
Cross stitch traces back to marking samplers, pieces stitched centuries ago to practice letters, numbers, and motifs on linen. What started as a practical skill for marking household linens has turned into a decorative art form, and today's stitchers often work from computer-generated charts or even convert their own photos into patterns, using the exact same X-shaped stitch that's been around for generations.
The practical choice you'll make early on is counted versus stamped:
- Counted cross stitch: you work from a chart onto blank fabric, counting threads or holes to place each stitch. This is the standard for most patterns sold today and gives you total control over fabric choice and size.
- Stamped cross stitch: the design is preprinted directly onto the fabric in light color, and you stitch over the marked X's. It's forgiving for kids or absolute beginners who find counting intimidating, but you're locked into whatever fabric and size the kit provides.
Most adult beginners start with counted kits because the skill transfers to any pattern you find later, while stamped kits are more of a training-wheels option.
Cross Stitch Supplies Every Beginner Needs
You don't need much to start, and that's part of the appeal. A basic setup costs less than a dinner out and fits in a small bag.
Here's the core list:
- Fabric: 14-count Aida is the standard beginner recommendation. "Count" refers to the number of stitches per inch, so 14-count means 14 tiny squares per inch, a size that's visible enough to count comfortably but fine enough to look polished.
- Embroidery floss: DMC and Anchor are the two dominant brands, sold as six-strand skeins you separate into thinner strands before stitching.
- Tapestry needle: blunt-tipped so it slides between fabric threads instead of piercing them. Size 24 pairs well with 14-count Aida.
- Hoop or frame: keeps fabric taut while you stitch, which matters more than it sounds.
- Scissors: small, sharp embroidery scissors for snipping thread close to the fabric.
- A pattern: printed chart, PDF, or preprinted stamped design to follow.
Fabric count changes everything about how a project looks and feels. Lower counts like 11 or 14 have bigger, more visible squares, which makes them easier on the eyes and faster to finish. Higher counts like 18, 22, or even 40 pack in far more detail but demand sharper vision and patience, since threads per inch commonly range from 11 to 40 depending on the fabric.
When you're buying your first supplies, prioritize fabric, needle, and floss together rather than piecing them together separately. A reputable starter kit bundles all three at the right proportions, which removes the guesswork of matching needle size to fabric count.
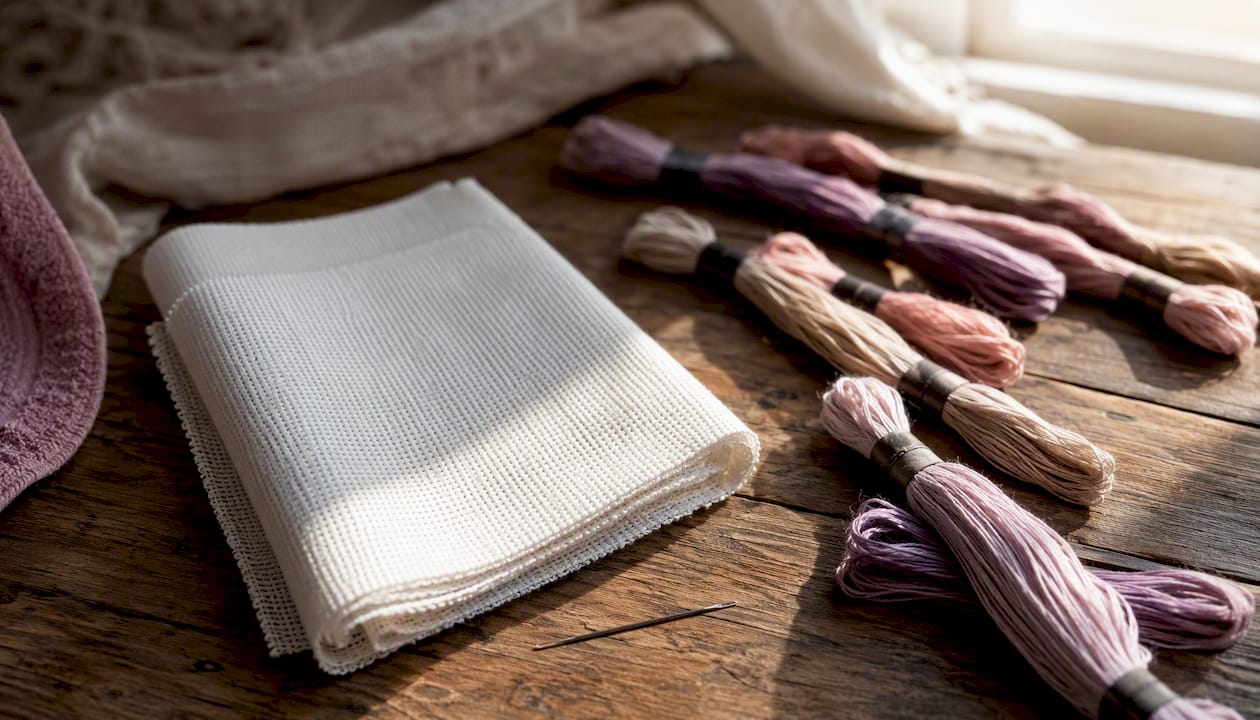
Pro Tip: Six-strand floss needs separating before you stitch. For 14-count Aida, pull two strands apart from the skein and thread those through your needle. Using all six strands makes stitches look bulky and hides the crisp X pattern that makes cross stitch look clean.
How Do You Read a Cross Stitch Pattern?
A cross-stitch pattern, or chart, is a grid of colored squares and symbols that maps directly onto your fabric. Each square on the chart represents one full cross stitch on your fabric, and every symbol corresponds to a specific floss color listed in a key, sometimes called a legend.
Say a chart uses a filled dot symbol, and the legend tells you that dot equals DMC 310, which happens to be black. Every time you see that dot on the chart, you stitch a black X in the matching spot on your fabric. Multiply that by a few dozen symbols and colors, and you've got the full instruction set for a design.
Before stitching, find your pattern's center point, usually marked with arrows on the edges of the chart pointing inward, or a small crosshair in the middle. Fold your fabric in half, then in half again, and the center point is where those folds meet. Starting from the middle and working outward keeps your design centered on the fabric instead of running off one edge.
A few extra things to watch for on charts:
- Multi-page charts: larger designs split across several pages that fit together like a puzzle; check page overlap markers so sections align correctly.
- Backstitch lines: shown as solid lines rather than squares, usually added after the cross stitches to outline shapes or add fine detail like facial features or lettering.
- Fractional stitches: half and quarter stitches appear as triangles instead of full squares on the chart, signaling a partial stitch rather than a full X.
Once you can decode a legend and locate your center point, you can follow almost any pattern you find, regardless of who designed it.
The Basic Stitches Every Beginner Should Learn
The full cross stitch is the one stitch you need to master first, since it makes up the vast majority of any design. Everything else is a supporting technique layered on top.
Here's how to make a full cross stitch, step by step:
- Bring your threaded needle up through a hole in the fabric from the back.
- Cross diagonally and insert the needle down through the hole diagonally opposite, forming the first half of the X.
- Bring the needle back up through the hole below where you just went down.
- Cross diagonally the other direction and insert the needle down to complete the X.
- Repeat for each square, keeping tension even so stitches lie flat without puckering the fabric.
Beyond the full cross, a handful of supporting stitches round out most patterns:
- Half stitch: just one diagonal instead of a full X, used for soft shading or subtle backgrounds.
- Quarter stitch: a single small diagonal covering a quarter of the square, used for curves and rounded edges.
- Three-quarter stitch: combines a half stitch and a quarter stitch, common where curves need extra definition.
- Backstitch: straight or slightly angled lines stitched after the crosses, used for outlines, text, and fine detail.
- French knot: a small wrapped knot sitting on the surface, often used for eyes, berries, or small dots.
The full cross remains the foundation that carries most of any design, with the fractional stitches and backstitch reserved for the finishing touches that make a piece look finished rather than blocky.
Strand count depends on fabric: two strands work well on 14-count Aida, while finer 18 or 22-count fabric often calls for just one strand. To end a thread cleanly, weave the tail under several stitches on the back rather than tying a knot, which can create lumps visible from the front.
Pro Tip: Keep your top diagonal stitch running the same direction across your entire piece, whether that's bottom-left to top-right or the reverse. This consistency is what gives finished cross stitch that smooth, uniform surface professional-looking pieces have, versus a scattered, uneven texture.
Your First Cross Stitch Project, Step by Step
A small 6 by 6 inch sampler using four to six colors is the ideal first project. It's big enough to feel like a real accomplishment, small enough to finish in a reasonable stretch of time, and simple enough that mistakes are easy to spot and fix.
Here's the order of operations:
- Cut your Aida fabric with at least 3 inches of extra margin around your planned design, so you have room to hoop it and finish the edges later.
- Mount the fabric in your hoop, pulling it drum-tight but not so tight the weave distorts.
- Fold the fabric to find the center point, matching it to your pattern's center marks.
- Thread your needle with the correct number of strands for your fabric count.
- Stitch your first row, working left to right or in small blocks of the same color to minimize how often you rethread.
- Add backstitch details last, once all the full crosses are in place.
- Remove the hoop, hand wash gently in cool water if needed, and lay flat to dry.
- Iron face down on a towel with a pressing cloth on top, then frame or finish as desired.
For stitch counts, a simple 6 by 6 inch design on 14-count Aida runs somewhere around 5,000 to 7,000 individual stitches depending on how much of the space you fill versus leave blank. That sounds like a lot, but working in short daily sessions makes it manageable fast.
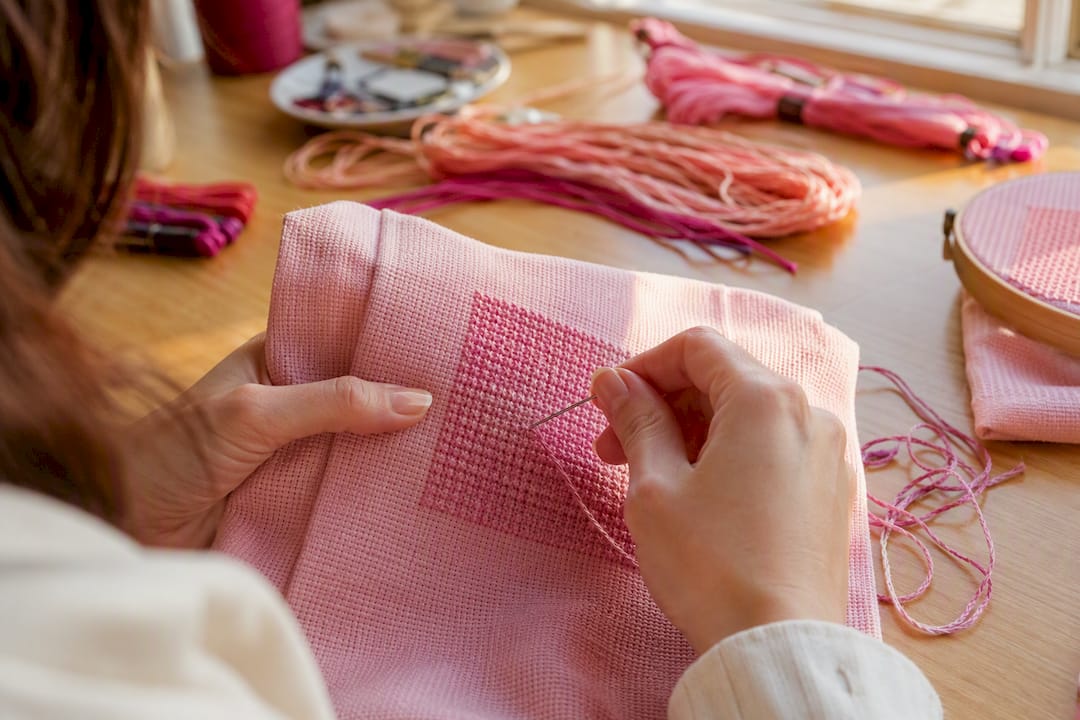
Work in rows within a single color block rather than jumping randomly across the pattern. It's faster and keeps your thread tension consistent. Save backstitch for the very end since it's easier to see where outlines belong once the color blocks are already in place. If you're working from a printed tutorial or kit instructions, look for a stitch diagram showing the needle's up-and-down path. A visual reference clears up confusion faster than written steps alone, especially for your first few X's.
How Long Does It Take and What Does It Cost?
A small starter project of modest size with a handful of colors is realistic to finish over a weekend with several hours of stitching per day, or across a few weeks when done in shorter sessions. Fabric count and design complexity change this math fast: higher counts and denser designs slow you down, while big, blocky patterns on 11-count fabric go quickly.
Budget wise, cross stitch is one of the cheaper crafts to start:
- Low end ($10 to $20): a basic starter kit with fabric, floss, needle, and a simple pattern already matched and included.
- Mid range ($25 to $60): kits with more colors, a hoop or small frame included, and a more detailed design.
- Optional extras: quality wooden hoops, needle organizers, or premium floss brands beyond the basics, which add polish but aren't required to finish your first piece.
Most starter kits include everything listed above in one box, and buying a matched kit is the easiest way to avoid mismatched fabric counts and needle sizes on your first attempt.
Common Beginner Mistakes and Quick Fixes
Almost every stitcher hits the same handful of snags early on. None of them are hard to fix once you know what's happening.
- Miscounted squares: if your pattern suddenly doesn't line up, "frog" back (rip out stitches) to your last known correct point and recount from there rather than guessing forward.
- Wrong color used: unpick only the affected stitches, not the whole section, and double check the symbol against your legend before restitching.
- Tension too tight: fabric puckering usually means you're pulling too hard; relax your grip and, if it's already distorted, sometimes rethreading with slightly looser tension fixes it going forward.
- Losing your place on a chart: use a highlighter, washable marker, or a printed grid overlay to track completed rows as you go.
For finishing, hand wash gently in cool water with mild soap if the fabric picked up any oils from handling, then lay flat on a towel to dry rather than hanging it. Once dry, iron it face down on a towel with a pressing cloth between the iron and fabric, using low heat, to avoid flattening the texture of your stitches.
Where to Find Patterns, Kits, and Support
Reliable starter kits and patterns show up through independent pattern designers, craft stores, and long-running online shops that specialize in counted cross stitch. Look for sellers who list fabric count and floss brand clearly in the product description; that transparency usually signals a well-put-together kit rather than a vague bundle.
Community matters more than most beginners expect. Local needlework guilds and craft groups offer in-person help when you're stuck on a technique, while online forums, cross-stitch hashtags on social platforms, and video tutorials fill in the gaps between projects. For a broader historical and technique reference, groups like the Embroidery Guild of America maintain educational resources worth a look once you're past the absolute basics.
Once you own more than one skein of floss, organizing your thread stash becomes worth thinking about early rather than after you've lost track of what you own. The same goes for storing patterns and project notes somewhere you can find them again, especially once you have more than one project going.
Cross Stitch Terms Every Beginner Should Know
- Aida: an evenweave fabric with a visible grid, the standard beginner choice.
- Evenweave: any fabric woven with the same thread count in both directions, used for counted work.
- Count: the number of stitches per inch a fabric supports.
- Full cross: two diagonal stitches forming a complete X, the base unit of the craft.
- Half stitch: a single diagonal, used for shading.
- Quarter stitch: a small diagonal covering part of a square, used for curves.
- Backstitch: straight-line stitching used for outlines and lettering.
- Skein: a bundled length of floss as sold in stores.
- Stranded floss: six-strand thread you separate before stitching.
- Tapestry needle: a blunt needle designed to pass between fabric threads.
- Chart/legend: the pattern grid and its accompanying color key.
Why the Fussy Details Actually Matter Here
Most beginner guides treat fabric count and strand count as fine print. They're not. Get the strand count wrong on your first project and everything looks off, even if every stitch is technically correct, because bulky six-strand X's on fine fabric read as amateur no matter how careful your counting was.
The part conventional advice underplays is how much stitch direction consistency affects the finished look. It's not a cosmetic nitpick, it's the difference between a piece that looks machine-clean and one that looks handmade in the rough-edged sense. Beginners fixate on getting colors right and undercount how much the direction of that top diagonal matters across dozens of stitches.
The other overlooked reality: cross stitch punishes disorganization more than most crafts. You'll accumulate floss fast, and duplicate DMC numbers pile up quietly until you're staring at three identical shades of cream wondering which project they belong to. That's less a beginner problem and more a permanent one, which is part of why tools built specifically for tracking stash by brand and color exist at all.
How Flossom Helps You Get Started Without Overbuying
Once you own more than a couple of kits, the real challenge stops being the stitching and starts being the logistics. Flossom catalogs your thread and fabric stash across DMC and Anchor on the free tier, so you can see exactly what colors you already own before ordering more.

Beyond stash tracking, Flossom compares what a pattern actually calls for against what's already sitting in your craft box and builds a shopping list from the gap, which means you stop buying a duplicate skein of DMC 310 for the third time. It also tracks your works in progress with photos, so switching between projects doesn't mean losing your place. If you want a realistic sense of how long your next design will take before you start, try the project time calculator and get an estimate based on stitch count and pace, then start your first project with a clearer picture of what you're signing up for.
Sources
- Cross-stitch
- Cross Stitch Starter Kit Essentials: Complete Beginner Guide 2025 - Cross Stitch Boutique
- Cross-stitch Stitches: Types, Charts & How to Use Them - waldev
Recommended
We make Flossom — the calm app for cross-stitchers and embroiderers who want their stash, projects, fabric and shopping list in one tidy place.