
How to Store Embroidery Designs and Notes for Stitchers
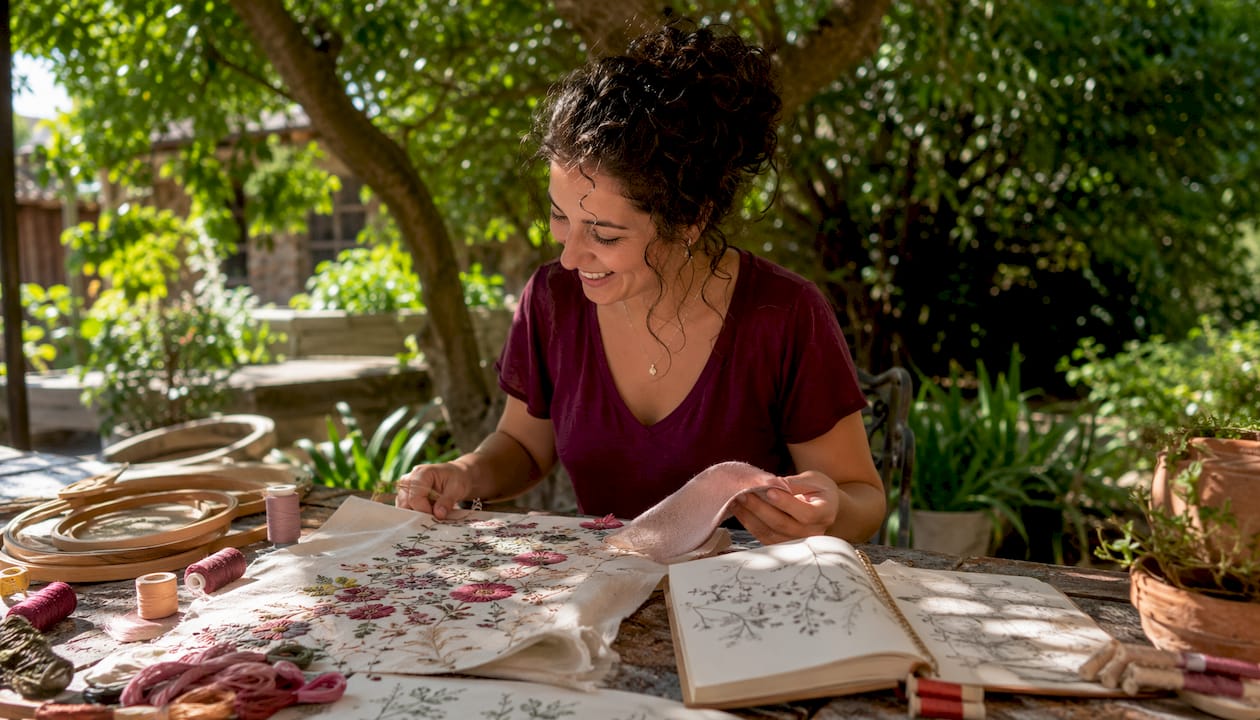
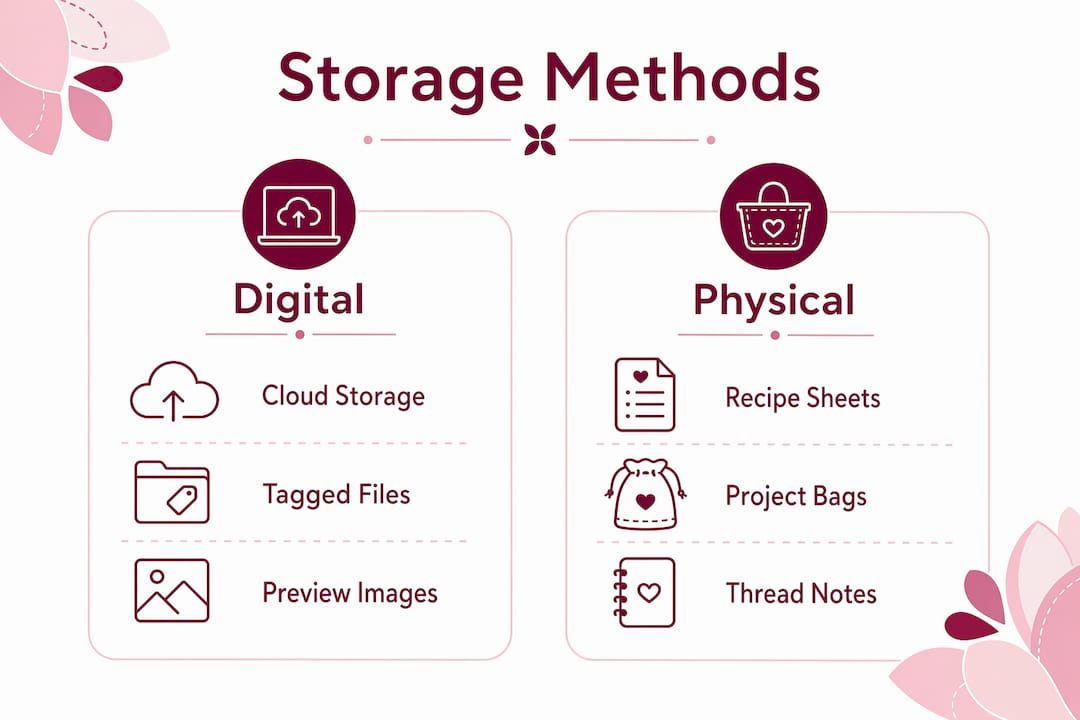
How to Store Embroidery Designs and Notes for Stitchers ! Craftsperson organizing embroidery notes and designs The simplest system: keep a searchable digital library for your pattern files and a pocket notebook (plus labeled project bags) for live session notes.
How to Store Embroidery Designs and Notes for Stitchers
The simplest system: keep a searchable digital library for your pattern files and a pocket notebook (plus labeled project bags) for live session notes. Start today by saving a preview image of your active pattern, tagging it with three descriptors, and writing one "recipe" page in a dedicated notebook.
Quick setup checklist:
- Save a preview image of your current design and tag it (theme, hoop size, color family)
- Open a pocket notebook and write the project name, thread codes, fabric, and needle size
- Pack all supplies for that project into one labeled bag
Pro Tip: Simone, who writes for Flossom and has organized dozens of WIPs, recommends starting with just one project. Get that recipe sheet done before touching a second WIP. Flossom's support for 55 thread brands makes cross-referencing color codes fast—even when you're switching between DMC and Anchor mid-project.
Table of Contents
- Why you need both digital files and a physical notebook
- How to build a searchable digital library for your designs
- How to write physical notes and build a one-page recipe sheet
- How to manage multiple WIPs with project bags and labels
- How to track your thread and fabric stash to avoid duplicate purchases
- A step-by-step workflow from pattern import to finished archive
- How to back up and archive your designs for the long term
- Key Takeaways
- The system that actually changed how I stitch
- Flossom covers the digital half of this system
- Useful sources and further reading
Why you need both digital files and a physical notebook
Digital storage is searchable, backed up, and shareable. A physical notebook is immediate. You can't sketch a stitch modification into a cloud folder while you're at the hoop, and you can't keyword-search a spiral-bound book at midnight when you're wondering if you already own DMC 3722.
Keeping a dedicated notebook is an act of reflection and skill-building. Recording what failed is as valuable as recording what worked — because next time, you won't repeat a color combination that looked wrong in person even though it looked right on screen.
The failure modes are predictable. Use only digital files and you'll forget the tension tweak you made on row 12. Use only a notebook and you'll lose the pattern PDF when your laptop dies. The hybrid approach closes both gaps.
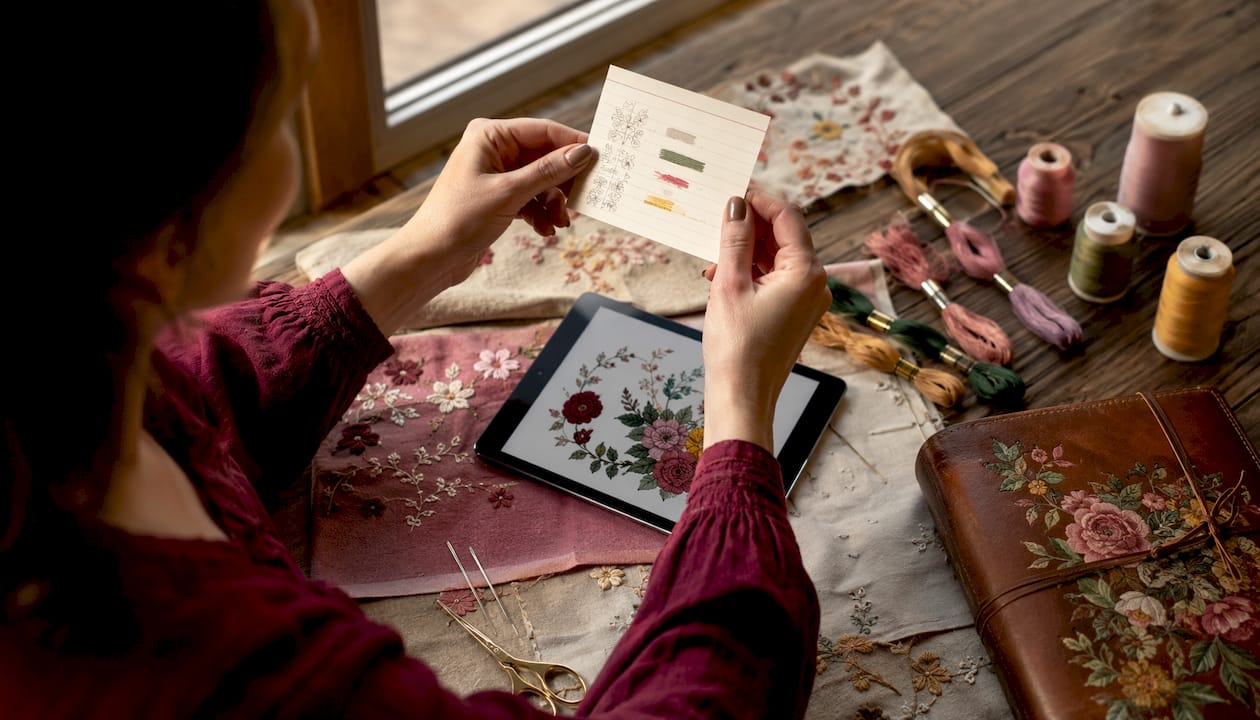
Pro Tip: If you're stitching away from home, a small index card tucked into the project bag works as a temporary note. Transfer it to your notebook and digital record the same evening.
How to build a searchable digital library for your designs
A well-organized digital library pays off the moment your collection hits 30 or 40 patterns. Folders alone stop working at that scale. The fix is a preview image plus a consistent tag set for every file.
Step-by-step setup:
- Ingest the file. Drop the pattern PDF or design file into your storage location (a dedicated folder, a cloud drive, or an app like Flossom).
- Generate or attach a preview image. A thumbnail you can actually see beats a cryptic filename every time. Visual preview plus tags speeds retrieval far more than nested folders with cryptic names.
- Apply a filename convention. Keep it short:
motif_hoopsize_primarycode— for example,bluebird_5x7_DMC311orautumn-wreath_4x4_DMC3826. - Add a minimum tag set. Theme, color family, hoop size, fabric type, stitch type. A single design can belong to several categories, so tag generously.
- Back it up. One local copy, one cloud copy, and a periodic CSV export of your metadata.
Suggested tags: floral, geometric, seasonal, small-hoop, large-hoop, two-color, linen, aida, satin-stitch, cross-stitch
| Approach | Works well when | Breaks down when |
|---|---|---|
| Folder-only | Collection is under 30 files | Files multiply and names get cryptic |
| Tag + preview | Collection grows past 30 files | Tags are inconsistent or skipped |
| App with metadata | You want search, backup, and brand conversion | Overkill for a single active project |
One caution worth knowing: some stitchers add notes directly inside their digitizing files using a high-visibility color. That works as a quick flag, but always keep a clean production copy separate from the annotated version so instruction text never ends up stitched into a finished piece.
How to write physical notes and build a one-page recipe sheet
The recipe sheet is the single most useful document you can create for any project. One page, kept with the pattern, that makes the project fully reproducible six months from now.
The variables most stitchers forget are exactly the ones that matter most: the specific thread brand and color number, the stabilizer weight, the needle size, and any stitch modifications made during sew-out. Without those, reproducing a project is guesswork.
Recipe sheet fields to include:
- Project name and start date
- Preview photo (printed or taped in)
- Thread brand, color codes, and color names (full list)
- Fabric type, count, and color
- Needle size and type
- Stabilizer (if applicable)
- Stitch order and any modifications
- Total worked time
- Final hoop or finished size
- What didn't work (color swaps rejected, tension issues, stitch changes)
Keep the notebook open during your session. Photographing thread labels with your phone is the fastest way to capture exact color numbers without stopping to write them all out. Transfer the photos to the recipe sheet later.
Pro Tip: The "what didn't work" field is the one most stitchers skip. Fill it in anyway. That single line prevents you from making the same mistake on the next project.
How to manage multiple WIPs with project bags and labels
One project, one bag. That rule alone eliminates most of the chaos that comes with juggling multiple WIPs.
Individual project bags containing all the supplies for a single project reduce search time and prevent threads from migrating between projects. Practitioners also report stitching more often when a project is grab-and-go ready.
What goes in each bag:
- Hoop or frame (sized for the project)
- All threads for that project, labeled with color codes
- Needles and small scissors
- A printed or handwritten copy of the pattern
- The recipe sheet (or a card with the key fields)
- A small notepad or index cards for session notes
Label the outside of the bag with the project name, start date, target finish date, and priority. Before you put the bag away after a session, take a quick photo of the bag contents and the area of the pattern you just worked. That photo becomes your "where I left off" marker.
For momentum, try a simple mini-policy: work on one project per day, or commit to at least 15 minutes on a project before switching. Both approaches keep progress visible without mixing supplies.
Pro Tip: For tracking multiple WIPs across several bags, a sticky label on the outside with a priority number (1 = most urgent) keeps you from always defaulting to the easiest project.
How to track your thread and fabric stash to avoid duplicate purchases
A basic inventory prevents the most common stitcher frustration: buying a skein you already own.
| Field | What to record |
|---|---|
| Brand | DMC, Anchor, Madeira, etc. |
| Color code | Exact number (e.g., DMC 3722) |
| Color name | Descriptive name from the brand |
| Skein count | Full and partial skeins |
| Location | Drawer, box, or bag label |
| Substitute notes | Equivalent codes in other brands |
| Last-used date | Helps identify unused stock |
For thread stash organization, the substitute notes field is especially useful. If you run out of DMC 3722 mid-project, a recorded Anchor equivalent saves a trip to the store. Set a low-stock threshold (one skein remaining, for example) and flag those colors before you start a new project. That flag becomes your shopping list.
After finishing a project, reconcile your inventory: update skein counts, note any partial skeins, and record which colors were used. Export to CSV periodically so your inventory survives a phone upgrade or app change.
Pro Tip: Record partial skeins separately from full ones. A partial skein of an expensive overdyed thread is still usable, but only if you know it exists.
A step-by-step workflow from pattern import to finished archive
This is the full loop, from the moment you find a pattern to the moment it's filed away.
- Import and preview. Save the pattern file, attach a preview image, and add three tags minimum.
- Plan materials. Check your inventory against the pattern's thread list. Note what you need to buy before you start.
- Pack the project bag. Gather all supplies, label the bag, and tuck in a blank recipe card.
- Stitch with session notes. Keep the notebook open. Photograph thread labels. Note any changes as they happen.
- Finalize the recipe sheet. After the last stitch, fill in the complete thread list, stitch modifications, total time, and finished size.
- Archive in the digital library. Update the file's tags to include
completed, add a final photo, update your inventory quantities, and move the file to an "Archived" folder or tag.
Archival checklist:
- Final photo attached to the digital record
- Inventory quantities updated
- Recipe sheet filed with the pattern (physical) and scanned or photographed (digital)
- File tagged
archivedand moved out of the active project view
How to back up and archive your designs for the long term
The core recommendation is two local copies plus one cloud copy, with a periodic CSV export for your inventory and metadata.
For long-term storage, keep the original design file format alongside a PDF preview and a CSV of your metadata. Those three formats together mean you can open the record on any device, even if the original software is no longer available.
For file formats: keep the original (PES, DST, PDF, whatever you received), export a PDF preview for visual reference, and export your metadata as CSV. That combination is readable on any device, now and years from now.
When sharing a project with a collaborator or student, include the preview image, the recipe sheet, the thread list, and any stitch notes. That package gives them everything they need to reproduce the work.
Schedule a yearly review of your archived designs. Re-tag anything that's been miscategorized, delete true duplicates, and confirm your cloud backup is current. Exporting to CSV gives you a portable, long-lived snapshot of your inventory that no single app can hold hostage.
Key Takeaways
A dual digital-plus-physical system, built around preview images, consistent tags, labeled project bags, and a one-page recipe sheet, is the most reliable way to store embroidery designs and notes so any project stays reproducible months later.
| Point | Details |
|---|---|
| Start with one recipe sheet | Write thread codes, fabric, needle, and stitch notes for your active project before starting a second WIP. |
| Tag every design with three descriptors | Theme, hoop size, and color family make any file findable without remembering its exact name. |
| One bag per project | Pack all supplies together and label the bag; it cuts search time and prevents cross-project thread mix-ups. |
| Export inventory to CSV regularly | A CSV backup preserves your stash data across app changes and device upgrades. |
| Flossom for the digital side | Flossom covers 55 thread brands, camera color picker, barcode scanner, and CSV export — built for exactly this workflow. |
The system that actually changed how I stitch
Most stitchers I talk to resist the notebook because it feels like homework. The shift happens when you realize the notebook isn't for discipline — it's for your future self. The stitcher who picks up a WIP after three months of neglect is practically a different person. She doesn't remember the tension fix or the thread swap. The recipe sheet is the note she left herself.
The digital library matters for a different reason. It's not about being organized for its own sake. It's about being able to search "small hoop, blue, floral" at 10 PM when you want to start something new, and actually finding what you have instead of buying a duplicate. That's the moment the system pays for itself.
Start small. One recipe sheet, five tagged designs, one packed project bag. Give it 30 days. The habit builds faster than you'd expect, and the payoff — picking up a WIP and knowing exactly where you left off — is immediate.
Flossom covers the digital half of this system
If you want a single app to handle the digital side of the hybrid system described here, Flossom is worth trying. It catalogs your thread stash across 55 thread brands, lets you pick colors with your phone camera, scan barcodes to log new skeins, track fabric, and export everything to CSV. Visual previews and tagging are built in, so your design collection stays searchable as it grows.

Getting started takes about ten minutes: import a pattern preview, add your current thread inventory, and create your first project. The free tier covers DMC and Anchor with unlimited stash and three projects. Pro unlocks all 55 brands, the camera color picker, barcode scanner, fabric tracking, and unlimited projects. Everything syncs across devices and stays ad-free.
Use Flossom's project time calculator to estimate how long your current WIP will take, then pair that with a packed project bag and a recipe sheet. That combination — app for the library, notebook for the session, bag for the supplies — is the whole system in practice. Start your free account at flossom.app.
Useful sources and further reading
The sources below informed this guide. Each one adds a specific layer — from notebook practice to file organization to WIP management — that the system here is built on.
- 4 reasons to keep an embroidery notebook — Makes the case for a dedicated notebook as a reflection and skill-building tool, including the value of recording failures.
- Organization: Managing Multiple Embroidery Projects — NeedlenThread's practical guide to project bags and supply isolation for multiple WIPs.
- Documenting the development of an embroidery project — NeedlenThread on photographing thread labels and tracking project development in real time.
- Do you keep track of your embroidery design setups? — The Embroidery Coach on the exact variables worth recording and why memory alone isn't enough.
- Embroidery file organizer advice — Practical guidance on tagging designs with multiple descriptors and using visual previews for faster retrieval.
- Organizing notes for embroidery files — Digitsmith on in-file notes and the importance of keeping a clean production copy.
- Flossom — cross-stitch and embroidery companion — Product page covering thread brand support, CSV export, and the full feature set referenced throughout this guide.
- Unique gifts for creative hobby lovers — Lembradia's roundup of accessories and organizers that make useful additions to a stitcher's storage setup.
Recommended
We make Flossom — the calm app for cross-stitchers and embroiderers who want their stash, projects, fabric and shopping list in one tidy place.