
How to Build a Cross Stitch Shopping List That Works
Learn how to build a cross stitch shopping list that saves money and streamlines your stitching projects. Get started today!
How to Build a Cross Stitch Shopping List That Works
A cross stitch shopping list is a project-specific inventory of every material you need before you stitch a single thread. Getting it right saves money, prevents duplicate purchases, and keeps your project moving without interruption. The five core categories are fabric, embroidery floss, needles, a pattern, and scissors. Beginners who build a cross stitch shopping list before buying anything spend less and start faster. A complete starter kit runs about $25–$40, and subsequent projects cost even less because leftover supplies carry over.
What are the essential items every cross stitch shopping list must include?
Every cross stitch supply list starts with five non-negotiable items. Skip any one of them and your project stalls before it begins.
- Fabric. 14-count Aida is the standard for beginners. Its evenly woven grid makes counting stitches straightforward. Choose a light-colored fabric, such as white or cream, so pattern symbols are easy to read. Learn more about your options in this guide to cross stitch fabric types.
- Embroidery floss. Buy only the colors listed in your specific pattern. Avoid buying full floss collections early. Full collections lead to wasted thread you will never use.
- Tapestry needles. Size 24 or 26 needles are standard for 14-count Aida. They have a blunt tip and a wide eye, which prevents fabric distortion and makes threading easier.
- Pattern. A beginner-friendly pattern has 4–8 colors and fewer than 100x100 stitches. That scale keeps the project manageable and the color list short.
- Small sharp scissors. Any sharp small scissors work for trimming thread. Specialized embroidery scissors are not required at the start.
These five items are genuinely sufficient for a first project. Resist the urge to add more before you know what you actually need.
| Item | Recommended spec | Approximate cost |
|---|---|---|
| 14-count Aida fabric | White or cream, cut with margin | $3–$8 per piece |
| Embroidery floss (DMC or Anchor) | Pattern colors only | $0.50–$1 per skein |
| Tapestry needles (size 24/26) | Pack of 6–10 | $2–$4 |
| Beginner pattern | 4–8 colors, under 100x100 stitches | $3–$10 |
| Small scissors | Sharp, any brand | $3–$8 |
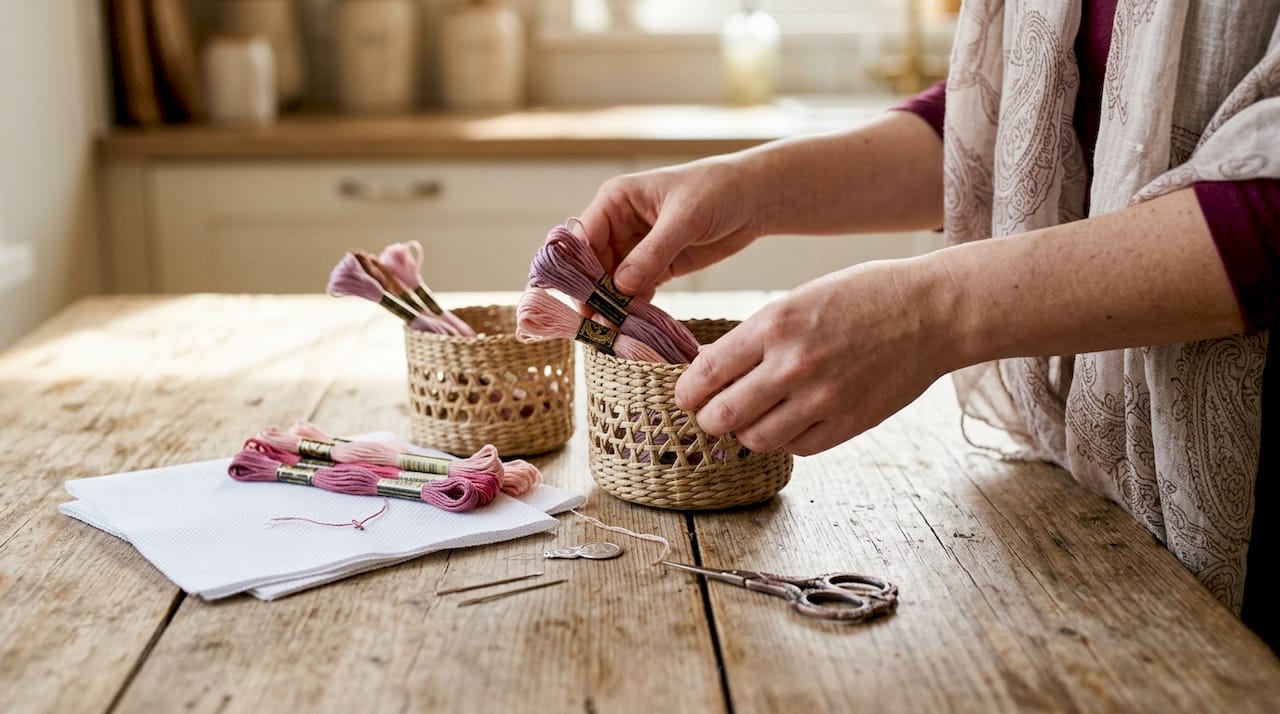
Pro Tip: Invest in quality floss and fabric from the start. Cheap floss tangles and fades. Cheap fabric distorts under tension. The difference in cost is small, but the difference in results is significant.
Which optional tools can improve your stitching experience?
Optional tools do not belong on your first cross stitch checklist. They belong on a second list you build after your first project, once you know your preferences.
That said, a few additions pay off quickly.
- Embroidery hoop or frame. A hoop holds fabric taut and prevents puckering. A 6-inch or 8-inch plastic or wooden hoop costs $3–$8 and makes a real difference in stitch evenness.
- Daylight LED lamp. Poor lighting causes mistakes and eye strain. A daylight lamp mimics natural light and makes it far easier to distinguish similar thread colors. Budget $30–$80 for a quality model.
- Needle threader. A small wire threader costs under $2 and saves frustration, especially with size 26 needles.
- Floss organizer or bobbins. Winding floss onto labeled bobbins keeps colors separated and tangle-free. This matters most when you are managing 10 or more colors at once.
- Pattern highlighter or marker. Marking completed rows on a printed pattern prevents counting errors. A simple yellow highlighter works fine.
The key principle here is gradual acquisition. Focusing on essentials first and adding tools later avoids overwhelm and wasted spending. Buy the hoop early. Wait on everything else until you feel the need.
Pro Tip: If you stitch for more than 30 minutes at a time, a daylight lamp is worth buying before your second project. Eye fatigue compounds over long sessions and leads to miscounts that are painful to fix.
How do you track thread and supplies to avoid waste?
A thread inventory checklist prevents duplicate purchases and saves real money over time. Without one, you will buy colors you already own. Most stitchers discover this problem after their third or fourth project.
The simplest physical method is a printed checklist of DMC or Anchor color numbers with checkboxes. You mark each color you own and note the quantity. Before shopping for a new project, you compare the pattern's color list against your checklist and buy only what is missing.
Digital tracking is faster and more accurate. Flossom is built specifically for this task. It catalogs your thread stash, compares it against your pattern's requirements, and generates a shopping list of only the colors you are missing. The free tier covers DMC and Anchor with unlimited stash entries and three projects. That is enough for most stitchers starting out.
A few habits make any tracking system work:
- Label every skein with its color number before storing it.
- Update your inventory immediately after buying new thread, not days later.
- Check your stash before every new project purchase, without exception.
- Read more about organizing your thread stash to find a system that fits your space.
The goal is simple: never buy a color you already own. A consistent tracking habit gets you there.
Step-by-step approach to building your personalized supply list
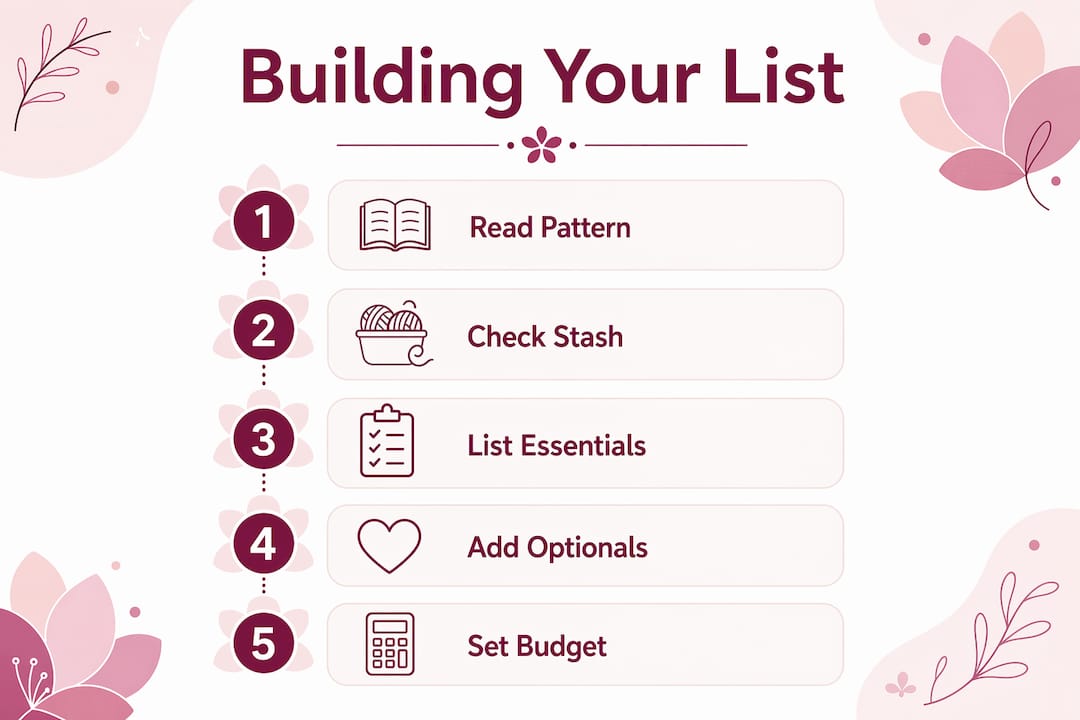
A personalized cross stitch project materials list starts with the pattern, not the store. Follow these steps in order.
- Read the pattern completely. Identify every color code listed, the fabric count required, and the finished design dimensions. Write these down before buying anything.
- Calculate your fabric size. Take the design's stitch dimensions, divide by the fabric count, and add at least 3 inches on every side for framing or finishing. A design that is 70 stitches wide on 14-count Aida needs 5 inches of stitched width plus 6 inches of margin, so buy fabric at least 11 inches wide.
- Check your thread stash. Compare the pattern's color list against what you own. Mark what you have. List only what you need to buy.
- Estimate floss quantities. Most patterns specify the number of skeins per color. If yours does not, one skein covers roughly 300–400 stitches worked with two strands. Count the stitches for each color or use a project planning tool to estimate.
- List non-thread supplies. Confirm you have the right needle size, scissors, and a hoop if you use one. Add any missing items to your list.
- Start stitching from the center. Find the center of your fabric and the center of your pattern before you begin. This prevents running out of fabric on one side and keeps the design properly aligned.
| Step | Action | Why it matters |
|---|---|---|
| 1. Read the pattern | Note all color codes and dimensions | Prevents missing materials |
| 2. Calculate fabric | Add 3-inch margins on all sides | Avoids running short on fabric |
| 3. Check stash | Compare pattern colors to inventory | Eliminates duplicate purchases |
| 4. Estimate floss | Use pattern specs or stitch counts | Prevents mid-project shortages |
| 5. List other supplies | Needles, hoop, scissors | Completes the checklist |
| 6. Mark fabric center | Find center before first stitch | Ensures correct placement |
Pro Tip: Gridding your fabric into 10x10 blocks with a water-soluble pen before you start stitching makes counting far easier and reduces miscounts on complex patterns.
Common cross stitch shopping list mistakes to avoid
Most shopping mistakes fall into a predictable pattern. Knowing them in advance is the cheapest lesson available.
- Buying a full floss collection. DMC sells 500-plus colors. You need 4–12 for most beginner projects. Buying the full range wastes money and creates storage problems.
- Skipping the stash check. Buying colors you already own is the most common and most avoidable mistake. A thread inventory solves this completely.
- Choosing the wrong fabric count. Higher counts like 18 or 28 require smaller stitches and are harder for beginners. Stick with 14-count Aida until you are comfortable.
- Ignoring lighting. Stitching under poor light leads to miscounts and color confusion. This is especially true with similar shades like navy and black, or cream and white.
- Starting at the corner. Beginning at a fabric or pattern corner is a common mistake that causes the design to run off the edge. Always start at the center.
- Overbuying optional tools early. Needle minders, specialty scissors, and scroll frames are useful eventually. Buying them before you know your preferences wastes money.
"Buy only what your pattern requires. Every extra skein or tool you buy 'just in case' is money that could fund your next project."
Pro Tip: Set a firm budget before you shop. A complete starter kit costs $25–$40. If your cart exceeds that on a first project, review each item and remove anything not on your essential list.
Key Takeaways
A well-built cross stitch supply list covers five core items, checks your existing stash first, and adds optional tools only after your first project confirms what you actually need.
| Point | Details |
|---|---|
| Start with five essentials | Fabric, floss, needles, pattern, and scissors cover every first project. |
| Buy only pattern colors | Purchasing full floss collections wastes money; buy only what your pattern lists. |
| Check your stash first | Compare pattern requirements to your inventory before every shopping trip. |
| Add optional tools gradually | Hoops and daylight lamps improve results; buy them after your first project. |
| Always start at the center | Beginning at the fabric and pattern center prevents misalignment and fabric shortages. |
Why I keep my cross stitch shopping list ruthlessly short
I learned the hard way that more supplies do not mean better stitching. My first real shopping trip included a full DMC color set, three hoop sizes, specialty scissors, and a needle minder I thought was adorable. I used maybe 15% of what I bought on that first project. The rest sat in a box for months.
The shift that actually improved my stitching was not buying better tools. It was building a tighter list. When I started checking my stash before every project and buying only the colors I was missing, my costs dropped and my storage stopped being a problem. Flossom made that habit automatic. I upload the pattern, and it tells me exactly what I need to buy. That is the whole system.
The other thing I wish someone had told me earlier: buy good fabric and good floss from the start, but wait on everything else. A daylight lamp is genuinely worth it after your second or third project, once you have spent enough hours stitching to feel the eye strain. A hoop is worth it almost immediately. Everything else is optional until you know you want it.
The stitchers I see struggle most are the ones who buy everything at once and then feel obligated to use it all. Start small. Build your list around one project at a time. The supplies you actually need will become obvious fast.
— Simone
How Flossom helps you shop smarter for every project
Flossom takes the guesswork out of building a cross stitch shopping list by comparing your pattern's requirements directly against your existing stash.

Upload a pattern PDF, and Flossom generates a shopping list of only the colors you are missing. The thread conversion tool matches colors across 84 brands, so you can substitute what you already own or shop from any brand you prefer. The project time calculator helps you plan realistically before you start. The free tier covers DMC and Anchor with unlimited stash entries and three projects. If you manage multiple works in progress, the Pro tier adds fabric tracking, a barcode scanner, a camera color picker, and unlimited projects. Everything syncs across devices and exports to CSV.
FAQ
What is a cross stitch shopping list?
A cross stitch shopping list is a project-specific checklist of every material needed before you begin stitching. It typically includes fabric, floss colors from the pattern, needles, and scissors.
How much does a cross stitch starter kit cost?
A complete starter kit costs approximately $25–$40. Subsequent projects cost less because needles, scissors, and leftover floss carry over from previous projects.
How do I avoid buying duplicate thread colors?
Maintain a thread inventory, either a printed checklist or a digital tool like Flossom, and compare your pattern's color list against your stash before every purchase.
What fabric count should beginners use?
14-count Aida is the standard starting point. Its grid is large enough to count easily, and size 24 or 26 tapestry needles pair with it correctly without distorting the weave.
Do I need a hoop to start cross stitching?
A hoop is not strictly required for a first project, but it improves stitch evenness by keeping fabric taut. A basic 6-inch or 8-inch hoop costs $3–$8 and is worth adding early.
Recommended
We make Flossom — the calm app for cross-stitchers and embroiderers who want their stash, projects, fabric and shopping list in one tidy place.