
Embroidery Fabric Stabilizer Types: A Crafter's Guide
Discover essential embroidery fabric stabilizer types to elevate your crafting. Learn how each type supports your fabric for perfect stitching.
Embroidery Fabric Stabilizer Types: A Crafter's Guide
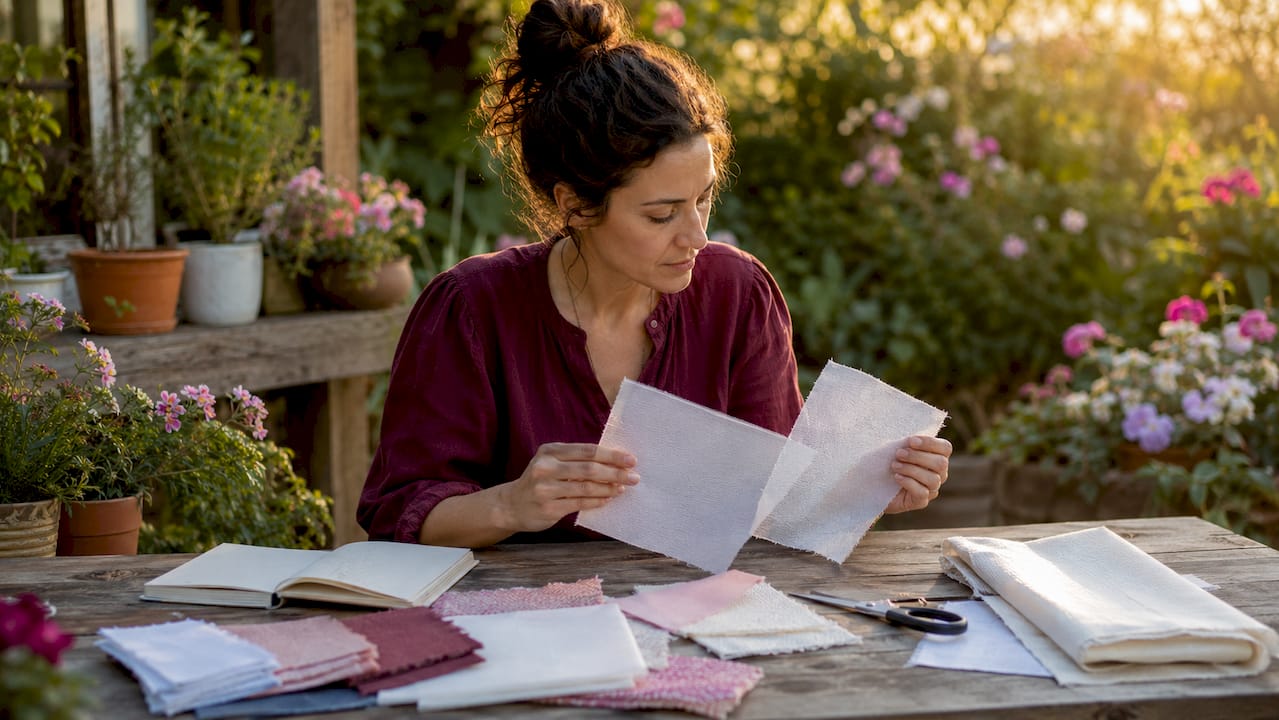
Embroidery fabric stabilizer types are classified by how they support the fabric during stitching and how they are removed afterward. The five main categories are Cut-Away, Tear-Away, Wash-Away, Heat-Away, and Adhesive-Backed, and each type serves a distinct purpose based on fabric stretch, weight, and design density. Stabilizer weights typically range from 1.5 to 3.5 oz, and choosing the wrong weight is just as damaging as choosing the wrong type. Matching your stabilizer to both the fabric and the stitch count is the single most important decision you make before threading your needle.
1. What are the main embroidery fabric stabilizer types?
Wrong stabilizer choice is the number one reason embroidery projects fail. Understanding each category prevents that outcome before you even hoop up.
- Cut-Away: A permanent backing that stays under the fabric after embroidery. You trim the excess close to the stitching. Cut-Away is the correct choice for stretchy and knit fabrics because it prevents permanent distortion.
- Tear-Away: A temporary stabilizer you remove by tearing it away from the stitching after the design is complete. It works best on stable woven fabrics like quilting cotton, denim, and canvas.
- Wash-Away: A water-soluble stabilizer that dissolves completely in water, leaving no residue. It is the only correct choice for sheer fabrics and freestanding lace where no backing should remain.
- Heat-Away: A stabilizer removed by applying heat from an iron or heat gun. Use it when the fabric cannot be wetted, such as certain silks or specialty fibers.
- Adhesive-Backed: A stabilizer with a sticky surface that holds fabric in place without hooping. It is the go-to solution for small, oddly shaped, or hard-to-hoop items like caps, cuffs, and patches.
Each category solves a specific problem. Knowing which problem you have tells you exactly which stabilizer to reach for.
2. How to choose the right stabilizer based on fabric type
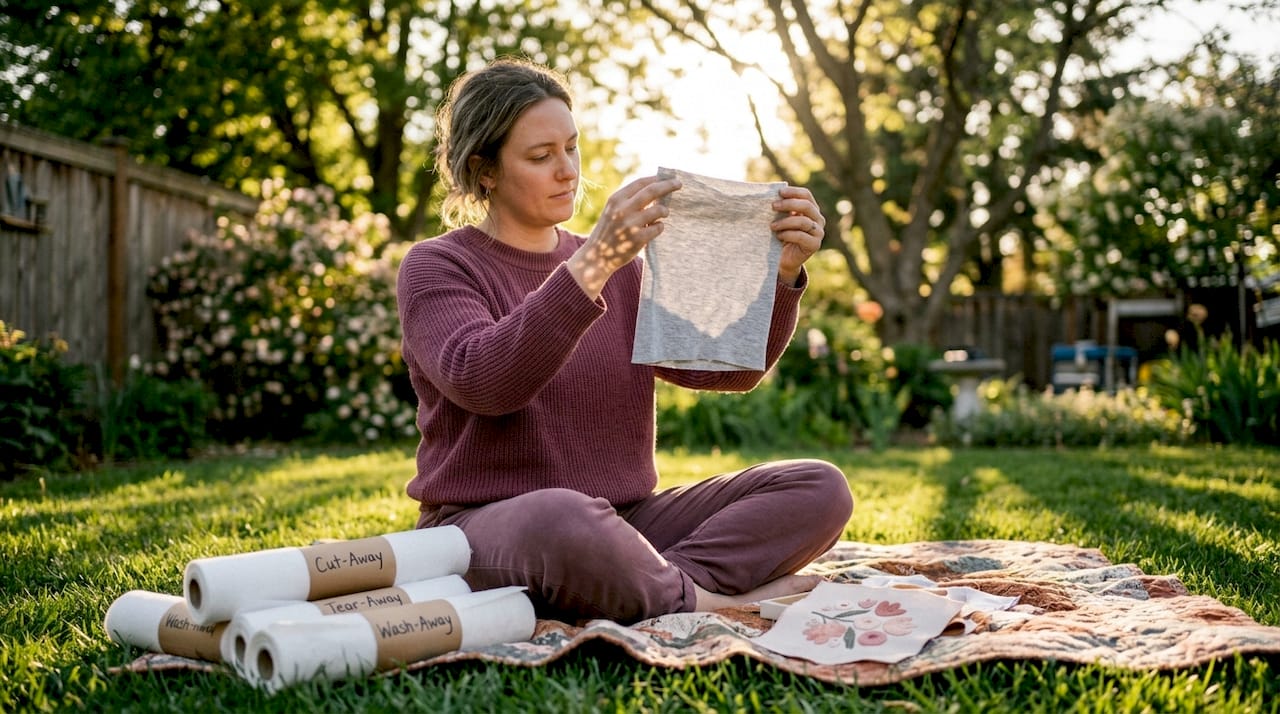
The fabric's stretch level is the first thing to assess. Stretchy and knit fabrics, such as T-shirts, athletic wear, and baby onesies, require Cut-Away stabilizer. Without it, the fabric pulls and distorts permanently around the stitching, and puckering from incorrect stabilizer use cannot be reversed after the needle has passed through.
Stable woven fabrics behave differently. Denim, canvas, and linen hold their shape during stitching, so Tear-Away provides enough temporary support. Once the design is finished, you tear the stabilizer away cleanly without affecting the stitches.
Sheer and delicate fabrics like organza, chiffon, and lace require Wash-Away stabilizer. These fabrics cannot carry a permanent or even a torn backing without it showing through or distorting the drape.
Design density matters as much as fabric type. A light design on a stable fabric needs minimal support. A dense, filled design on any fabric demands heavier or layered stabilizer.
- Lightweight designs on stable wovens: single layer of light Tear-Away (1.5–2 oz)
- Medium designs on knits: single layer of medium Cut-Away (2–2.5 oz)
- Dense designs on any fabric: two layers of medium-weight stabilizer rather than one heavy layer
- Sheer fabrics with any design: Wash-Away as both backing and topping
Pro Tip: Test your stabilizer choice on a fabric scrap before committing to the final piece. A five-minute test saves an entire project.
Most beginner mistakes come from confusing fabric stability with design density. A stable fabric with a very dense design still needs heavier support than a stable fabric with a simple outline. Treat them as two separate decisions, then combine the answers.
Understanding your fabric's properties is the foundation. Flossom's guide on cross-stitch fabric types covers fabric characteristics in detail, which directly informs stabilizer matching.
3. Specialty stabilizers and toppings for challenging fabrics
Some fabrics need more than a standard backing. Pile fabrics, textured surfaces, and non-hoopable items each require a specialized approach.
Topping stabilizers
A topping stabilizer is a thin, water-soluble film placed on top of the fabric, not underneath. It prevents stitches from sinking into the pile on terry cloth towels, fleece, and velvet. Topping is non-negotiable for terry cloth if you want stitch clarity. Without it, the loops of the towel swallow the embroidery and the design loses definition. After stitching, you tear away the excess topping and rinse the rest.
For textured fabrics, placing a water-soluble topper over cut-away stabilizer gives you the best of both worlds: permanent support underneath and clean stitch formation on top.
Adhesive-backed stabilizers
Adhesive-backed stabilizers solve the hooping problem for difficult materials. You hoop the stabilizer alone, score and peel the paper backing, then press the fabric onto the sticky surface. This technique, called floating, keeps the fabric secure without the hoop ever touching it directly.
Floating is the correct method for:
- Leather and faux leather (direct hooping leaves permanent marks)
- Velvet and velveteen (hooping crushes the pile)
- Caps and structured items that cannot lie flat in a standard hoop
- Small pieces like cuffs, collars, and patches
Direct hooping of leather or velvet leaves permanent marks that cannot be fixed. Adhesive-backed stabilizer eliminates that risk entirely.
Foam and fusible stabilizers
Foam stabilizer sits between the fabric and the backing to create a raised, three-dimensional effect called puff embroidery. The needle perforates the foam during stitching, and the design stands up off the fabric surface. This technique is common on caps and sportswear.
Fusible stabilizer bonds to the fabric with heat before hooping. It prevents fabric shifting during the embroidery process, which is especially useful for loosely woven fabrics that move even when hooped correctly.
Pro Tip: When using adhesive-backed stabilizer on velvet, press the fabric onto the sticky surface pile-side up and use a topping film over it. You get floating protection below and stitch clarity above.
4. Common mistakes to avoid when using embroidery stabilizers
Stitch density beyond fabric and stabilizer capacity causes embroidery flaws even when the stabilizer type is technically correct. Stabilizer choice and design digitizing work together. Neither alone guarantees a clean result.
The most damaging mistakes crafters make:
- Using Tear-Away on stretch fabrics. The fabric moves during removal and distorts the stitching permanently.
- Using one heavy layer instead of two medium layers. Two layers of medium-weight stabilizer distribute tension more evenly and reduce puckering on dense designs.
- Skipping the topping on pile fabrics. Stitches sink into fleece and terry cloth without a water-soluble film on top, making the design nearly invisible.
- Hooping delicate fabrics directly. Leather, velvet, and sequined fabric all suffer permanent damage from hoop pressure. Float them on adhesive-backed stabilizer instead.
- Ignoring stabilizer weight. A 1.5 oz stabilizer under a 15,000-stitch design will not hold. Match the weight to the stitch count, not just the fabric type.
Puckering is the most common embroidery failure, and it is almost always a stabilizer problem. The fabric bunches because it moved during stitching, and once the stitches are in, that distortion is permanent. Choosing the right stabilizer type and weight before you start is the only fix that actually works.
Troubleshooting after the fact is rarely effective. Birdnesting (thread tangles underneath the fabric) often points to insufficient stabilizer support causing the fabric to bounce. Stitches disappearing into the fabric surface point to a missing topping. Both problems are preventable at the setup stage.
Key takeaways
Matching stabilizer type to fabric stretch and stabilizer weight to design density produces clean, professional embroidery results every time.
| Point | Details |
|---|---|
| Match type to fabric stretch | Use Cut-Away for knits, Tear-Away for stable wovens, and Wash-Away for sheers. |
| Match weight to stitch count | Heavier or denser designs need more stabilizer support, not just a heavier single layer. |
| Layer medium weights for dense designs | Two medium-weight layers outperform one heavy layer by distributing tension evenly. |
| Float delicate fabrics | Use adhesive-backed stabilizer hooped alone to protect leather, velvet, and small items. |
| Always top pile fabrics | A water-soluble topping film prevents stitches from sinking into fleece, towels, and velvet. |
What I've learned from getting stabilizers wrong
The first time I embroidered a fleece pullover, I used a standard Tear-Away backing and skipped the topping. The design looked fine on the machine. When I pulled it off the hoop, the stitches had sunk so deep into the fleece that the design was barely readable. I had to explain to the recipient why their gift looked like a texture experiment.
That mistake taught me something no tutorial had made clear: stabilizer choice is not one decision. It is two. You choose the type based on the fabric, and you choose the weight based on the design. Then you ask a third question: does this fabric need a topping? Pile fabrics always do. Most crafters skip that question entirely.
The other thing I see constantly is crafters reaching for heavier stabilizer when a design puckers, thinking more weight equals more support. It does not work that way. Layering two medium-weight stabilizers distributes the tension across a larger surface area. A single heavy layer concentrates it. The physics favor layering every time.
My honest advice: keep a small sample kit of each stabilizer type and test every new fabric before committing. The five minutes you spend on a test square will save you from ripping out stitches or, worse, explaining a ruined project. Stabilizer knowledge compounds quickly. After a dozen projects, the right choice becomes instinct.
— Simone
Flossom makes the planning side just as solid
Good stabilizer knowledge gets you through the hooping stage. Organizing everything else, including your thread stash, fabric inventory, and project timelines, is where Flossom comes in.

Flossom is a free embroidery and cross-stitch companion that tracks your thread stash and auto-generates shopping lists based on what your pattern needs versus what you already own. It covers DMC and Anchor on the free tier, with Pro unlocking 71 thread brands, a barcode scanner, and fabric stash tracking. The project planning tools include a fabric size calculator and a project time calculator, so you go into every embroidery session knowing exactly what you need and how long it will take. No duplicate purchases, no mid-project supply runs.
FAQ
What are the five main embroidery stabilizer types?
The five types are Cut-Away, Tear-Away, Wash-Away, Heat-Away, and Adhesive-Backed. Each is classified by how it is removed from the fabric after embroidery.
When should I use cut-away vs. tear-away stabilizer?
Use Cut-Away for stretchy and knit fabrics to prevent permanent distortion. Use Tear-Away for stable woven fabrics like denim and canvas where temporary support is enough.
Can I use wash-away stabilizer on all fabrics?
Wash-Away stabilizer works on any fabric that can be safely wetted, and it is the only correct choice for sheer fabrics and freestanding lace. Avoid it on fabrics that water damages, such as certain silks or specialty fibers.
Why is my embroidery puckering even with stabilizer?
Puckering usually means the stabilizer weight is too light for the stitch density, or the wrong type was used for the fabric. Try layering two medium-weight stabilizers instead of one, and confirm the stabilizer type matches the fabric's stretch level.
Do I need a topping stabilizer on fleece and towels?
Yes. A water-soluble topping film placed on top of pile fabrics like fleece, velvet, and terry cloth prevents stitches from sinking into the texture. Without it, the design loses definition and clarity.
Recommended
We make Flossom — the calm app for cross-stitchers and embroiderers who want their stash, projects, fabric and shopping list in one tidy place.