
What Does the Lazy Daisy Stitch Mean in Embroidery?
What Does the Lazy Daisy Stitch Mean in Embroidery? !
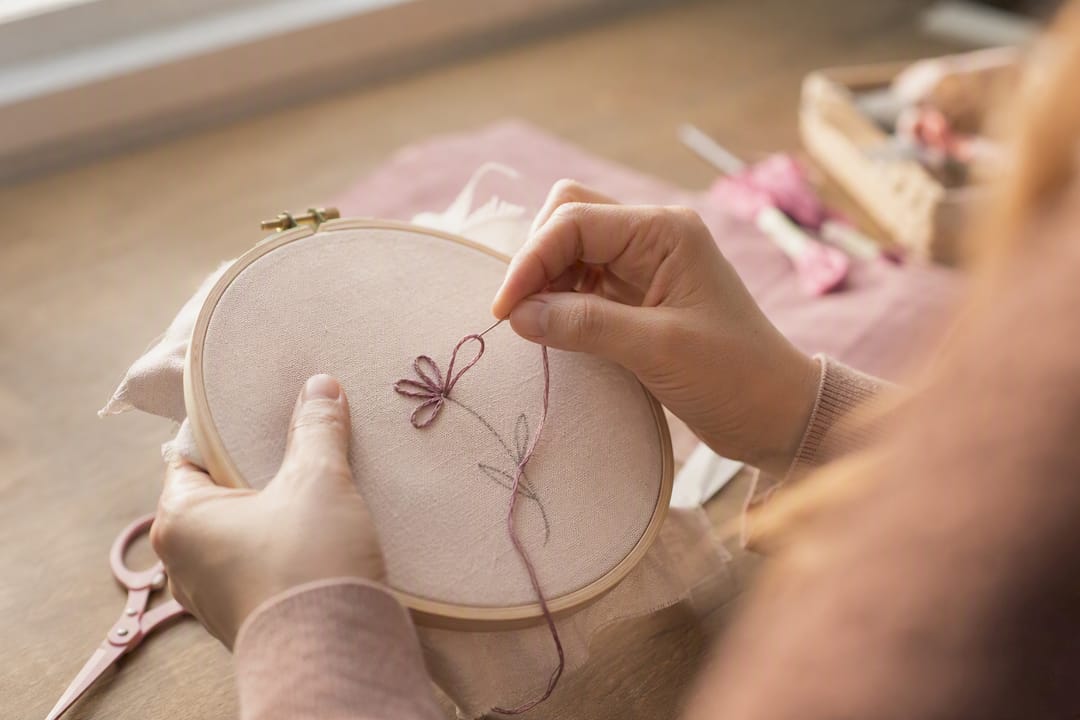
What Does the Lazy Daisy Stitch Mean in Embroidery?
The lazy daisy stitch is a single detached loop of thread, anchored at its tip by a tiny straight stitch, worked in a circle to form flower petals or leaves. Embroiderers also call it the detached chain stitch, and you'll see it labeled loop stitch, picot stitch, or single chain stitch in older pattern books. It's one of the first stitches most people learn because it needs no special tools and covers a lot of visual ground for so little effort.
Spot it in a photo by looking for two things: a teardrop-shaped loop with a rounded top and pointed base, and a small stitch pinning that point down flat.
- Petals that curve gently outward from a shared center
- A tiny anchoring stitch visible at the base of each loop, usually invisible unless you look closely
Key Takeaways
The lazy daisy stitch is a detached loop anchored by a small stitch, and mastering its tension matters more than memorizing steps.
| Point | Details |
|---|---|
| Core definition | The lazy daisy, or detached chain stitch, is one loop pinned flat by a tiny anchoring stitch. |
| Tension controls shape | Loose loops sag, tight loops flatten; aim for the loop to close naturally against the anchor. |
| Standard petal count | Five to six petals form the typical flower, though scattered single loops work as fill. |
| Thread choice changes weight | Fewer strands or fine floss reads delicate; more strands or ribbon reads bold. |
| Practice builds consistency | Stitch isolated practice rows before attempting a full motif on a real project. |
Table of Contents
- Materials and Prep for Your First Lazy Daisy Stitch
- How to Do the Lazy Daisy Stitch Step by Step
- Lazy Daisy Variations and Where Each One Fits
- Fixing Common Lazy Daisy Mistakes
- Three Quick Patterns to Practice Right Now
- How Flossom Helps You Plan Your Next Lazy Daisy Project
- What the Lazy Daisy Stitch Actually Teaches Beginners
- Sources
Materials and Prep for Your First Lazy Daisy Stitch
You don't need much to start. A crewel or embroidery needle with a sharp point works best, paired with standard six-strand embroidery floss. Most beginners split the floss to two or three strands for delicate petals, or use all six for a bolder, chunkier look. A small hoop, four to six inches, keeps your fabric taut enough that loops sit flat instead of puckering.
Beyond the basics, a few extras make life easier:
- A fabric marking pen or water-soluble pencil to dot the center point of your flower
- A stiletto or large needle to help shape loops before you catch them
- Small, sharp embroidery scissors for clean thread trims
- A thimble if you're pushing the needle through tightly woven fabric
Before your first stitch, hoop the fabric drum-tight, mark a center dot where petals will radiate from, and anchor your thread with a small knot or a couple of tiny backstitches on the reverse side. Loose fabric is the number one reason loops turn out lopsided, so don't skip the hoop step. If you're still deciding what fabric suits your project, Flossom's guide to embroidery fabric types breaks down weave and weight for stitch legibility.
How to Do the Lazy Daisy Stitch Step by Step
Here's the sequence that turns a blank patch of fabric into a five-petal flower, one loop at a time.
- Bring the needle up at the center point. This is your flower's hub. Every petal starts and nearly ends here.
- Insert the needle back down right next to where it came up, leaving a small gap rather than pulling it flush. Don't pull the thread tight yet. This gap is what becomes your loop.
- Bring the needle up again at the petal tip, the outer point where you want the loop to end, catching the loose thread loop under the needle as it comes through the fabric.
- Pull gently until the loop sits smooth against the fabric, then place a small securing stitch just past the tip to pin the loop flat. That tiny stitch is what separates a lazy daisy from a plain uncontrolled loop.
- Repeat around the center point for five or six petals total, then fill the middle with a French knot, a small satin-stitched circle, or a contrasting bead if you want texture.
Loop size and strand count change the personality of the flower entirely. Two strands of floss with a short, tight loop reads as a delicate wildflower, the kind you'd stitch scattered across a linen handkerchief. Six strands with a longer, looser loop reads as a bold, almost cartoonish bloom, better suited to a tote bag or a kid's project. Neither is more "correct." It depends on what you're making.
If you're photographing your progress or sketching a diagram for reference, capture the moment right after step 3, when the loop is caught but not yet secured. That's the step beginners get wrong most often, and a clear image of the loop shape at that exact point does more to teach the motion than paragraphs of description ever will. A second useful shot is the finished flower from directly above, showing all five petals and how evenly they radiate from center.
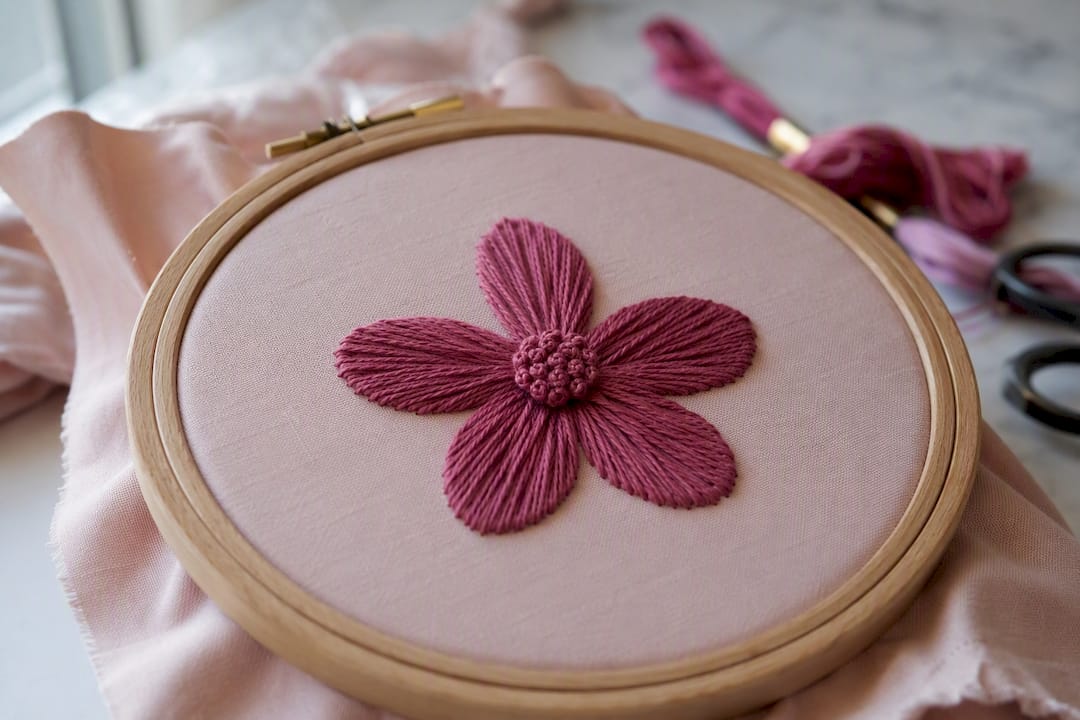
According to a step-by-step lazy daisy tutorial from AllFreeSewing, a beginner can finish a basic flower in a relatively short time, including the time it takes to mark the center and settle into a rhythm. That estimate holds up in practice. The first petal or two will feel clumsy. By petal four, your hands know what to do without you thinking about it.
Pro Tip: Work all five petals in the same rotational direction, always clockwise or always counterclockwise, instead of alternating. Your tension stays more consistent and the flower looks less lopsided.
Lazy Daisy Variations and Where Each One Fits
The standard flower uses five or six petals of roughly equal length, but that's a starting point, not a rule. Loosen the tension and lengthen the loop and you get a softer, more organic petal that suits wildflower motifs. Pull tighter with a shorter loop and the petal turns crisp and structured, better for geometric or modern floral designs.
A few ways stitchers adapt the basic motif:
- Chains of daisies worked end to end form a scalloped border, useful for hemlines, cuffs, or framing a sampler
- Scattered single petals, not grouped into flowers at all, create a loose leaf or grass texture across a background
- Two-tone flowers, switching floss color halfway through the petal set, add dimension without extra stitches
- Silk ribbon lazy daisies, worked with narrow ribbon instead of floss, produce dramatically larger, dimensional petals for crazy quilting or fabric art
Thread choice matters as much as loop length. A single strand of floss gives you fine detail work suited to small samplers or monogram embellishments. Multiple strands bulk up the petal for statement pieces like embroidered patches or apparel. Silk ribbon, meanwhile, behaves nothing like floss. It's stiffer, wider, and needs a looser hand or the ribbon will crease and lose its dimensional puff.
Fixing Common Lazy Daisy Mistakes
Most lazy daisy problems trace back to tension, not skill. A loop that's too loose looks baggy and doesn't hold its teardrop shape. Tighten it slightly by pulling the working thread just before you place the anchoring stitch, not after. A loop pulled too tight flattens into a thin line and loses the rounded petal look entirely. If that happens, back out the anchoring stitch and let a hair more slack into the loop before resecuring it.
Placement of the anchoring stitch matters more than most tutorials admit. Set it too close to the loop's tip and you leave a gap between loop and stitch that puckers under light. Set it too far past the tip and the petal looks stubby and short. Aim for the anchor to sit right where the loop naturally wants to close.
- Twisted loops usually mean the needle caught the thread from the wrong side. Slow down on step 3 and watch the loop lie flat before pulling through.
- Frayed thread near the end of a strand should be trimmed and restarted rather than stitched through. Frayed floss snags and distorts the loop shape.
- If a petal looks wrong after finishing, pull it out and redo it immediately. A mismatched petal among five even ones stands out more than you'd expect.
Pro Tip: Before starting a real project, stitch three or four rows of single, isolated petals on scrap fabric. Repetition on throwaway cloth builds the muscle memory that a single practice flower can't.
Three Quick Patterns to Practice Right Now
Grab scrap fabric and try these in order. Each one takes under fifteen minutes and builds on the last.
- Single flower: mark one center point, stitch five petals with a loop length of about 6 to 8 millimeters, then fill the center with a French knot or a small satin-stitched dot. This is your baseline for tension and spacing.
- Three-sprig bouquet: mark three center points about an inch apart in a loose triangle, stitch a five-petal flower at each, and vary the floss color between sprigs so you can compare how strand count changes visual weight side by side.
- Scattered fill: instead of grouping petals into flowers, stitch single, isolated lazy daisy loops randomly across a two-inch square, spacing them roughly a half inch apart to mimic loose foliage or grass texture.
Run through all three and you'll have handled every core skill the stitch demands: consistent tension, spacing between motifs, and controlled randomness for fill work.
How Flossom Helps You Plan Your Next Lazy Daisy Project
Once you've got the stitch down, the real friction shows up in planning. Which floss color goes where, how much you'll need, and whether you already own it. Flossom's stash tracker catalogs your thread across 55 brands, so when a pattern calls for a shade you don't have, the app flags it before you're at the checkout guessing.
The shopping list feature compares what a pattern needs against your existing stash and generates a list of only what's missing, which matters a lot once you start experimenting with loop length and strand count across variations. Brand conversion tools mean you can swap a DMC shade for its Anchor equivalent without a manual lookup.
- Track WIP photos as you work through practice patterns and full projects
- Convert thread codes across brands instantly when substituting colors
- Set low-stock alerts so you're never mid-flower with an empty floss spool
For more on the stitch family lazy daisy belongs to, Flossom's chain stitch guide covers the mechanics that connect the two. And once you're stitching regularly, the essential tools list for beginners rounds out what belongs in your kit.
What the Lazy Daisy Stitch Actually Teaches Beginners
Most tutorials treat the lazy daisy as a quick win, something you learn in ten minutes and move past. That undersells it. The stitch is really a compressed lesson in thread tension, and tension is the skill that determines whether everything you stitch afterward looks clean or amateurish. Get comfortable with how much slack a loop needs before you secure it, and you've built an instinct that carries into French knots, bullion stitches, and every other tensioned technique in embroidery.
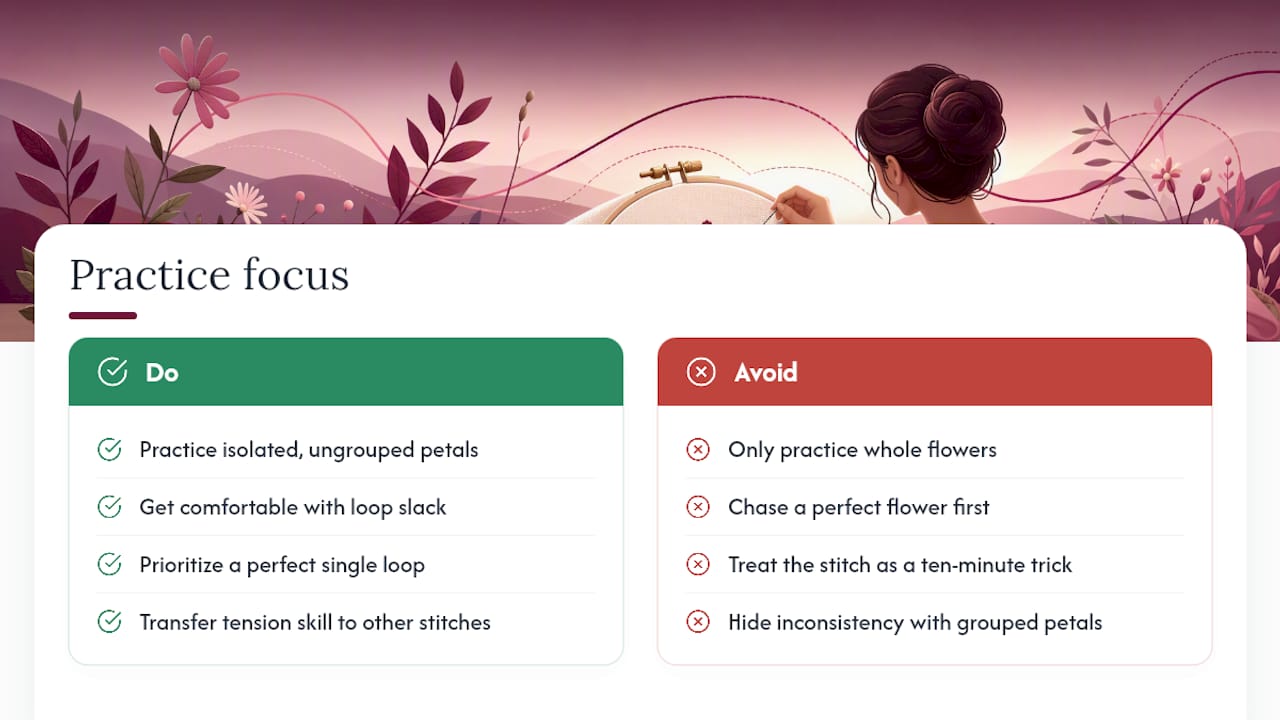
The conventional advice to "just practice the flower a few times" misses the more useful drill: practicing isolated, ungrouped petals until the loop shape is automatic. A flower hides inconsistency because five uneven petals still look roughly like a flower. A row of isolated petals hides nothing.
If you're picking one thing to prioritize first, it's this: stop chasing the perfect flower and chase the perfect single loop. Once that loop is reliable, the flower, the border, and the scattered fill all follow with almost no extra learning curve.
— Simone
Sources
- Lazy Daisy
- How to Lazy Daisy Stitch — AllFreeSewing
- Take it easy with lazy daisy stitch — Create Whimsy
Recommended
We make Flossom — the calm app for cross-stitchers and embroiderers who want their stash, projects, fabric and shopping list in one tidy place.