
Three-Quarter Stitch Meaning: A Complete Beginner's Guide
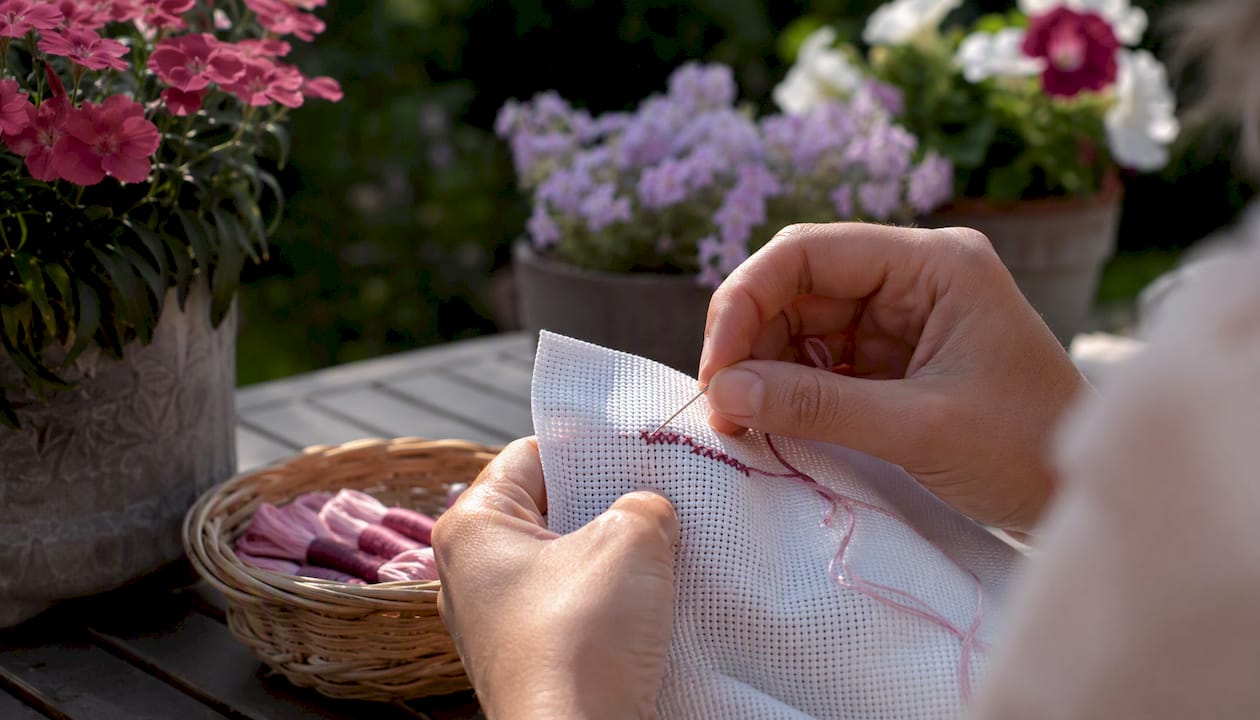
Three-Quarter Stitch Meaning: A Complete Beginner's Guide ! Hands stitching a three-quarter cross stitch on fabric A three-quarter stitch combines a quarter stitch and a half stitch inside a single fabric square, producing a truncated X that fills roughly three-quarters of the space.
Three-Quarter Stitch Meaning: A Complete Beginner's Guide
A three-quarter stitch combines a quarter stitch and a half stitch inside a single fabric square, producing a truncated X that fills roughly three-quarters of the space. To make one, bring your needle up at a corner, down at the center of the square (that's the quarter), then up at an adjacent corner and down at the opposite corner to complete the half diagonal. On Aida fabric, you must physically pierce the center of the weave for that first step. The result is a small, angled shape that lets designers soften curves and sharpen tiny details in ways a full cross simply can't.
Key Takeaways
A three-quarter stitch is a quarter stitch plus a half stitch in one square, always stitched in that order, with the half lying on top to anchor the center.
| Point | Details |
|---|---|
| Definition | Quarter stitch (corner to center) plus half stitch (full diagonal) in one square. |
| Needle order | Always stitch the quarter first, then the half so it lies on top and covers the center. |
| Aida center-piercing | Pierce the woven center carefully; slight off-centering distorts curves and points. |
| Mixed-color squares | Stitch the secondary color's quarter first, then the three-quarter so the half covers the center entry. |
| Practice first | Try all four orientations on a scrap swatch and photograph front and back before working on your project. |
Table of Contents
- What a three-quarter stitch is made of
- Why designers use three-quarter stitches
- How to read three-quarter stitches on a chart
- Step-by-step: how to stitch all four orientations
- Aida vs evenweave: what changes for partial stitches
- Common mistakes and how to fix them
- Building a practice swatch
- Supplies and resources worth having
- A note from Simone
- Sources
What a three-quarter stitch is made of
The three-quarter stitch definition comes down to two components sharing one square: a quarter stitch running from a corner to the center, and a half stitch running the full diagonal of that same square. Neither alone does much. Together, they create a shape that looks like a full cross with one arm cut short, leaving a pointed corner rather than a blunt square.
The four possible orientations depend on which corner the quarter stitch starts from:
- Top-left: quarter from top-left corner to center, half from bottom-left to top-right
- Top-right: quarter from top-right corner to center, half from bottom-right to top-left
- Bottom-left: quarter from bottom-left corner to center, half from top-left to bottom-right
- Bottom-right: quarter from bottom-right corner to center, half from top-right to bottom-left
Each orientation slants the pointed tip in a different direction, which is exactly why designers choose a specific one for a specific edge. On a chart, you'll often see these marked as a small triangle in one corner of a square, or as a divided square with a miniature symbol. That notation is covered in detail below.
Why designers use three-quarter stitches
The core reason is shape control. A full cross stitch is a square, and squares stack into blocky edges. When a pattern needs a curved petal, a rounded cheek, or a sharp beak tip, placing a three-quarter stitch at the boundary of a shape softens that edge without losing coverage.
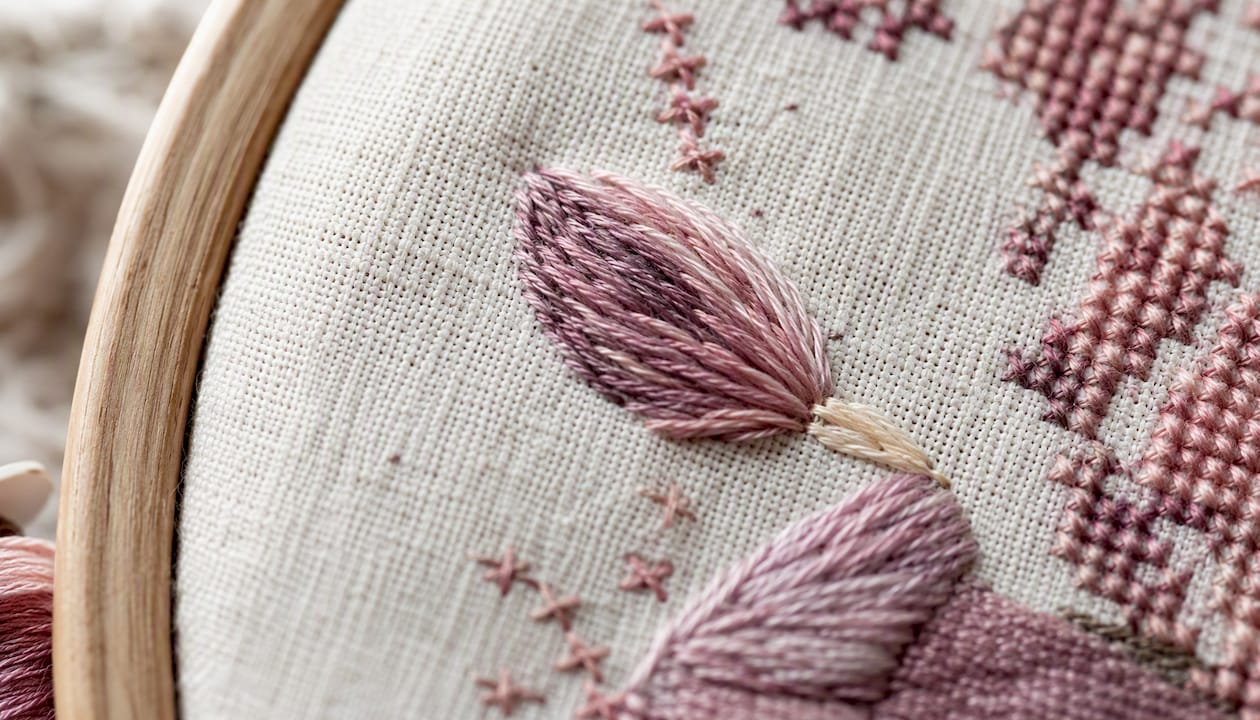
Designers place three-quarter stitches sparingly to add crisp definition to small features, beaks, petal tips, and facial contours, where a full cross would look too square. The Creative Poppy tutorial uses a seagull beak as a concrete example: two or three three-quarter stitches at the beak tip produce a convincing point that rows of full crosses never could.
They also appear on the outer edges of circular or oval shapes, alternating with full crosses to create the illusion of a curve on a grid. Use too many in a row, though, and the surface starts to look sparse.
Pro Tip: Use three-quarter stitches only at shape boundaries. Interior squares almost always look better as full crosses. The contrast between a solid interior and a softened edge is what makes the technique read as intentional.
How to read three-quarter stitches on a chart
Chart symbols for three-quarter stitches vary by designer and software. The most common forms are a small triangle placed in one corner of the chart square, a divided square with a miniature version of the color symbol, or a smaller symbol offset toward one corner.
The tricky part: quarter and three-quarter symbols sometimes look identical in print. When that happens, look at the surrounding squares. A three-quarter stitch almost always sits at a shape's outer edge, next to full crosses on the interior side and open background squares on the exterior side. A lone quarter stitch, by contrast, usually pairs with another quarter or three-quarter in the same square when two colors share it.
Black-and-white charts typically use a small filled triangle to indicate the stitch direction. Color charts often rely on the color block itself being triangular in that square. Pattern legends may not always call out partial stitches separately, so reading the surrounding context is more reliable than hunting for a unique symbol.
Pro Tip: When a symbol looks ambiguous, trace the curve or edge the designer is building. The orientation of the three-quarter stitch should point toward the open space, not into the filled shape. That logic resolves most symbol confusion faster than re-reading the legend.
Step-by-step: how to stitch all four orientations
These steps use position numbers 1–4 for the four corners of a square: 1 = top-left, 2 = top-right, 3 = bottom-left, 4 = bottom-right. C = center.
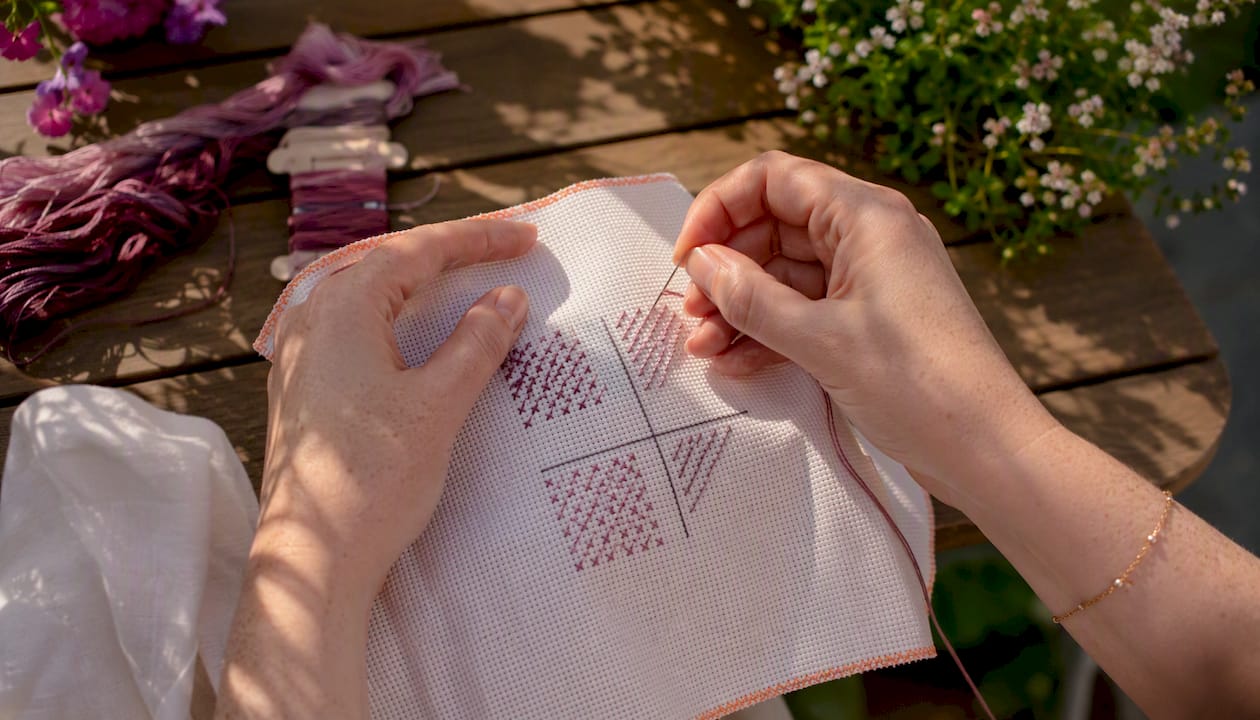
The stitching order is always quarter first, then half.
Top-left orientation:
- Bring needle up at position 1 (top-left corner)
- Insert needle down at C (center) — pierce the Aida weave here
- Bring needle up at position 3 (bottom-left corner)
- Insert needle down at position 2 (top-right corner)
Top-right orientation:
- Up at position 2 (top-right)
- Down at C
- Up at position 4 (bottom-right)
- Down at position 1 (top-left)
Bottom-left orientation:
- Up at position 3 (bottom-left)
- Down at C
- Up at position 1 (top-left)
- Down at position 4 (bottom-right)
Bottom-right orientation:
- Up at position 4 (bottom-right)
- Down at C
- Up at position 2 (top-right)
- Down at position 3 (bottom-left)
After step 4 in every orientation, the half stitch lies on top of the quarter stitch at the center, which keeps the surface tidy.
Pro Tip: On Aida, use the tip of your needle to gently separate the weave threads before pushing through the center. Forcing the needle straight through without finding the gap frays the fabric and creates a visible hole. On evenweave or linen, the center is naturally open, so placement is easier.
Aida vs evenweave: what changes for partial stitches
| Factor | Aida | Evenweave / Linen |
|---|---|---|
| Center access | Must pierce the woven center | Center hole is naturally open |
| Quarter stitch difficulty | Moderate (requires careful piercing) | Easy (needle drops through open hole) |
| Tension behavior | Stiffer weave holds shape well | More flexible; tension needs monitoring |
| Recommended needle | Size 24 tapestry for 14-count | Size 26 tapestry for 28-count |
| Strand count (14/28-count) | 2 strands standard | 2 strands standard |
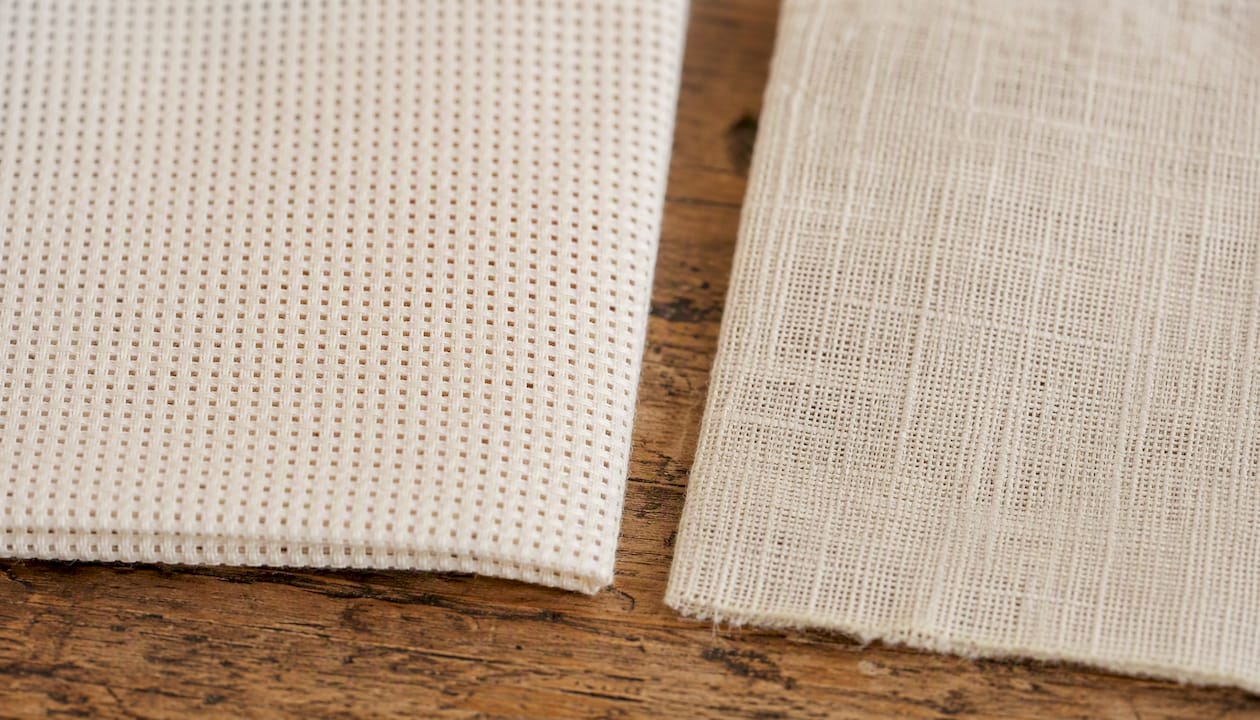
Aida's stiffness is actually helpful for beginners because the fabric holds its shape while you pierce the center. The risk is fraying if you miss the center and push through a thread instead of between them. Evenweave gives you a cleaner entry point but requires more attention to tension, since the looser weave lets partial stitches pull their neighbors out of alignment.
Keep your hoop tension firm but not drum-tight. A hoop that's too tight distorts the grid and makes partial stitches sit at odd angles once the piece is removed.
Pro Tip: For fabric choice guidance beyond partial stitches, a dedicated fabric reference is worth bookmarking before you start a new project.
Common mistakes and how to fix them
- Off-center quarter stitch: The needle missed the true center and pierced a thread instead. Unstitch, re-thread, and use the needle tip to find the gap in the weave before reinserting. Slight off-centering distorts the curve the designer intended.
- Uneven tension: The partial stitch pulls neighboring full crosses out of alignment. Loosen your grip on the thread when pulling through, and match the tension you use for full crosses. Consistent tension matters more than speed.
- Half stitch placed before the quarter: When two colors share a square, stitching the half first buries the center entry and makes the quarter awkward to place. Always stitch the quarter first.
- Misreading the symbol orientation: Stitching a top-left orientation when the chart shows bottom-right flips the pointed tip the wrong way. Re-read the triangle direction in the chart square before starting.
- Loose tail at the center: If the quarter stitch tail isn't secured, it works loose over time. When the half stitch follows immediately, it covers and anchors the center entry. Skipping straight to the half without completing the quarter properly leaves that tail exposed.
To finish and secure partial stitches, run the tail under at least three stitches on the back before trimming. The center entry on Aida is a smaller hole than a corner hole, so the thread is more likely to slip if you trim too close.
Building a practice swatch
A short practice routine on scrap fabric builds the muscle memory you need before attempting partial stitches in a real project.
- Cut a small piece of 14-count Aida, at least 3 inches square, and mount it in a small hoop.
- Stitch two full crosses in the center to establish your tension baseline.
- Stitch one three-quarter stitch in each of the four orientations around those full crosses, one per corner.
- Photograph the front and back of the swatch.
- Repeat on evenweave if you have a scrap, noting how the center entry differs.
- Try one square with two colors: stitch the quarter in color A first, then the three-quarter in color B so the half lays over the center.
When a square holds two colors, stitch the quarter of the secondary color first, then the three-quarter so the half-stitch component covers the center entry and produces a cleaner finish. The double three-quarter stitch, two three-quarter stitches in one square with overlapping halves, is worth trying on your swatch once you're comfortable with the single version.
Supplies and resources worth having
- Needles: Size 24 tapestry needle for 14-count Aida; size 26 for 28-count evenweave. A blunt tip protects the weave when piercing the center.
- Fabric: A small piece of 14-count Aida for practice, plus a scrap of 28-count evenweave if you want to compare center-piercing behavior.
- Hoop: A 4-inch or 6-inch embroidery hoop keeps tension consistent during practice.
- Floss: Two contrasting DMC colors for the mixed-square exercise. Two strands on 14-count is standard.
- Pattern notes: Use Flossom to upload your pattern PDF, photograph your practice swatch, and log which thread colors you used in partial-stitch areas. The app's WIP photo tracking means you can compare your swatch against the pattern chart side by side, and its stitch journal features let you note tension settings and orientation decisions for future reference.
A note from Simone
Learning partial stitches on scrap fabric before touching your actual project is the single habit that separates frustrating first attempts from clean results. Photograph your practice swatch front and back, then hold it next to the chart. You'll immediately see whether your orientation matches the designer's intent. Speed comes later. Consistent tension is the only thing that matters at the start.
Sources
- How to Do a Three Quarter Stitch | Cross Stitch Academy
- Three-quarter stitch — Better Cross Stitch Patterns
- EMS - Stitch Diagrams
- How To Make A Three-Quarter Cross Stitch - Crewel Ghoul
Recommended
We make Flossom — the calm app for cross-stitchers and embroiderers who want their stash, projects, fabric and shopping list in one tidy place.