
Embroidery Care and Washing Guide: Keep Stitches Fresh
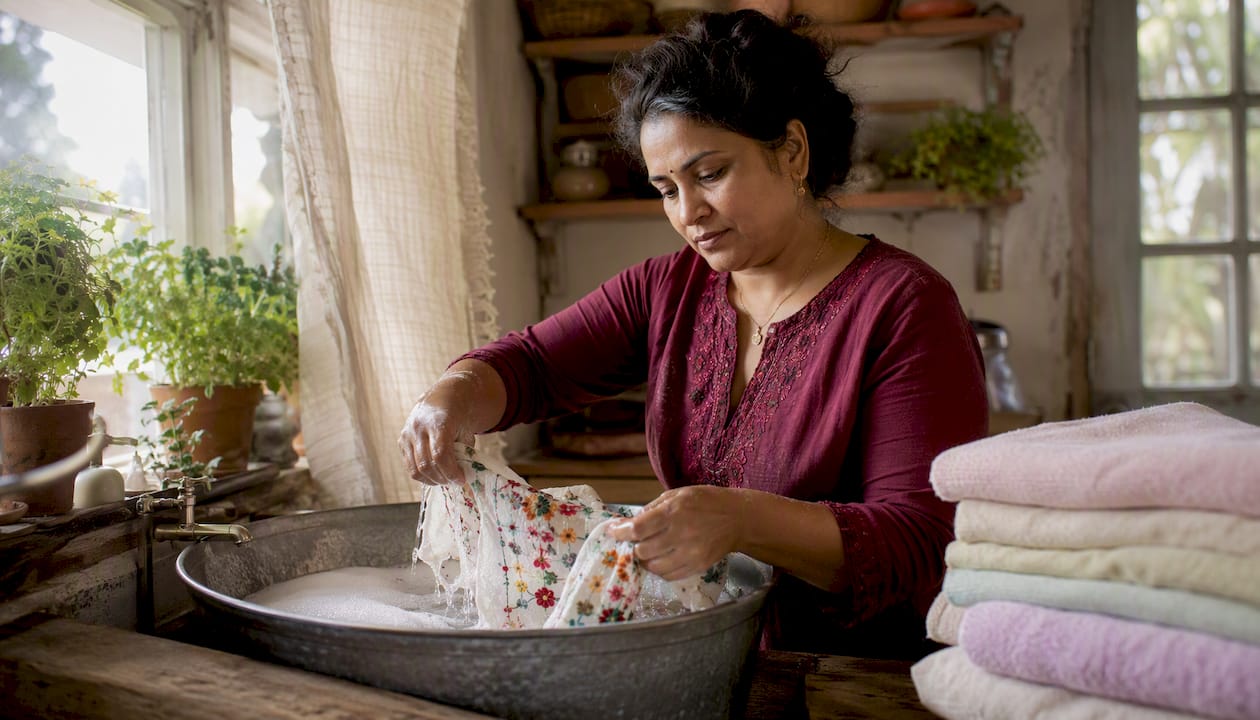
Embroidery Care and Washing Guide: Keep Stitches Fresh ! Woman hand washing embroidered cloth in basin Cold water, a pH-neutral detergent, minimal agitation, and flat air-drying are the four rules that keep embroidered pieces looking sharp for years.
Embroidery Care and Washing Guide: Keep Stitches Fresh
Cold water, a pH-neutral detergent, minimal agitation, and flat air-drying are the four rules that keep embroidered pieces looking sharp for years. Skip any one of them and you risk puckering, color bleeding, or flattened satin stitches that no amount of re-pressing will fix. The American Cleaning Institute warns that tumble drying creates sustained friction and heat that permanently damages raised stitches. Two things to cut from your laundry routine immediately: chlorine bleach and enzyme-based biological detergents. Both degrade thread fibers faster than washing frequency ever will.
- Use cold water (≤30°C / ≤86°F) for every wash, machine or hand
- Choose a pH-neutral, dye-safe detergent with no bleach and no enzymes
- Turn garments inside out and use a fine mesh laundry bag
- Air-dry flat in shade; never tumble-dry on high heat
- Never iron directly on raised stitches
Pro Tip: Log your thread types, fabric content, and chosen wash method in Flossom or a simple care notebook the first time you wash a piece. Future washes take seconds when the safe routine is already recorded.
Table of Contents
- What you should always do (and never do) with embroidered items
- How to inspect and prepare embroidered items before any cleaning
- When is machine washing safe, and how do you do it right?
- Hand washing: the safe default for most embroidered pieces
- When does embroidery need professional dry cleaning?
- How to dry, iron, and press embroidery without flattening the stitches
- Spot-cleaning and stain removal: test first, treat gently
- Thread- and fabric-specific care at a glance
- Storage and preventative maintenance that reduce how often you wash
- Fixing minor damage and knowing when to call a conservator
- Key Takeaways
- The care habit most stitchers skip until it's too late
- Flossom helps you track care notes alongside your stash
What you should always do (and never do) with embroidered items
Do:
- Turn the item inside out before washing
- Test colorfastness in a hidden seam area before the first wash
- Hand wash or use a machine's delicate/gentle cycle
- Place the item in a fine mesh laundry bag
- Air-dry flat on a clean towel, away from direct sunlight
Don't:
- Use chlorine bleach or optical brighteners
- Use enzyme-based or biological detergents
- Tumble-dry on high heat or leave in a hot dryer
- Wring or twist wet embroidery to remove water
- Use fabric softener, which coats thread fibers and dulls sheen over time
How to inspect and prepare embroidered items before any cleaning
Start with the care label. It tells you the base fabric's limits, not the embroidery's, so treat it as a floor, not a ceiling. A cotton shirt labeled "machine wash warm" still needs cold water and a gentle cycle once embroidery is involved.
Next, identify your thread type. Rayon, silk, and metallic threads all need hand washing regardless of what the base fabric tolerates. Check for loose threads, damaged stabilizer backing, beads, sequins, or detachable hardware. Anything that could snag or unravel in water needs attention before the item gets wet.
- Read the care label and note the base fabric (cotton, linen, polyester, wool, silk)
- Identify thread fiber type (polyester, rayon, silk, metallic, cotton floss)
- Test colorfastness: press a damp white cloth against an inconspicuous area for 30 seconds; if dye transfers, hand wash only or dry clean
- Trim any snags carefully, keeping well away from anchor stitches
- Secure long thread tails with a small knot or a few tacking stitches on the back
- Remove detachable hardware, buttons, or trims that could damage the embroidery
- Turn the garment inside out, fasten all closures, and place in an appropriately sized mesh bag
Pro Tip: Documenting fabric content and thread type in Flossom when you finish a project means you never have to guess at wash settings later. The fabric cataloging guide on the Flossom blog shows exactly how to set this up.
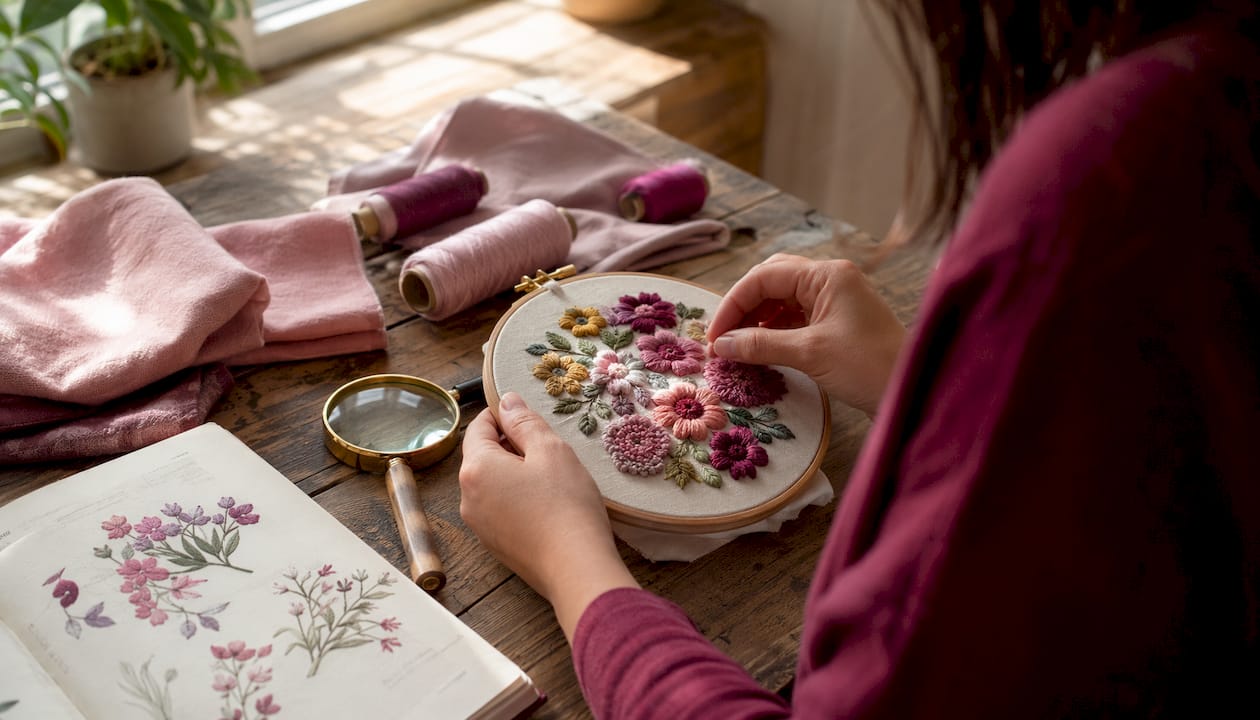
When is machine washing safe, and how do you do it right?
Machine washing is acceptable only when three conditions are all true: the base fabric is stable polyester or a sturdy cotton-poly blend, the embroidery thread is 100% polyester, and there are no metallic, rayon, or silk elements anywhere in the design. If any condition fails, hand wash instead.
When all three conditions pass, follow this sequence:
- Turn the garment completely inside out
- Place it in a fine mesh laundry bag
- Select the delicate or gentle cycle
- Set water temperature to cold (≤30°C / ≤86°F)
- Set spin speed to low (400–600 RPM)
- Add a small amount of pH-neutral detergent with no enzymes or optical brighteners
- Remove the item immediately when the cycle ends and reshape it by hand
A few add-ons worth using: toss in a color-catcher sheet if you suspect any dye bleeding, and keep the load small so items don't tangle. Skip fabric softener entirely.
- Never use a high-spin cycle; the centrifugal force stresses stabilizer backing
- Do not rely on the dryer to finish the job — air-dry flat every time
- Wash embroidered items separately from heavy items like jeans or towels
Hand washing: the safe default for most embroidered pieces
For anything with rayon, silk, metallic thread, dense satin-stitch areas, heirloom linens, or antique pieces, hand washing is the right call. It gives you full control over agitation and temperature, which is exactly what delicate embroidered fabrics need.
- Fill a clean basin with cold water (15–25°C / 59–77°F)
- Add roughly 1 teaspoon of pH-neutral detergent per gallon of water
- Submerge the item and gently press water through the fabric — no rubbing, no twisting
- Let it soak for 5–10 minutes
- Drain the basin, refill with clean cold water, and rinse by gently pressing again
- Lift the item out flat (never by a corner, which stresses the stitching) and press excess water out with a clean towel
For very delicate floss or antique pieces, a no-rinse delicates detergent eliminates the rinse step entirely and reduces handling time. Using two basins — one for washing, one for rinsing — also cuts down on over-manipulation.
Pro Tip: Photograph the item before and after washing. If a color shifts or a thread puckers, you have a before-and-after record that helps you adjust the method next time. Store those photos alongside your care notes in Flossom's project tracking log.
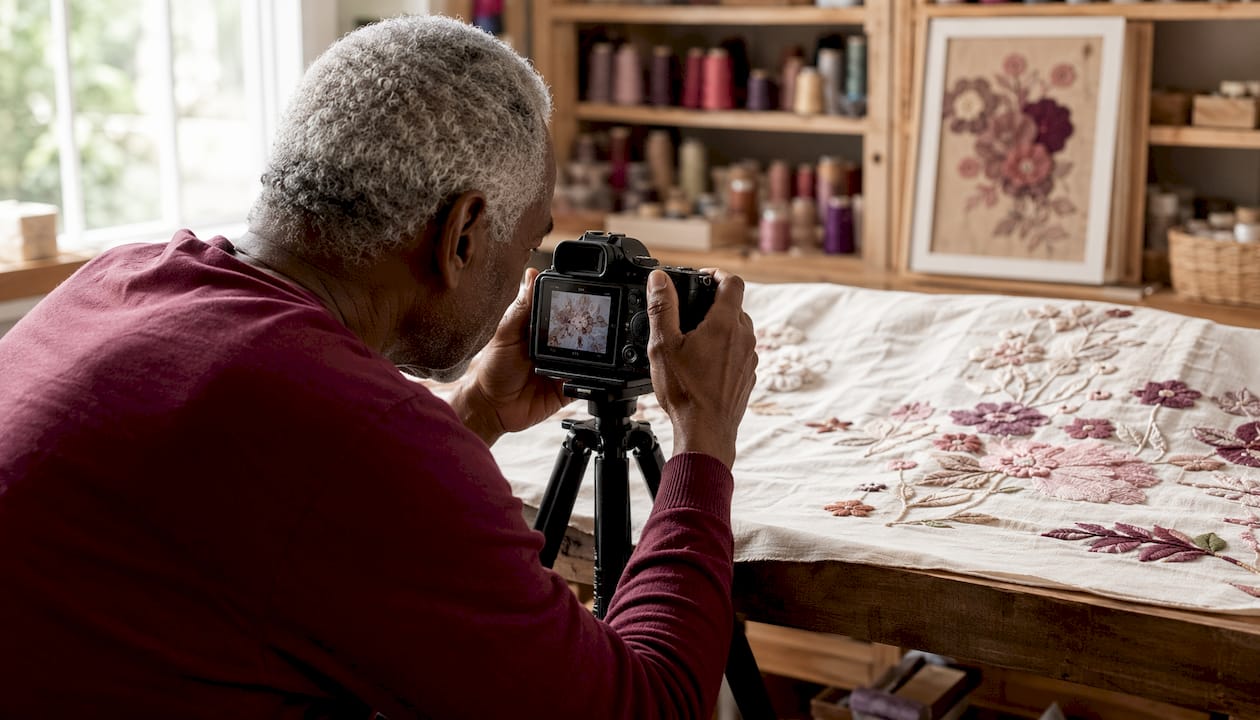
When does embroidery need professional dry cleaning?
Some pieces should never see a home washing basin. Take them to a professional cleaner instead:
- Wool-on-wool embroidery, which shrinks and felts unpredictably in water
- Vintage or antique pieces that crinkle audibly when handled — that sound signals fragile fiber degradation
- Items with heavy beading, sequins, or metallic thread that would tarnish or shed
- Any piece where your colorfastness test showed dye transfer with plain cold water
When you drop the item off, tell the cleaner the thread fiber types, flag any delicate stabilizer backing, and ask for minimal mechanical agitation and a padded-press finish. Confirm the solvent they plan to use won't strip sheen from metallic or silk threads.
Pro Tip: Ask for a spot-cleaning test on a hidden area before the full treatment. Take photos of the piece beforehand, and note the cleaner's method and solvent in your care log so you can replicate or avoid it next time.
How to dry, iron, and press embroidery without flattening the stitches
Air-dry flat on a clean towel in a shaded, well-ventilated spot. Flip the item once halfway through so both sides dry evenly. Never hang a wet embroidered piece by its shoulders — the weight of wet fabric pulls stitches out of alignment.
Ironing requires a press cloth or the garment turned completely inside out. Press on the reverse side only, using a low heat setting. For cotton and linen, keep the iron below 150°C and move it constantly; for silk, use steam from a distance rather than direct contact.
- Never press directly on raised stitches — satin stitch and French knots flatten permanently under iron pressure
- Reshape the piece while it is still slightly damp; dry fabric is much harder to coax back into shape
- Use a needle board or a plush terry-cloth surface under dimensional stitches when pressing
Pro Tip: Record the pressing temperature and method in your care notes. If a piece puckers after washing, you can trace it back to the heat setting and adjust.
Spot-cleaning and stain removal: test first, treat gently
Fresh stains respond best to immediate cold-water flushing. The longer a stain sits, the more it bonds with thread fibers, and the more aggressive treatment you'll need — which increases the risk of damage.
- Rinse the stained area under cold water for 1–2 minutes to dilute and lift the stain
- Mix a small amount of pH-neutral detergent with cold water to create a diluted solution
- Dab the solution onto the stain with a clean white cloth; wait 30 seconds, then blot and rinse
- Repeat once if needed, but stop if you see any dye transfer to the cloth
Never scrub embroidered areas. Scrubbing frays thread fibers and loosens anchor stitches. Dab, blot, and rinse — that's the full motion.
For specific stain types: a diluted white vinegar solution works on organic stains on cotton or linen (avoid on silk). A baking-soda paste can lift grease from cotton, but keep it away from silk and metallic threads. Rust stains require a specialized rust remover and professional advice before you attempt home treatment. Never use chlorine bleach or hydrogen peroxide on colored embroidery — both strip dye from threads irreversibly.
Thread- and fabric-specific care at a glance
| Thread Type | Machine Wash Safe? | Recommended Method | Max Water Temp | Special Notes |
|---|---|---|---|---|
| Polyester | Yes, with conditions | Delicate cycle, mesh bag | 30°C / 86°F | Most tolerant; still use low spin |
| Cotton floss | Usually | Delicate cycle or hand wash | 30°C / 86°F | Prone to puckering from heat |
| Rayon | No | Hand wash only | 25°C / 77°F | High bleed risk; fiber weakens under agitation |
| Silk | No | Hand wash or dry clean | 25°C / 77°F | Loses sheen and strength in warm water |
| Metallic | No | Hand wash or dry clean | 25°C / 77°F | Tarnishes; frays under machine agitation |
A few rules that apply across all thread types:
- Rayon and silk bleed color under agitation and heat; even a single warm-water machine wash can cause irreversible damage
- Metallic threads tarnish when exposed to heat and certain detergent chemicals; always hand wash and dry flat
- Polyester thread is the most forgiving, but it still benefits from mesh protection and a low spin speed
Do not starch embroidered pieces before long-term storage. Natural starch stiffens fibers, increases breakage at fold lines, and attracts insects that feed on starch-treated fabric. Starch only on the day of use.
Storage and preventative maintenance that reduce how often you wash
Over-washing is one of the primary causes of embroidery deterioration. Gentle brushing or low-suction vacuuming with a nylon stocking over the nozzle removes surface dust and extends the time between full washes considerably. Breathable storage and humidity control often do more for long-term preservation than any washing technique.
- Store in breathable cotton garment bags, never sealed plastic, which traps moisture and promotes mildew
- Fold with acid-free tissue between layers to prevent crease lines from cutting into stitches
- Roll large linens on acid-free tubes rather than folding them flat
- Keep ambient humidity between 40–50%; use silica gel packs for heirloom pieces
- Rotate displayed pieces away from direct sunlight, which fades thread dyes over time
Preventative maintenance — backing checks, breathable storage, and humidity control — is what preservation specialists consistently recommend over reactive cleaning.
Pro Tip: Set up a maintenance schedule in Flossom to track dusting dates, washing history, and storage notes. A quick reminder every few months to check backing tension and humidity levels keeps heirloom pieces in good shape without a single unnecessary wash.
Fixing minor damage and knowing when to call a conservator
For a loose thread that hasn't broken, run a small backstitch or tacking stitch on the back of the fabric using matching thread. Never cut anchor stitches to remove a snag — that unravels the surrounding design. A tiny drop of textile-safe adhesive is a last resort only, and only on the back of the fabric.
- Secure loose thread tails by weaving them back through existing stitches on the reverse side
- For a small pulled stitch, use a blunt needle to gently ease the thread back into position from the back
- Avoid cutting any thread unless it has fully broken and the ends are secured on both sides
Consult a textile conservator when: the piece is antique or has significant monetary or sentimental value, thread loss is widespread, the base fabric is structurally damaged, or staining is extensive enough that home treatment risks making it worse.
Pro Tip: Before contacting a conservator, photograph the damage clearly and write down the fabric type, thread fiber, full care history, and any treatments already attempted. That information speeds up their assessment and improves the outcome.
Key Takeaways
Protecting embroidery comes down to cold water, minimal agitation, the right detergent, and storage that keeps pieces out of the wash in the first place.
| Point | Details |
|---|---|
| Keep it cold and gentle | Use water ≤30°C (86°F), a pH-neutral detergent, and low spin speeds every time. |
| Hand wash rayon, silk, and metallic | Machine agitation causes irreversible color bleeding and fiber damage in these thread types. |
| Air-dry flat, never tumble-dry | Sustained heat flattens raised stitches and shrinks stabilizer backing permanently. |
| Storage prevents deterioration | Breathable bags, 40–50% humidity, and acid-free tissue reduce wash frequency and slow degradation. |
| Track care notes with Flossom | Logging thread type, wash method, and photos in Flossom prevents repeat mistakes across projects. |
The care habit most stitchers skip until it's too late
Most embroidery care guides focus almost entirely on washing technique, and that's understandable — a bad wash can ruin a piece in minutes. But the bigger threat is slower and quieter: pieces stored in sealed plastic bags, folded without tissue, sitting in a room that swings between 30% and 70% humidity depending on the season. That slow degradation doesn't announce itself the way a bleeding dye does. You notice it years later when threads start breaking at fold lines or a backing crinkles in a way it never did before.
The stitchers who preserve pieces for decades aren't necessarily washing more carefully. They're washing less often, storing more thoughtfully, and keeping records. A simple care log — even a few notes in a phone app — tells you what worked last time, which thread bled, and how long it's been since a piece was aired out. That information is worth more than any single washing technique.
If you've inherited an embroidered piece or finished something you genuinely want to last, start the care log before the first wash, not after something goes wrong.
Flossom helps you track care notes alongside your stash
Washing an embroidered piece correctly once is straightforward. Doing it correctly three years later, when you can't remember whether that thread was rayon or polyester, is where most damage happens.

Flossom is Flossom's own app, built for stitchers who want to keep their projects and materials organized in one place. Beyond tracking your thread stash across 55 brands and auto-generating shopping lists, it gives you a place to log fabric content, thread fiber types, wash methods, and photos of finished pieces before and after cleaning. Set a low-stock alert for your go-to pH-neutral detergent, or use the project tools to build a maintenance schedule that reminds you when a piece is due for a dust or a check. The free tier covers DMC and Anchor stash with three projects; Pro unlocks all 55 brands, barcode scanning, fabric tracking, and unlimited projects. Try Flossom free at flossom.app and start your first care log today.
Recommended
We make Flossom — the calm app for cross-stitchers and embroiderers who want their stash, projects, fabric and shopping list in one tidy place.