
Stumpwork Embroidery: A Beginner's Guide for Stitchers
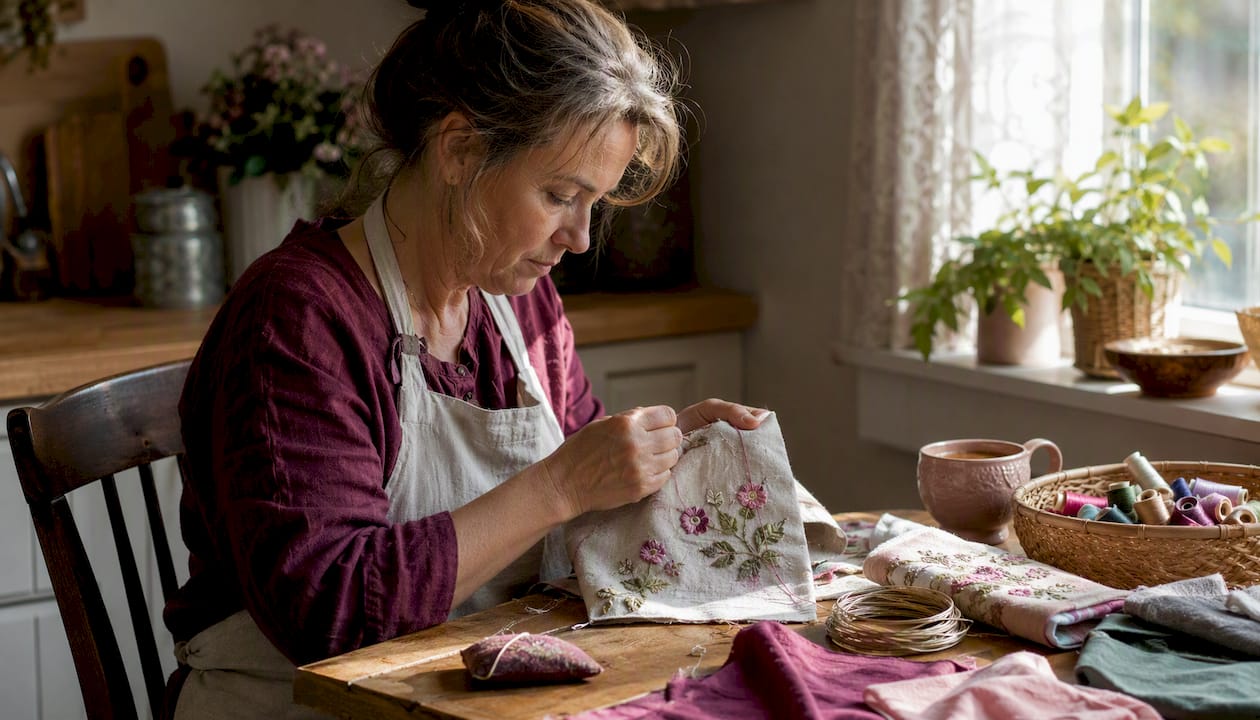
Stumpwork Embroidery: A Beginner's Guide for Stitchers ! Woman working on raised stumpwork embroidery Stumpwork embroidery is a raised, three-dimensional needlework technique where motifs are lifted off the ground fabric using padding, wire frames, and detached elements called slips.
Stumpwork Embroidery: A Beginner's Guide for Stitchers
Stumpwork embroidery is a raised, three-dimensional needlework technique where motifs are lifted off the ground fabric using padding, wire frames, and detached elements called slips. The Royal School of Needlework (RSN) describes it as a style where design elements are elevated from the base fabric to create a sculptural, three-dimensional effect. The term "stumpwork" was coined in the 19th century, although the technique itself dates back to mid-17th-century England. You don't need exotic supplies to try it: as Craftsy's stumpwork tutorial notes, felt, basic wire, and standard embroidery floss are enough to build your first raised motif. The Embroiderers' Guild of America (EGA) and RSN both offer resources for learning the craft at every level. If you want to track your supplies and plan projects as you learn, Flossom works well as a companion tool.
Table of Contents
- How stumpwork embroidery developed from the 17th century to today
- What materials and tools you need for stumpwork
- Core techniques that create the raised effect
- How to make your first raised leaf: a step-by-step starter
- Classic motifs and modern stumpwork project ideas
- Practical tips for beginners and mistakes to avoid
- How Flossom can help you plan and track stumpwork projects
- Key Takeaways
- Why stumpwork still matters for stitchers today
- Flossom helps you keep your stumpwork supplies organized
- Useful sources for learning more about stumpwork
How stumpwork embroidery developed from the 17th century to today
Stumpwork's roots run deep. The technique emerged in England around 1650 and remained fashionable through roughly 1700, when young women and girls stitched elaborate raised scenes onto satin as a mark of accomplishment and social standing.
Key periods in the craft's history:
- Mid-17th century: Raised embroidery flourished in England, often called broderie en relief in French-influenced court circles. Pieces decorated caskets, frames, and luxury objects rather than clothing, using metal threads, gimp cord, pearls, and semi-precious stones on satin grounds.
- Restoration era (1660–1700): Motifs carried coded meaning. Historical scholarship notes that butterflies, caterpillars, and oak trees could signal specific political allegiances during this period, making embroidery a quiet form of messaging.
- 19th century: The term "stumpwork" entered common use, likely referencing the carved wooden stumps or molds sometimes used to pad raised figures.
- 20th–21st century: A steady revival brought the technique into guild curricula and online tutorials. The EGA and RSN now both maintain stitch banks and course offerings that treat stumpwork as a living, evolving practice.
What makes this history worth knowing isn't just trivia. Understanding that historical stitchers used stumpwork to tell stories, signal loyalties, and display wealth reframes what you're doing when you build a raised butterfly or oak leaf today.
What materials and tools you need for stumpwork
The good news: you probably own more of this than you think.
Base fabrics:
- Plain-weave linen or high-quality quilting cotton for most projects. These handle repeated needle piercing and the added weight of padded slips better than very fine silk. (Silk works beautifully for display pieces, but it can distort under tension.)
- A fabric guide for embroiderers can help you compare weave weights before you buy.
Threads:
- Cotton embroidery floss (DMC, Anchor) for general stitching and filling
- Silk threads for fine detail and sheen
- Metallic threads for goldwork-style accents, historically accurate to 17th-century pieces
Padding materials:
- Felt layers (stack and trim to shape for smooth, graduated padding)
- Cotton batting or wool roving for higher-relief stuffed elements
- Synthetic foam padding for modern projects
Wire:
- Experienced stitchers recommend using wire in a suitable craft gauge for wired slips, leaving short tails to attach the slip to the ground fabric. Thinner gauges (28–30) bend more easily for small, delicate shapes; 26 gauge holds its shape better for larger motifs.
Needles and tools:
- Crewel needles (sizes 5–10) for surface stitching
- Tapestry needles for needlelace and couching
- Sharp embroidery scissors with fine tips
- A sturdy hoop or frame (slate frames work well for keeping ground fabric taut)
Embellishments:
- Seed beads, freshwater pearls, or small sequins for texture and historical authenticity
| Supply | Best option | Substitute |
|---|---|---|
| Base fabric | Plain-weave linen | High-quality quilting cotton |
| Thread | Silk or cotton floss | DMC/Anchor cotton floss |
| Padding | Felt layers | Cotton batting |
| Wire | 26–30 gauge craft wire | Florist wire (similar gauge) |
| Needles | Crewel sizes 5–10 | Standard embroidery needles |
| Embellishments | Seed beads, pearls | Small sequins, glass beads |
Pro Tip: Before attaching wired slips to your ground fabric, pre-stabilize the ground with a layer of muslin or iron-on interfacing on the back. This prevents the fabric from puckering under the weight of padded elements and makes repeated piercing much cleaner.
Core techniques that create the raised effect
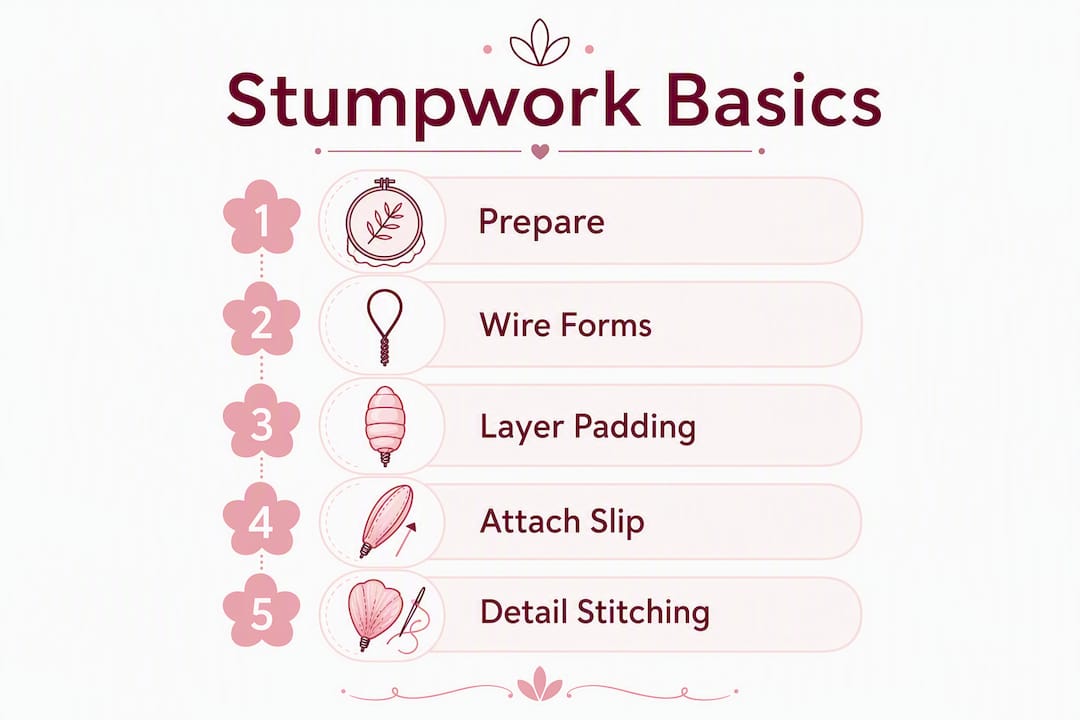
Stumpwork combines multiple embroidery methods rather than relying on a single fixed stitch set. Think of it as structural engineering: you're building a stable foundation, then stitching over it.
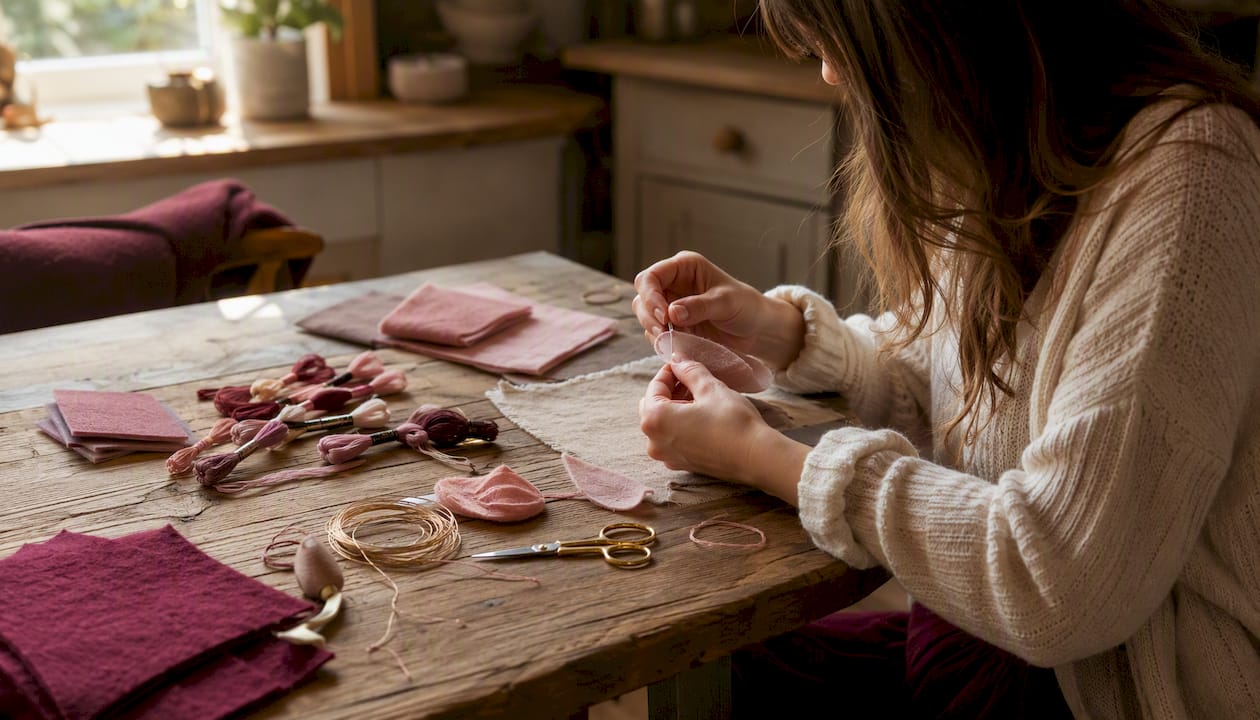
The table below maps the main techniques to their function:
| Technique | What it does |
|---|---|
| Layered felt padding | Stacks trimmed felt shapes to build a smooth, graduated mound under surface stitches |
| Wired slips | Wire couched into a shape, stitched over, then cut free and applied to ground fabric so the motif stands proud |
| Detached buttonhole stitch | Worked over wire to create free-standing petals, wings, or leaves with open lacework texture |
| Satin stitch | Fills padded shapes smoothly; direction of stitches creates sheen and dimension |
| Bullion and French knots | Add high-relief texture for flower centers, insect bodies, or fur effects |
| Needlelace | Fine lacework edges or fillings worked in the air over a wire frame |
| Couching | Lays wire or heavy thread along a path and secures it with tiny stitches |
| Goldwork integration | Metal threads couched over padding for historically accurate raised metalwork effects |
A practical example of how these combine: bend 28 gauge wire into a leaf outline, couch it to a separate piece of fabric, work detached buttonhole stitch across the wire frame, then pad the center with a small felt layer before cutting the slip free. Attach it to your ground fabric by threading the wire tails through to the back and couching the tails through the backing only so no couching thread shows on the front.
That last detail separates tidy work from work that looks finished.
How to make your first raised leaf: a step-by-step starter
This mini project takes about two hours and teaches the core workflow.
You'll need:
- A 6" square of plain-weave linen or cotton, hooped tightly
- A separate 3" square of the same fabric (for the slip)
- DMC cotton floss in two greens
- 28 gauge craft wire, cut to about 8"
- One small piece of felt, trimmed to a leaf shape
- Crewel needle, size 7
- Sharp scissors
Steps:
- Draw your leaf shape on the slip fabric with a water-soluble pen. Keep it small: 1–1.5" long is ideal for a first attempt.
- Bend the wire into the leaf outline, leaving 1" tails at the base. Couch the wire to the slip fabric with tiny stitches in matching thread, following your drawn line.
- Fill the leaf with satin stitch worked across the wire frame, angling stitches from the center vein outward. Cover the wire completely.
- Add the felt pad: cut a felt piece slightly smaller than your leaf and tack it to the center of the stitched slip. This lifts the center and gives the leaf a natural curve.
- Cut the slip free from the slip fabric, cutting close to the wire without snipping your stitches.
- Pierce the ground fabric at the base of where your leaf will sit. Thread the wire tails through to the back using a large-eye needle.
- Couch the tails on the back of the ground fabric only, piercing just the backing layer. Trim excess wire and secure with a few extra stitches.
- Adjust the leaf from the front: gently curve it upward with your fingernail so it stands away from the fabric.
Troubleshooting: If the slip sags after attachment, the wire tails weren't secured tightly enough on the back. Re-couch them with an extra pass before trimming. Avoid overstuffing the felt pad: one layer is usually enough for a first project.
Classic motifs and modern stumpwork project ideas
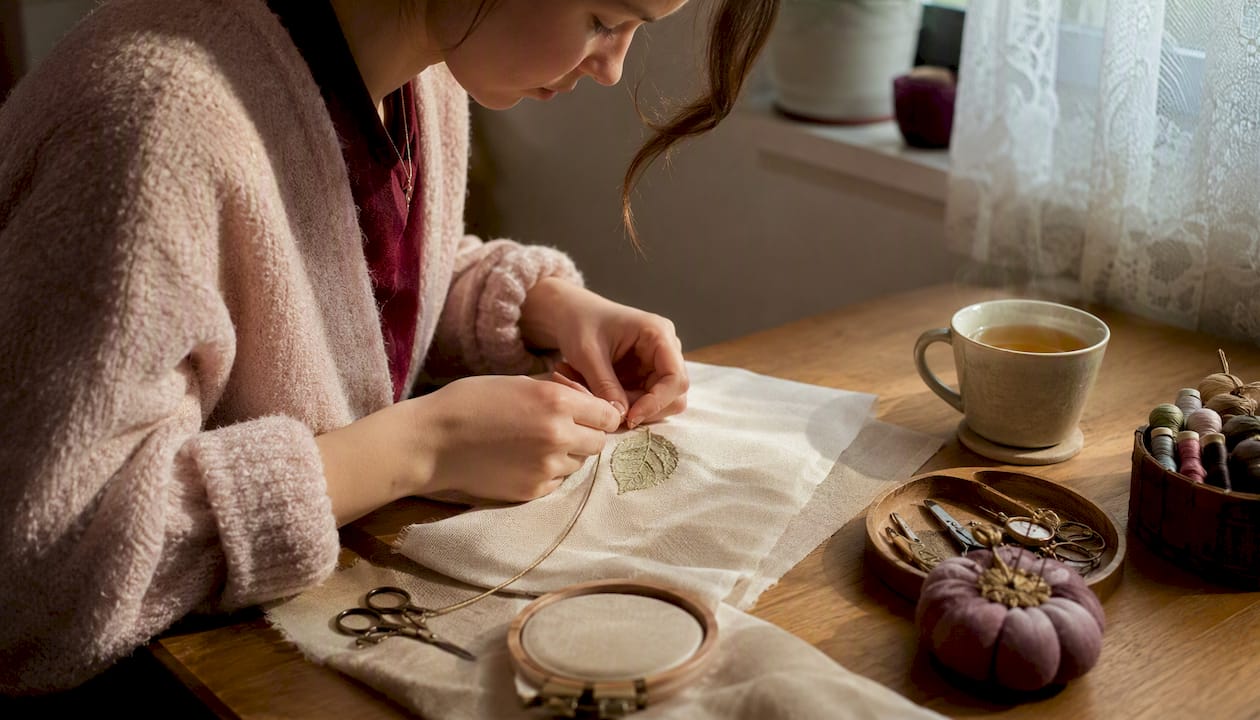
Historical stumpwork leaned heavily on a recognizable vocabulary: roses, carnations, honeysuckle, strawberries, caterpillars, butterflies, stags, and small human figures in period dress. These weren't arbitrary choices. Flowers signaled virtue; insects suggested transformation; fruit implied abundance. The EGA notes that modern stitchers now use synthetic padding and found objects alongside traditional methods, expanding what's possible without abandoning the technique's dimensional goals.
Today's stumpwork projects range widely:
- Framed botanical panels: single flowers or garden scenes with wired petals that cast actual shadows
- Decorative boxes and caskets: a direct callback to 17th-century practice, popular in RSN and EGA courses
- Wearable accents: brooches and hair ornaments using small wired slips on felt backings
- Mixed-media fiber art: stumpwork combined with silk ribbon embroidery, goldwork, or even resin elements
- Insect studies: bees, dragonflies, and beetles are perennial favorites because their wings translate perfectly to detached buttonhole stitch over wire
For patterns and stitch references, the RSN StitchBank and EGA's technique library are the most reliable starting points. Both offer free online resources alongside paid courses.
Practical tips for beginners and mistakes to avoid
Do:
- Hoop your ground fabric tightly before attaching any slips. A slack ground makes everything harder to position accurately.
- Test wire placement on a scrap before committing to the final ground fabric.
- Practice detached buttonhole stitch on a spare piece of wire before working it on your actual motif.
- Finish wire tails by couching through the backing only, keeping the front clean.
- Use a stabilizer or muslin backing on lightweight ground fabrics.
Don't:
- Over-pad. One or two felt layers is almost always enough. Thick padding makes surface stitches uneven and the slip harder to control.
- Skip the separate slip fabric. Working directly on the ground fabric defeats the purpose of detached elements and limits the three-dimensional effect.
- Use very fine silk as your ground fabric for a first project. It distorts under tension and makes wire piercing messy.
- Leave wire tails long on the back. Trim them close after couching or they'll poke through over time.
Quick fixes:
- Sagging slip: re-couch the wire tails more firmly; add a small tack stitch at the motif's outer edge to the ground fabric.
- Visible couching on the front: unpick and redo, piercing the backing layer only.
- Uneven padding: trim the felt layers to a more gradual taper at the edges before stitching over them.
Pro Tip: When couching wire tails to the back, use a thread that matches your ground fabric, not your motif thread. If any stitch catches the light at an angle, it blends into the background rather than drawing the eye.
How Flossom can help you plan and track stumpwork projects
Digital tools don't teach you how to hold a needle, but they do solve the organizational headaches that derail projects before they start.
Flossom is built for stitchers managing multiple works-in-progress, and stumpwork projects tend to involve more material types than standard surface embroidery: multiple thread colors, felt in several sizes, wire in different gauges, beads, backing fabric, and the ground fabric itself. Keeping track of what you have versus what you need is where things get messy.
Useful Flossom features for stumpwork planning:
- Stash catalog: log threads by brand and color number across 55 brands, including DMC and Anchor, so you know exactly what you own before ordering more
- Shopping list generation: upload your pattern or note your project requirements, and Flossom compares them against your stash to generate a precise list of what's missing
- Thread brand conversion: if a pattern calls for a Anchor color you don't have, Flossom finds the closest DMC equivalent
- WIP photo tracking: photograph your project after each assembly step (wire frame, slip stitched, slip attached) to document progress and catch problems early
- Pattern PDF uploads: store your stumpwork pattern files alongside your project notes so everything lives in one place
Flossom supports planning and materials management. It doesn't replace hands-on practice, a good class, or time spent with an RSN or EGA resource. Think of it as the notebook that keeps your supply list honest. For embroidery project planning across multiple WIPs, having that catalog in your pocket matters more than most stitchers expect until they've accidentally bought the same thread color three times.
Key Takeaways
Stumpwork embroidery is a raised, three-dimensional technique built on wired slips, layered padding, and detached elements that lift motifs off the ground fabric, with roots in 17th-century English needlework and a strong modern revival through RSN and EGA programs.
| Point | Details |
|---|---|
| Core definition | Stumpwork creates raised, 3D motifs using padding, wire, and detached slips stitched separately then applied to ground fabric. |
| Historical roots | The technique peaked in England from 1650–1700; the term "stumpwork" came later, in the 19th century. |
| First techniques to learn | Start with layered felt padding and wired slips before attempting needlelace or goldwork integration. |
| Wire gauge to use | Community guidance recommends 26–30 gauge wire for wired slips, with 1–2" tails for attachment. |
| Flossom for planning | Flossom catalogs threads, generates shopping lists, and tracks WIP photos, keeping stumpwork supply management organized across projects. |
Why stumpwork still matters for stitchers today
Most embroidery sits flat. Stumpwork doesn't, and that distinction changes what the craft can do. When a butterfly wing lifts off the fabric and casts a shadow, you're no longer just decorating a surface. You're building something closer to sculpture, and that shift in thinking is what makes stumpwork genuinely different from other needlework traditions.
There's a tendency to treat stumpwork as a historical curiosity, something preserved in museum caskets and RSN archives. That framing undersells it. The same structural logic that 17th-century stitchers used to signal political allegiances through coded motifs is available to anyone today who wants to tell a story in thread. The materials have changed. The impulse hasn't.
What I find most compelling about stumpwork is that it rewards patience over speed. You can't rush a wired slip. You can't fake a well-padded satin-stitched petal. The technique has a built-in honesty: the work either holds its shape or it doesn't. For stitchers who want a craft that pushes back a little, that's exactly the right kind of challenge.
Flossom helps you keep your stumpwork supplies organized
Stumpwork projects involve more material types than most embroidery: threads in multiple colors, felt in several sizes, wire gauges, beads, backing fabric, and ground fabric. Buying duplicates is easy. Running out of a specific gauge mid-project is frustrating.

Flossom solves the supply-tracking side of stumpwork so you can focus on the stitching. Catalog your thread stash across 55 brands, generate shopping lists based on what your project actually needs, convert between thread brands when a pattern calls for something you don't own, and photograph your WIP after each assembly step. The free tier covers DMC and Anchor with up to 3 projects. Flossom Pro unlocks all 55 brands, fabric stash tracking, a barcode scanner, and unlimited projects.
Stumpwork takes practice. Running out of 28 gauge wire on a Saturday afternoon doesn't have to be part of that practice. Try Flossom's project planning tools and keep your materials list one step ahead of your needle.
Useful sources for learning more about stumpwork
- RSN StitchBank: Stumpwork — The Royal School of Needlework's free online stitch reference, with technique descriptions, historical context, and links to RSN courses. The most authoritative single starting point for technique definitions.
- EGA: Embroidery Techniques from Around the World — Stumpwork — The Embroiderers' Guild of America's overview of stumpwork, covering materials, methods, and modern applications. Check the EGA's chapter locator for in-person guild classes near you.
- EGA: 5 Things to Know About Stumpwork Embroidery — A compact primer from the EGA, useful for absolute beginners who want a quick orientation before diving into longer resources.
- V&A Collections: Embroidered Casket — A primary historical source: a 17th-century stumpwork casket in the Victoria and Albert Museum's collection, with detailed catalog notes. Seeing the original work in context is worth the visit, even virtually.
For hands-on instruction, both the RSN and EGA offer structured courses ranging from beginner workshops to advanced certification programs. Local embroidery guilds affiliated with the EGA are a practical option if you prefer in-person learning.
Recommended
We make Flossom — the calm app for cross-stitchers and embroiderers who want their stash, projects, fabric and shopping list in one tidy place.