
How to Transfer an Embroidery Pattern to Fabric
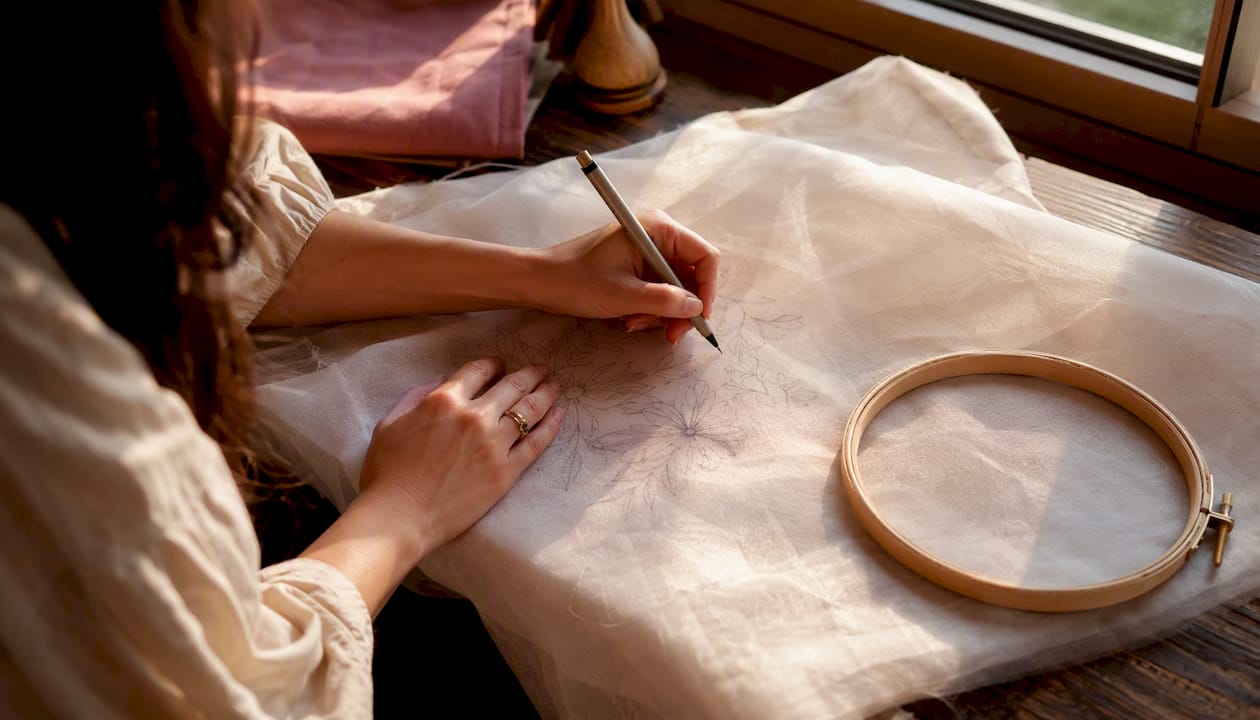
How to Transfer an Embroidery Pattern to Fabric ! Hands tracing embroidery pattern on fabric at window For light, smooth fabric, tape your pattern to a sunny window or a lightbox and trace it with a fine marking pen.
How to Transfer an Embroidery Pattern to Fabric
For light, smooth fabric, tape your pattern to a sunny window or a lightbox and trace it with a fine marking pen. For dark, textured, or heavily piled fabric, print the design onto a printable water-soluble stabilizer like Sulky Solvy, stick it down, stitch through it, and rinse it away. For thick or napped fabric where neither works well, dressmaker's carbon or the old prick-and-pounce method still earns its keep. Pick based on your fabric first, your design's detail level second.
That's the whole decision tree in miniature, and it holds up whether you're stitching a simple monogram or a dense floral sampler. The Embroiderers' Guild of America lists these same core approaches as the ones stitchers reach for most often, and for good reason: each one solves a different fabric problem, not a different skill problem. A beginner using the right method for their fabric will out-stitch an expert using the wrong one.
Here's the shortlist to bookmark before you thread a single needle:
- Light, smooth cotton or linen, simple to moderate detail: lightbox or window tracing with a fine marking pen.
- Dark fabric, wool, felt, or anything with texture: printable water-soluble stabilizer (Sulky Solvy is the most widely used brand).
- Heavy, piled, or napped fabric like velvet or corduroy: dressmaker's carbon or prick-and-pounce.
- Repeating motifs or multiple identical copies: iron-on transfer pens or pencils.
A tool like Flossom can help you log which method worked on which fabric, so you're not relearning the same lesson on your next project.
Key Takeaways
The right embroidery transfer method depends on fabric opacity, texture, and design detail, not on picking whichever technique looks easiest online.
| Point | Details |
|---|---|
| Match method to fabric | Light fabric favors lightbox tracing; dark or textured fabric favors printable water-soluble stabilizer. |
| Test before committing | Run a three-step scrap test for visibility, erasability, and stitch coverage before transferring onto your real fabric. |
| Heat-based methods carry risk | Iron-on pens and heat-erasable markers like Pilot FriXion need temperature testing and can bleed or reappear unexpectedly. |
| Try more than one method early | Testing two or three transfer techniques on early projects builds fabric-specific instinct faster than settling on one. |
| Log your results | A tool like Flossom helps you record which pen, stabilizer, or fabric combination worked so you don't relearn the same lesson twice. |
Table of Contents
- How Do You Transfer an Embroidery Pattern to Fabric?
- Quick Comparison of Embroidery Pattern Transfer Methods
- How Do You Use a Lightbox or Window to Trace a Pattern?
- How Do You Transfer a Pattern With Printable Water-Soluble Stabilizer?
- When Should You Use Carbon Paper, Pounce, or a Tracing Wheel?
- Are Iron-On Transfers and Transfer Pens Worth Using?
- Which Marking Pens and Pencils Should You Use?
- What Works Best on Dark, Textured, or Thick Fabric?
- A Full Walkthrough: Transferring a Floral Design Onto Light Fabric
- How Do You Choose the Right Transfer Method for Your Project?
- What Are the Most Common Transfer Mistakes?
- What Supplies Do You Need and Where Do You Buy Them?
- What Do Experienced Stitchers Test Before Committing to a Method?
- Why Trying a Few Methods Beats Picking Just One
- Track Your Transfer Tests and Patterns With Flossom
- Sources
How Do You Transfer an Embroidery Pattern to Fabric?
Every transfer method does the same basic job: it puts a visible or physical guide on your fabric that tells you where to put your needle. The differences come down to five variables, and knowing them upfront saves you a lot of trial and error.
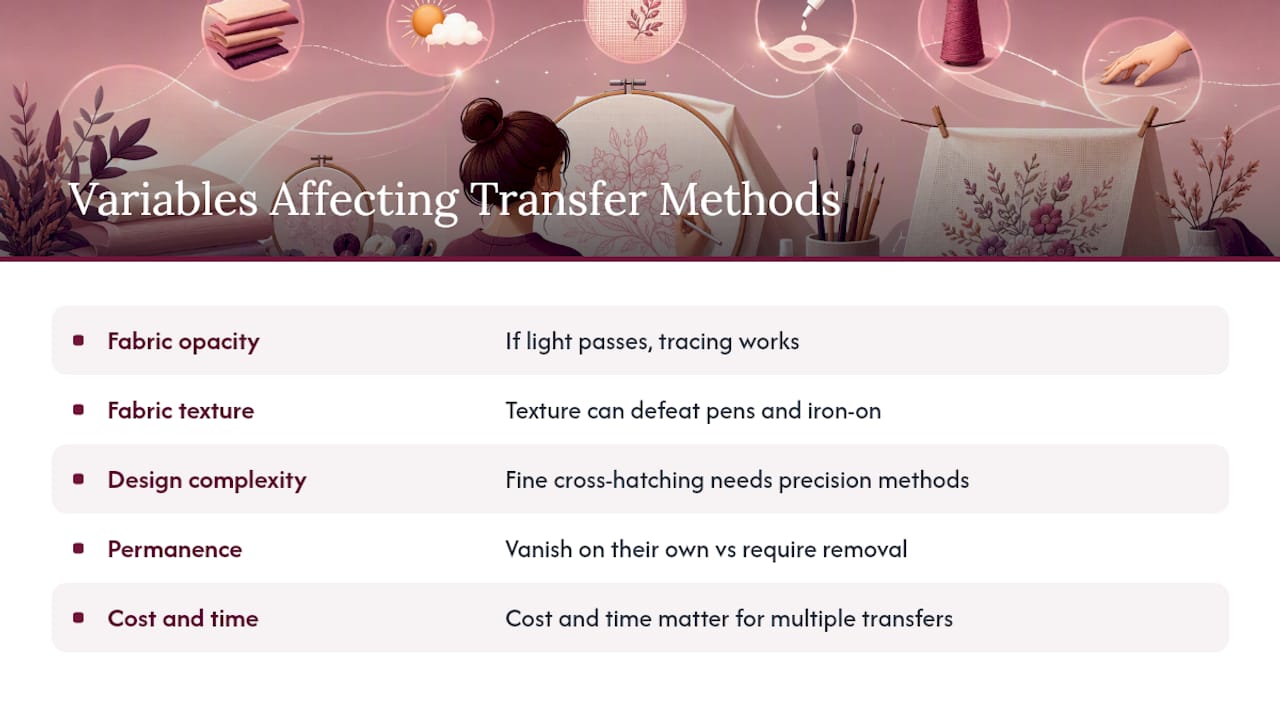
Fabric opacity matters most. Can light pass through it? If yes, tracing works. If no, you need a method that doesn't rely on seeing through the material. Fabric texture matters almost as much. A tightly woven quilting cotton behaves nothing like a nubby linen or a fuzzy wool felt, and texture is what usually defeats iron-on transfers and fine-tip pens alike.
Design complexity is the third variable. A simple outline survives almost any transfer method. A pattern with fine cross-hatching or tiny lettering will only survive methods built for precision, like printable stabilizer. Then there's permanence: do you want the marks to vanish on their own, or do you need to actively remove them? And finally, cost and time, which matter more than most guides admit, especially if you're transferring the same pattern onto a dozen practice squares.
Quick Comparison of Embroidery Pattern Transfer Methods
For most beginners working on light or medium cotton, lightbox tracing is the fastest way to get a clean, confident line without buying anything specialized. If your fabric is dark or has any texture at all, skip straight to printable stabilizer. It costs a little more per project, but it saves the frustration of squinting at a barely visible carbon line under bad lighting.
Before you commit to your actual project fabric, run a quick check:
Test any pen or pencil on a scrap of the same fabric first, not a similar one.
If you're using printable stabilizer, print one test motif before printing the whole design to confirm your printer settings work with the sheet.
Skip the scrap test only when you're using a fully removable, water-soluble product on fabric you can afford to waste a small amount of.
How Do You Use a Lightbox or Window to Trace a Pattern?
Lightbox or window tracing is usually the best starting point for beginners because it needs almost no special equipment and lets you see your design and your fabric at the same time. It works because light passes through both the paper and the fabric, letting the printed lines show through so you can trace them directly. It only works, though, if your fabric is light in color and not too densely woven.
- Print or draw your pattern in bold, dark lines on plain paper.
- Tape the pattern securely to your lightbox or a sunny window, printed side facing you.
- Lay your fabric over the pattern and tape it down at all four corners so it can't shift while you trace.
- Center the design within the area you plan to hoop, leaving enough margin for your embroidery hoop's edge.
- Choose a marking tool suited to your fabric and your plans for finishing (a water-erasable pen for washable projects, a heat-erasable pen like Pilot FriXion if you plan to press it away later).
- Trace slowly and steadily, following the printed lines rather than rushing freehand.
- Remove the tape, hoop your fabric, and check the design under normal light before you start stitching.
The Simply Sewing Magazine walkthrough on this exact technique recommends a dedicated lightbox, like the Daylight Wafer, over a window when you can get one, mostly because it gives you consistent brightness regardless of the time of day or weather. A window works fine in daylight hours, but a cloudy afternoon can leave your lines faint and your eyes strained.
The upside of this method is real: you get to see your fabric's actual texture and color while you trace, which helps you judge your line weight in real time. The downside shows up fast on dark fabric or anything with a nap, where light simply won't pass through enough to reveal the pattern underneath.
Pro Tip: Trace a throwaway corner of your fabric first with your chosen pen, then wash or press it the way you plan to treat the finished piece. Some water-erasable inks need a full rinse, not just a damp cloth, to disappear completely.
How Do You Transfer a Pattern With Printable Water-Soluble Stabilizer?
Printable water-soluble stabilizer is often the strongest choice for dark fabric, textured fabric, or any design with fine detail, because the pattern lives on a separate sheet that dissolves after stitching rather than depending on visibility through the fabric itself. You print the actual pattern, stick it to your fabric, stitch straight through the paper, and then wash the stabilizer away, leaving only your stitches behind.
Sulky Solvy is the most commonly used brand for this, and it comes in both a plain sheet you adhere separately and a self-adhesive "sticky" version that skips the extra step of pinning or basting.
- Choose a printable water-soluble stabilizer sheet sized for your home inkjet printer.
- Print your pattern directly onto the stabilizer, checking your printer's manual setting to avoid excess ink saturation.
- Cut around the design, leaving a small margin.
- Peel the backing (if using a sticky version) and press the stabilizer firmly onto your fabric where you want the design.
- Hoop the fabric and stabilizer together as a single layer.
- Stitch through both the fabric and the stabilizer, following the printed lines exactly.
- Once stitching is complete, soak the piece in room-temperature water for several minutes, then gently rub away any remaining residue.
- Let the fabric air dry flat before pressing.
According to Sewing With Ease, this method holds up especially well on dark or textured fabric precisely because the design never needs to be visible through the material at all, only visible on the sheet itself before you stitch. That single fact is what makes it the default recommendation for anything other than pale, tightly woven cotton.
Pros and cons worth knowing before you buy a pack:
- Pro: preserves extremely fine detail, including small lettering and dense floral outlines.
- Pro: works on any fabric color or texture since the pattern doesn't need to show through.
- Con: costs more per project than tracing or carbon.
- Con: can leave a slightly tacky residue on the first rinse if not soaked long enough.
If your stabilizer wrinkles while printing, your printer's paper feed is likely too aggressive for the thin sheet, so try a manual feed tray if your printer has one. If it peels up at the edges during stitching, a second light press with your fingers before hooping usually solves it. And if the residue feels tacky after the first wash, a longer soak in lukewarm water with gentle rubbing between your fingers typically clears it fully.
Pro Tip: Keep unused stabilizer sheets in a resealable plastic sleeve away from humidity. They absorb moisture from the air and can start dissolving in the package before you ever print on them.
When Should You Use Carbon Paper, Pounce, or a Tracing Wheel?
Carbon transfer, prick and pounce, and tracing wheels earn their place when your fabric is too thick, too dark, or too textured for light to pass through, and when you're not working from a digital file you can print onto stabilizer. These are the oldest transfer techniques in embroidery, and they remain genuinely useful for heirloom reproduction work and heavily piled fabrics like velvet or wool felt.
Dressmaker's carbon transfer:
- Lay your fabric flat on a hard surface.
- Place a sheet of dressmaker's carbon paper (white or colored, chosen to contrast with your fabric) carbon side down onto the fabric.
- Lay your paper pattern on top of the carbon.
- Trace over the pattern lines firmly with a stylus, an empty ballpoint pen, or a tracing wheel.
- Lift both layers carefully to check the transfer before removing them completely.
Prick and pounce (best for repeat motifs and heirloom work):
- Prick small holes along every line of your paper pattern using a needle or pin.
- Position the pricked pattern on your fabric and secure it with weights or light tape.
- Rub pounce powder (often chalk-based for dark fabric, charcoal-based for light fabric) through the holes using a felt pad.
- Lift the pattern gently and connect the resulting dots with a fine pen or pencil.
According to Sewguide, carbon and pounce methods remain especially valuable for repeated motifs and for fabrics that resist every other transfer approach, even though they take longer per design than printing onto stabilizer. Results vary more with these techniques than with printable methods; NeedlenThread's testing of carbon transfers found that the carbon color and fabric combination make a real difference, with white carbon working better on dark fabric and standard blue or black carbon suited to lighter fabric.
A word of caution on pounce powder: avoid inhaling it, and work in a well-ventilated space, since fine powders can irritate your airway if you're brushing it repeatedly. Carbon smudges usually lift with a gentle eraser or a light brush before they set, but they get harder to remove once oils from your hands mix in, so handle the fabric minimally during the process. Always run a scrap test with your exact carbon color and fabric before committing to your real project, since the same carbon sheet can look completely different on two fabrics of similar shade.
Are Iron-On Transfers and Transfer Pens Worth Using?
Iron-on transfer papers and heat-transfer pens work best when you need the same design multiple times, but they carry real risk for fine detail and for fabric that can't handle sustained heat. The core mechanism is straightforward: you draw or print your design in reverse on special transfer paper, then press it face-down onto your fabric with a hot, dry iron, and the ink releases onto the fibers.
- Draw or trace your design onto transfer paper using a heat-transfer pen or pencil.
- If your design includes text or is asymmetrical, mirror it before transferring, since ironing flips the image.
- Set your iron to the temperature recommended on the transfer paper's packaging, and test it on a scrap first.
- Press the transfer paper face-down onto your fabric, applying firm, even pressure without sliding the iron around.
- Lift, check a corner, and press again briefly if the transfer looks incomplete.
- Peel the paper away once it has cooled slightly.
The single biggest mistake here is using steam. Steam moisture makes the ink bleed and blur, turning a crisp line into a fuzzy smudge you can't undo. Press dry, lift, check, and press again rather than dragging the iron back and forth.
- Pro: ideal for producing several identical copies of the same design quickly.
- Pro: works on fabric that's too thick for tracing.
- Con: fine detail and small lettering often blur or bleed during pressing.
- Con: most transfer inks are permanent once set, so mistakes are hard to fix.
- Caution: heat-erasable pens like Pilot FriXion rely on a chemical reaction, not evaporation, and the marks can reappear if the fabric later gets cold, which matters if you're shipping a finished piece in winter.
Pro Tip: Test your iron's actual temperature on a scrap of your exact fabric, not just the setting dial. Irons vary by several degrees from their labeled setting, and that difference is often what causes ghosting or bleed on a first attempt.
Which Marking Pens and Pencils Should You Use?
The right marker depends on how you plan to remove the marks, not just how visible they are on your fabric. Water-erasable ink needs a rinse, air-erasable ink fades on its own within a day or two, heat-erasable ink disappears with an iron, and mechanical pencil marks need a gentle wash. Match the removal method to your project's finishing plan before you buy a pen, not after you've already traced your whole design.
| Marker type | Visibility | Erasability | Best fabric fit | Notes |
|---|---|---|---|---|
| Water-erasable pen | High, bold line | Rinse with cool water | Cotton, linen, most washables | Do not iron before rinsing or the mark can set permanently |
| Air-erasable pen | Moderate | Fades on its own in 24-48 hours | Quick projects, small pieces | Not suited for long-term projects that sit for weeks |
| Heat-erasable pen (Pilot FriXion) | High | Disappears with a hot iron | Fabric that tolerates heat | Marks can return in cold temperatures |
| Ceramic-tipped marking pen (Sewline) | Fine, precise | Brushes off or washes out depending on formula | Detailed designs, dark and light fabric | The Sewline Duo system pairs a marking tip with an eraser tip in one tool |
| Mechanical pencil | Light, fine | Washes out with standard laundering | Light fabric, subtle guide lines | Best for very fine detail where a pen tip is too thick |
Always test any marker on a scrap of your actual project fabric, then wash or iron that scrap exactly the way you'll treat the finished piece. This is the single step beginners skip most often, and it's the one that prevents the worst surprises, like a "wash away" pen that leaves a faint ghost line under certain detergents. If you're using a heat-erasable pen, remember that pressing removes the visible ink but a chemical residue can theoretically reappear if the piece gets very cold later, so avoid it on anything meant for outdoor display or unheated storage.
What Works Best on Dark, Textured, or Thick Fabric?
Printable water-soluble stabilizer and prick-and-pounce are the two strongest options for dark or heavily textured fabric, because both sidestep the fundamental problem: you can't see through, or easily mark on top of, a surface that's dark, fuzzy, or uneven. Lightbox tracing and iron-on transfers both lean on visibility or a smooth, flat surface to work well, and textured or dark fabric denies them both.
For slippery knits or fabric with a nap, like velvet, corduroy, or brushed wool, stabilize the fabric before you even start transferring. A lightweight fusible stabilizer ironed to the back of the fabric keeps it from stretching or shifting while you trace or stitch, which matters because a distorted transfer on stretchy fabric will look crooked the moment you remove the hoop tension.
- Choose white or light-colored pounce powder and carbon for dark fabric; standard charcoal or blue carbon disappears against dark backgrounds.
- Use sticky-backed water-soluble stabilizer as both your transfer medium and a temporary stabilizer in one step, since it adheres to the fabric surface and holds everything steady while you stitch.
- Avoid iron-on transfer pens on anything with a pile or nap; the heat and pressure needed to release the ink can crush the texture permanently.
- For very thick fabric like denim or canvas, a tracing wheel with carbon paper often transfers more clearly than a fine-tip pen, since the wheel's pressure works into the weave better than ink alone.
Pro Tip: If you're worried a slippery fabric will shift mid trace, baste the stabilizer or carbon paper lightly to the fabric with a few long stitches before you start tracing, then remove the basting once your lines are set.
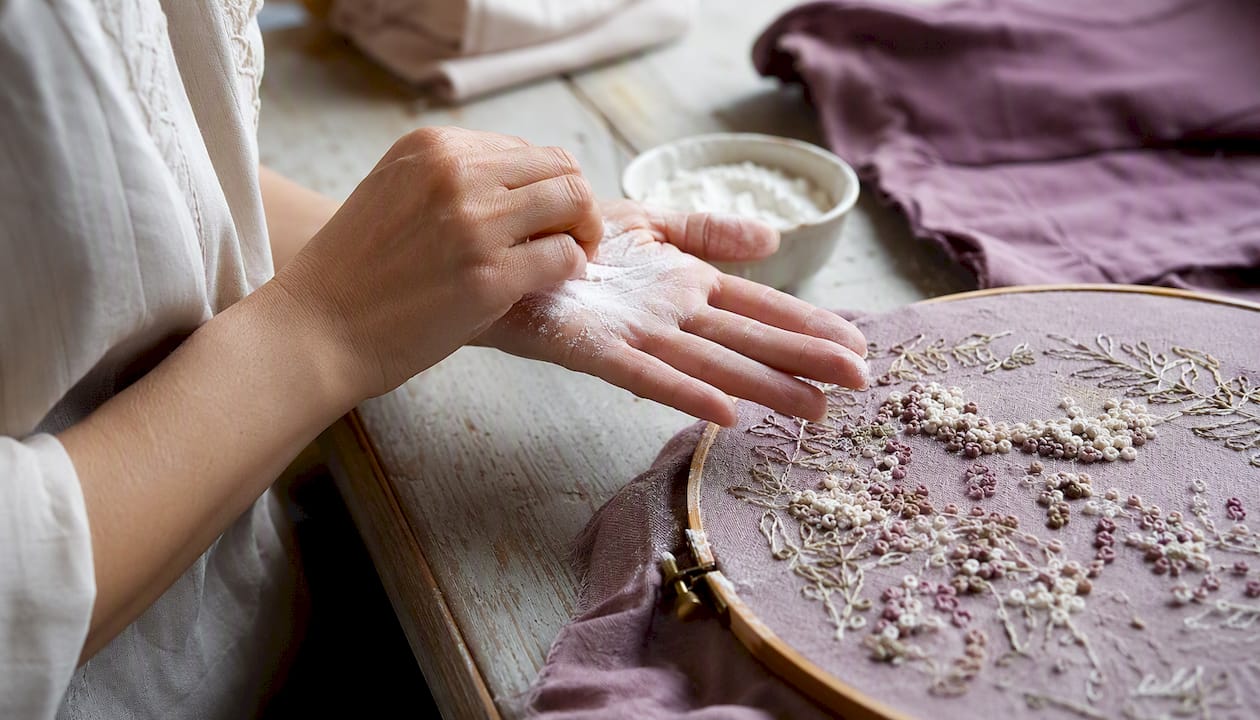
If marks vanish before you finish stitching, especially on textured fabric where friction wears down chalk or pounce lines quickly, work in smaller sections and re-mark as you go rather than transferring the whole design upfront. If lines smear during stitching, your hands are likely carrying oil or moisture onto the fabric surface; a light dusting of cornstarch on your fingertips (brushed off before stitching begins) can help on stubborn cases.
A Full Walkthrough: Transferring a Floral Design Onto Light Fabric
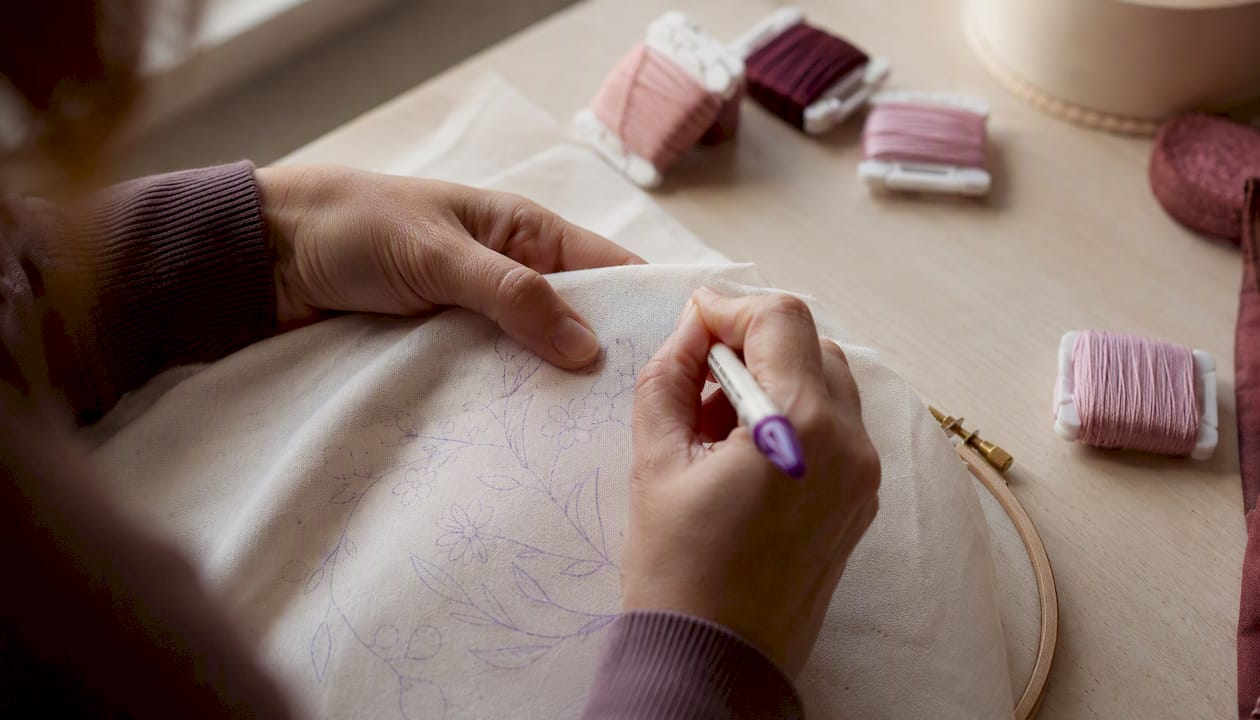
This walkthrough uses window and lightbox tracing because the fabric is light cotton and the design is a moderately detailed floral motif, the exact combination where this method shines. Total time from printing to your first anchor stitches runs about 20 minutes.
Materials: printed pattern, light cotton or linen fabric, painter's tape, a lightbox or bright window, a Sewline or FriXion marking pen, an embroidery hoop.
- Print your floral pattern at the final size you intend to stitch, in bold black lines.
- Tape the pattern to your lightbox, or to a window if you're working during daylight hours.
- Lay your fabric over the pattern, centering the design where you want it relative to your hoop's edge.
- Tape all four corners of the fabric down so it can't drift while you trace.
- Trace the outer petal outlines first, working from the center of the flower outward.
- Add interior detail lines (vein marks, stamen dots) once the main outline is complete.
- Remove the tape and check your traced lines under regular room light, not just the lightbox glow.
- Hoop the fabric, keeping the fabric taut but not stretched out of shape.
- Begin stitching your first anchor stitches at the center of the design, working outward.
Pause after step 7 to check your trace against the original pattern side by side. This is the moment to catch a missed petal or a wandering line, before you've committed any thread. If you're documenting your progress for reference later, photograph the fabric right after tracing, again after hooping, and once more after your first few stitches, so you have a visual record of how the marks held up under handling.
How Do You Choose the Right Transfer Method for Your Project?
Run through five questions before you pick a method: is the fabric light enough to see through, does it have texture or a nap, is it dark, how detailed is the design, and do you need more than one copy? Your answers point almost automatically to the right technique, and a three-step scrap test confirms it before you touch your real fabric.
- Light fabric, simple to moderate detail, one copy needed → lightbox or window tracing.
- Dark or textured fabric, high detail → printable water-soluble stabilizer.
- Heavy, piled, or very dark fabric, repeat motifs → prick and pounce or dressmaker's carbon.
- Need several identical copies, fabric tolerates heat → iron-on transfer pen or paper.
Typical time and cost per transfer run: lightbox tracing takes 5 to 15 minutes and costs next to nothing beyond a marking pen. Printable stabilizer takes longer and costs more per project due to material costs. Carbon and pounce methods take 10 to 40 minutes depending on design complexity, using inexpensive, reusable supplies. Iron-on transfers take 10 to 15 minutes per copy, with low material cost but real risk to fine detail.
Before committing to your actual fabric, run this three-step scrap test:
- Visibility check: transfer a small section of your design onto a fabric scrap using your chosen method, and confirm you can see the lines clearly under your normal stitching light.
- Erasability check: treat the scrap the way you'll treat the finished piece (wash, iron, or let it fade) and confirm the marks disappear the way you expect.
- Stitch-coverage check: stitch a few inches over the transferred lines and confirm your thread fully covers any marks that might otherwise peek through at the edges.
What Are the Most Common Transfer Mistakes?
Faint lines, overly bold lines, ghosting, and heat-bleed cause most beginner transfer problems, and each one has a fast fix that doesn't require redoing your whole design.
- Too-faint transfer: retrace over the existing lines with a slightly bolder pen, or switch to printable stabilizer for your next attempt if the fabric is genuinely too dark for tracing.
- Too-bold or thick lines: switch to a fine-tip marker or mechanical pencil, and reduce the pressure you're applying while tracing.
- Ghosting after washing: rewash the piece in warmer water, and if you used a heat-erasable pen, press firmly from the back of the fabric to fully set the fading reaction.
- Heat-bleed from iron-on transfers: lower your iron's temperature setting, remove any steam function, and always press-lift-check rather than dragging the iron continuously.
- Marks reappearing in cold storage: this is specific to heat-erasable inks like FriXion; store finished pieces somewhere climate-controlled if they've been pressed to remove marks.
Pro Tip: Before you start your real project, iron and wash a scrap treated exactly the way your finished piece will be treated. A marker that disappears perfectly with a warm iron might reappear entirely if the finished piece later sits in a cold car or an unheated closet.
If a transfer looks wrong before you've stitched more than a few stitches, redo it. The math almost always favors starting over: fifteen minutes retracing beats hours of unpicking stitches from a design that was crooked or mismarked from the start.
What Supplies Do You Need and Where Do You Buy Them?
The essential categories are a light source, marking pens or pencils, transfer papers, water-soluble stabilizer, and (optionally) carbon paper and pounce supplies, and you can gather a complete starter kit for well under the cost of a single embroidery kit.
- Light source: a dedicated lightbox (roughly $20 to $60) or simply a bright window at no cost.
- Marking pens: water-erasable, air-erasable, or heat-erasable pens like Pilot FriXion (roughly $3 to $8 each), or a ceramic-tipped Sewline pen (roughly $8 to $12).
- Printable water-soluble stabilizer: Sulky Solvy sheets, sold in packs suited to inkjet printers (roughly $8 to $15 per pack).
- Dressmaker's carbon paper: sold in multi-sheet packs with assorted colors (roughly $5 to $10).
- Tracing paper: inexpensive rolls or pads (roughly $3 to $7).
- Pounce supplies: felt pad and chalk or charcoal pounce powder (roughly $5 to $10 for a starter set).
Beginners can skip carbon paper and pounce supplies entirely if their early projects use light, smooth fabric, since a lightbox and a single marking pen cover most starter patterns. Save the specialty supplies for when you tackle your first dark or textured fabric project. Most of these items are available at general craft retailers or specialty needlework shops across the US, and printable stabilizer specifically needs to match your printer type (inkjet, not laser), so check the packaging before buying.
Understanding your fabric's characteristics before you buy transfer supplies saves you from mismatched purchases, and knowing which stabilizer type suits your project keeps you from over-buying a specialty product you'll rarely use.
Buy more fabric scraps than you think you need. A single yard of muslin cut into small test squares gives you dozens of chances to test pens, carbon, and stabilizer before you touch your real project fabric, and it costs almost nothing compared to redoing a transfer on your good material. Store any unused stabilizer sheets in a resealable bag or sleeve, since they absorb humidity from the air and degrade faster than most stitchers expect.
What Do Experienced Stitchers Test Before Committing to a Method?
Test your marker, your fabric, and your finishing method together, as one combination, not as three separate variables. A pen that erases perfectly on cotton might behave completely differently on linen, and the same pen might vanish with a cool rinse but leave a ghost mark after a hot wash.
Copy this simple test matrix onto an index card or a notes app before starting any new project:
A handful of practical tips make this testing routine faster:
- Test your iron's real temperature on scrap fabric rather than trusting the dial, since irons run hot or cool by several degrees from their labeled setting.
- If a stabilizer leaves tacky residue after the first rinse, soak it a second time in lukewarm water and rub gently between your fingers rather than scrubbing.
- Decide upfront whether you'll stitch through the stabilizer or remove it before stitching begins; stitching through it holds the design more precisely, while removing it first lets you feel the bare fabric texture as you work.
- Photograph each test scrap alongside a short written note (fabric type, pen used, wash or press method, result), so you're not relying on memory three projects later.
One caution deserves its own line: never assume a mark is temporary just because the packaging says "erasable." Heat-erasable ink and water-erasable ink work through entirely different chemical processes, and testing one doesn't tell you anything about the other. Keep permanent marking tools, like standard fine-tip fabric markers meant for quilting labels, clearly separated from your erasable pens so you never grab the wrong one mid-project.
Simone, who has written about embroidery project planning for the Flossom blog, built this testing approach around a simple idea: the fifteen minutes spent testing a scrap almost always costs less than the hours spent unpicking a transfer that went wrong.
Why Trying a Few Methods Beats Picking Just One
Most stitchers eventually settle on one or two favorite transfer methods, but I'd argue the settling happens too fast for most beginners. Trying two or three approaches on your first several projects, even when one method would technically work fine, teaches you things a single method never will: how your specific fabric behaves under a lightbox versus under carbon, how your hands press a tracing wheel versus a marking pen, how patient you actually are with a rinse-and-wait process versus an instant iron-on.
The floral walkthrough earlier in this guide and the testing checklist above aren't meant as the only path forward. They're a starting point built to get you stitching sooner rather than later, with enough structure that your first few transfers don't turn into wasted fabric and frustrated evenings. Pick one method from this guide, run the three-step scrap test, and if it doesn't feel right for your project, try the next one down the list. That's not indecision. That's how you build the kind of instinct that lets you glance at a piece of fabric and already know which pen to reach for.
Track Your Transfer Tests and Patterns With Flossom
Every transfer test you run produces information worth keeping: which pen worked on which fabric, which stabilizer brand held detail best, which iron setting caused bleed. Flossom gives that information a home instead of letting it disappear into scattered notes or memory. Upload your pattern PDFs directly into the app, and Flossom keeps them tied to the fabric and thread stash you've already cataloged, so you can see at a glance what a design needs before you buy anything new.

The stash tracking feature covers fabric alongside thread, which matters here since your transfer method choice depends heavily on fabric type and color. Log a swatch once, and Flossom remembers whether it's dark, textured, or light enough for tracing the next time you're planning a project around it. The free tier covers unlimited stash tracking and three projects, using the DMC and Anchor catalogs most beginners start with. If you're managing more WIPs, want the full 55-brand conversion tools, or need the camera color picker for matching thread mid-project, Flossom Pro unlocks all of it. Browse the free pattern library for a design to practice your next transfer method on, or explore the full toolset to see how project planning and transfer testing fit together.
Sources
- 5 Easy Methods to Transfer Embroidery Patterns to Fabric | Embroiderers’ Guild of America
- How to Transfer Embroidery Patterns to Fabric
- Transfer an embroidery design to fabric - Simply Sewing Magazine
- Transfer Embroidery designs on Fabric (10 Best ways) - Sewguide
Recommended
We make Flossom — the calm app for cross-stitchers and embroiderers who want their stash, projects, fabric and shopping list in one tidy place.