
Finish More WIPs: Project Progress Timeline for Stitchers (Photo+Count)
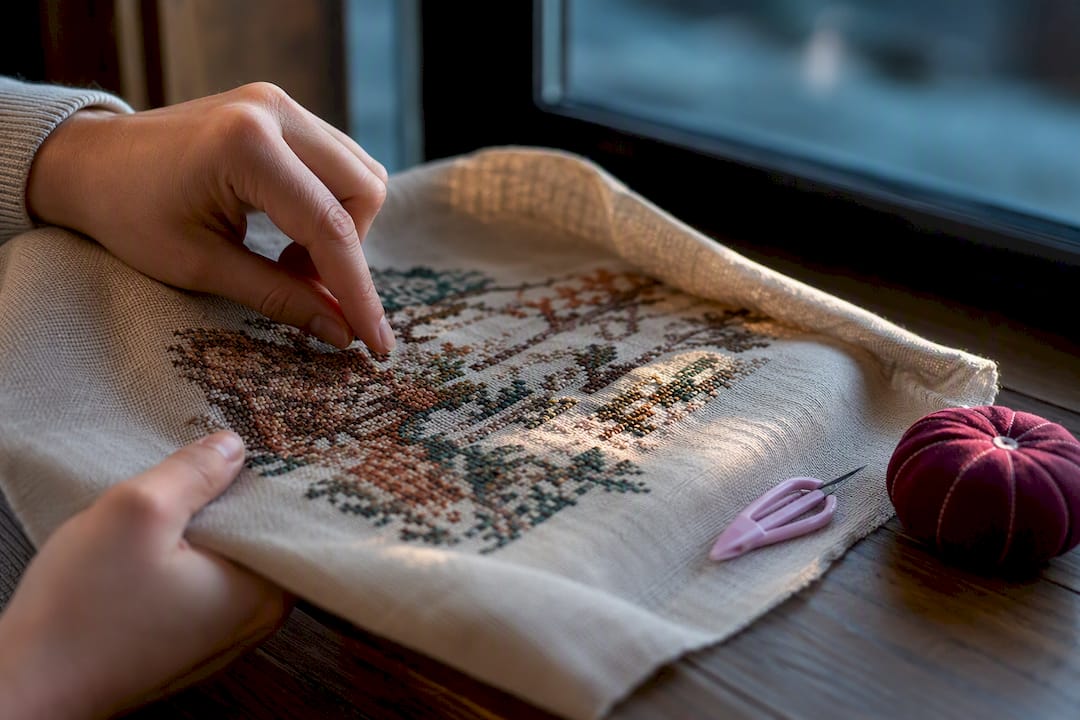
Finish More WIPs: Project Progress Timeline for Stitchers (Photo+Count) ! Hands counting stitches on unfinished embroidery A project progress timeline for a stitcher is a running record of one piece's journey from blank fabric to finished frame, built from dated log entries, progress photos, and stitch counts.
Finish More WIPs: Project Progress Timeline for Stitchers (Photo+Count)
A project progress timeline for a stitcher is a running record of one piece's journey from blank fabric to finished frame, built from dated log entries, progress photos, and stitch counts. The fastest way to start one is simple: open a new project entry, snap a before photo, and jot down today's stitch count. A tool like Flossom can set this up in under a minute, but a notebook works just as well.
TL;DR:
- Tracking stitch counts, progress photos, and materials for each project prevents losing your place and helps maintain steady progress over time.
- Using consistent photo angles, coordinate notes, and visual aids like magnetic guides reduces miscounts and streamlines restart efforts.
- Managing multiple WIPs with short slugs, a status system, and a central index prevents projects from being forgotten or stalled.
- Averaging stitches per hour over several sessions and using a tool like Flossom's Project Time Calculator enables realistic completion date estimates.
- Regular milestone reviews and early risk management, such as low stock alerts and detailed pause points, help avoid project stalls and missed deadlines.
Table of Contents
- What belongs in a stitcher's project progress timeline?
- How do you log progress during a stitching session?
- What's the best way to visualize a timeline: paper, spreadsheet, or app?
- How do you manage a timeline across multiple WIPs?
- How do you estimate a finish date from your stitch count?
- What photo and counting habits actually save time?
- How should you share progress updates with anyone else invested in the project?
- How do you build risk management into a stitching timeline?
- What I've learned from actually finishing long-term WIPs
- Turn your timeline into a finished piece with Flossom
- Sources
What belongs in a stitcher's project progress timeline?
A timeline only works if it captures the same details every time. Skip a category for one project and you'll be squinting at old photos trying to remember what floss you used three months ago.
Here's what a solid tracking system includes:
- Progress log entries. Date, session goal ("finish the border"), time spent, and stitches completed. This is the backbone. Without it, photos are just pretty pictures with no context.
- Visual documentation. A photo every session or every few sessions, shot from the same angle under the same light, named with a consistent convention like
ProjectName_2026-03-14.jpg. - Pattern marking and navigation aids. Highlighted symbols, a magnetic line marker, or digital row tracking so you never lose your place mid-chart.
- A materials ledger. Every skein used, brand conversions when you swap DMC for Anchor, and a note when a color is running low.
- Milestones and percent-complete checkpoints. Quarter, half, three-quarter, and done. These give you something to celebrate besides "still stitching."
Dividing a large chart into consistent blocks, say 50x50 or 100x100 stitches, and marking each block off as you finish it cuts down on miscounts and gives you a visible sense of progress that a raw stitch tally doesn't, according to StitchPatternMaker's cross-stitch tracking guide. That sectioning habit alone solves half the "where was I" problem stitchers run into after a long break.
How do you log progress during a stitching session?
Treat each session like it has a beginning, middle, and end, and logging stops feeling like homework.
Before you pick up the needle:
- Set the project's status (active, paused, on deck) if you're tracking more than one piece.
- Take a quick photo of where the fabric currently stands.
- If you paused mid-row last time, check your coordinate note or bookmark before threading a needle.
While you stitch:
- Work through one defined section of the chart rather than jumping around. Jumping causes most miscounts.
- Keep rough mental or written tabs on stitch count and elapsed time. You don't need exact numbers mid-session, just close enough.
When you wrap up:
- Take a post-session photo in the same lighting and angle as the pre-session shot.
- Update your stitch count, hours logged, and any materials you used or ran low on.
- Write one line for next time: "Start row 42, need one more skein of 3782."
Short, focused stitching sessions and regular milestone-setting tend to produce steadier progress than marathon stitching binges, and they make weekly reviews easier because you're not trying to reconstruct long periods of stitching from memory, per StitchPatternMaker's guide to managing large projects.
Set aside ten minutes weekly to look at your log across all active WIPs. Did one project stall? Are you low on a color you'll need soon? That's your cue to adjust the schedule or add something to a shopping list before it becomes an emergency run to the craft store.
Pro Tip: Finish the small shape or motif you're on before you stop, even if it means five extra minutes. Restarting mid-symbol is where most stitchers lose their place and end up ripping out rows.
What's the best way to visualize a timeline: paper, spreadsheet, or app?
All three work. The right choice depends on how many projects you're juggling and how much you enjoy data entry.
A printable log needs just five columns: date, session minutes, stitch count, photo filename, and materials used. Print a stack and keep them in a project binder pocket.
A spreadsheet template takes that same structure and adds a formula: (stitches completed ÷ total pattern stitches) × 100 for a running percent-complete figure. Add a second sheet listing floss numbers against a stash count and you've got a rough shopping list generator.
If you're managing more than two or three WIPs, an app starts pulling ahead of paper. Look for these features when evaluating one:
- Photo sync that timestamps automatically
- Freeform project notes tied to a specific pattern
- Stash comparison that flags what you already own
- Cross-brand color conversion
- A built-in time estimator
Flossom covers each of those, comparing pattern requirements against your cataloged stash to auto-generate a shopping list, syncing photos across devices, and converting between 55 thread brands. Paper still wins for stitchers who like the tactile ritual of writing in a project journal, or for anyone with just one or two pieces on the go where a spreadsheet feels like overkill.
How do you manage a timeline across multiple WIPs?
The more projects you have going, the easier it is for one to vanish into a drawer for eight months. A consistent status system fixes that.
Give every WIP a short slug (like "OWL-01" or "SAMPLER-3") and a one-word status: active, paused, or on deck. That combination turns a pile of hoops and bags into something scannable.
- Cap your active count. Limiting yourself to two or three truly active projects at once keeps rotation manageable instead of aspirational.
- Rotate by size. Pairing one large piece with one small, quick project keeps momentum up when the big one feels slow.
- Build a central index. A single page, whether it's a spreadsheet tab or an app dashboard, listing every WIP's slug, status, and last-touched date, so nothing quietly disappears.
Assigning each project a short slug and a visible priority number prevents what a lot of stitchers privately call "mystery bags," those forgotten WIPs shoved in a closet with no record of where they left off. An index you actually check weekly is the difference between a rotation system and a graveyard.
How do you estimate a finish date from your stitch count?
The math is simpler than it looks: stitches remaining ÷ average stitches per hour = hours remaining.
The tricky part is getting a reliable "stitches per hour" figure. One fast session doesn't count. Track at least four or five sessions, average them, and you'll get a number that accounts for slow evenings and lucky streaks alike, since sampling multiple sessions smooths out the natural swings in speed from day to day.
Once you have hours remaining, divide by how many hours a week you realistically stitch, and you've got a finish date. Set milestones at quarter and half points so you're not just waiting for one distant deadline. Review the estimate every time you hit one, since speed on a dense backstitch section looks nothing like speed on open cross-stitch.
Doing this math by hand for four active WIPs gets old fast. Flossom's Project Time Calculator takes your logged stitches-per-hour and remaining count and spits out an estimate in seconds, which matters most when you're trying to figure out whether a Christmas ornament will actually be done by December.
What photo and counting habits actually save time?
Shoot every progress photo from the same distance, same angle, and near a window for consistent light. Inconsistent photos make it hard to compare month three to month one, which defeats the point of taking them.
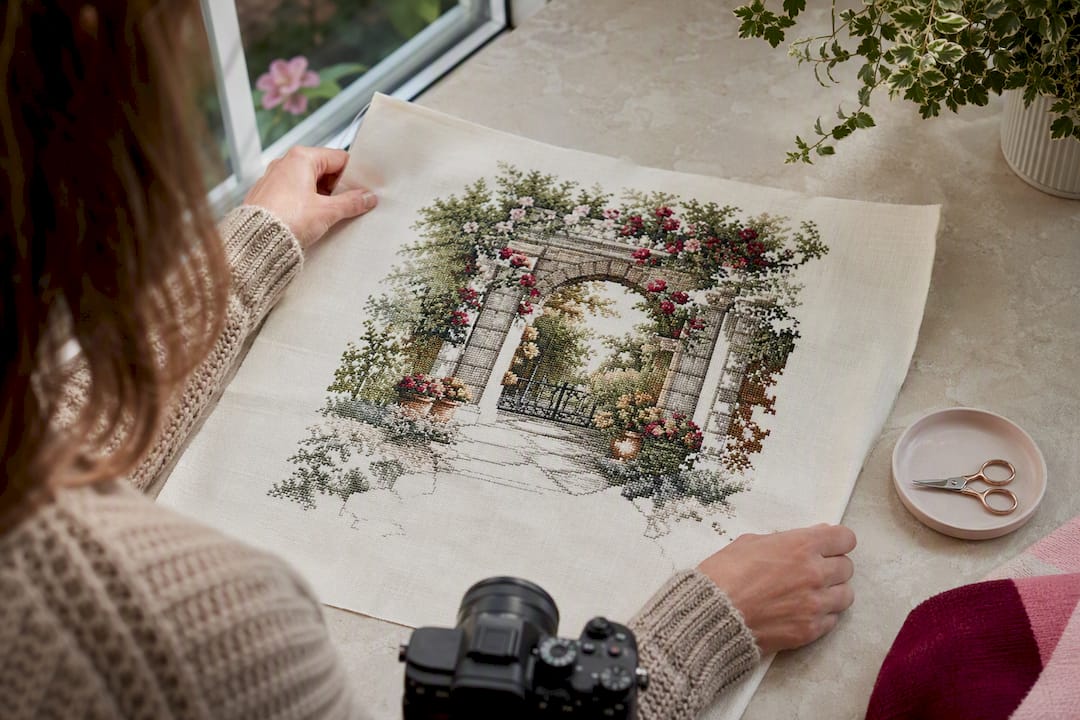
Photographing thread labels and jotting quick notes on color or stitch changes in a small notebook preserves details you will absolutely forget by the time you need to reorder or repair a section, a habit detailed in NeedlenThread's guide to documenting embroidery projects.
Pro Tip: Before you put a project down, photograph the exact chart coordinate you stopped on, not just the fabric. A close-up of "row 87, column 42" saves more reorientation time than any general progress shot.
Magnetic line guides, sticky tape along the current row, and highlighter marks on a printed chart all reduce miscounts. Digital apps that let you tap a symbol to highlight its remaining occurrences do the same job without ink.
How should you share progress updates with anyone else invested in the project?
Most stitchers aren't reporting to a boss, but plenty share progress with a swap partner, a commission client, or a stitching group expecting a finished gift by a certain date. The habits that work for formal project reporting apply just as well here.
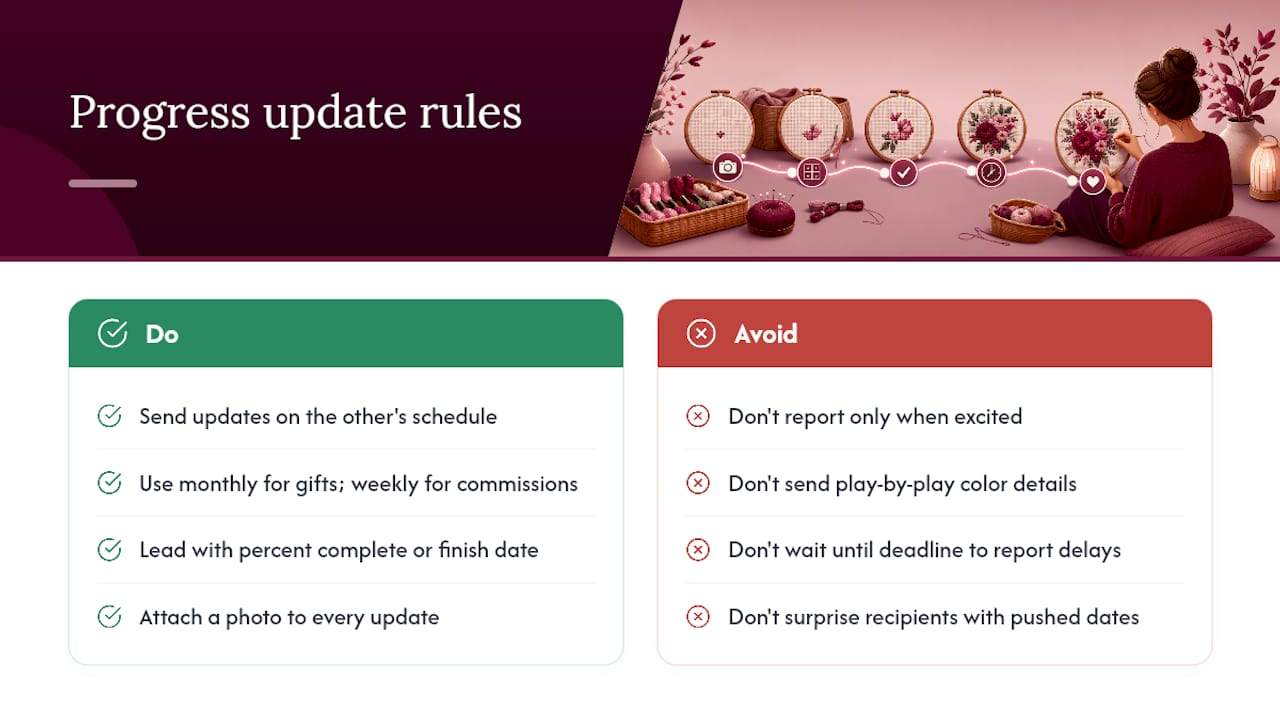
Send updates on a schedule the other person actually expects, not just when something exciting happens. Monthly is usually enough for a personal gift; weekly makes more sense for a paid commission with a firm deadline.
Lead with the number that matters most to them: percent complete or an estimated finish date, not a play-by-play of which shade of green you used.
Pair every update with a photo. A finish date estimate sounds abstract; a photo showing visible growth since the last update reassures someone that the project hasn't stalled, especially since progress photos double as motivation for the stitcher and proof of movement for anyone waiting on the result.
Flag delays as soon as you know about them instead of waiting for the deadline to arrive. If a color went out of stock or the pattern turned out denser than expected, say so early and offer a revised estimate. Nobody minds a pushed date nearly as much as a surprise one.
Keep the format the same every time you check in: date, current milestone, photo, next milestone. Predictable updates read as reliable, even when the news is "still working on the border."
How do you build risk management into a stitching timeline?
Every long project has failure points, and a timeline is only useful if it accounts for them before they happen, not after.
The most common risk is running out of a color mid-project with no backup plan. A materials ledger that flags low stock before you're down to your last few inches of floss turns a potential shopping emergency into a routine reorder.
The second risk is losing your place after a long break. Stopping without a coordinate note or a labeled photo means your next session starts with fifteen minutes of squinting at the chart instead of stitching. Build the pause-point habit into your workflow every time, not just on projects you expect to set down for a while.
The third risk is an overly optimistic finish date. If your estimate assumes best-case stitches-per-hour instead of your real average, you'll blow past deadlines for gifts or commissions. Pad milestone estimates by a session or two, and recheck your average after any session that felt unusually slow or fast.
Finally, build in a review cadence, weekly for active projects, monthly for paused ones, so a stalled WIP gets flagged while it's still an easy fix rather than becoming a project you've half forgotten how to finish.
What I've learned from actually finishing long-term WIPs
The projects I abandoned for years all had one thing in common: no record of where I'd left off, so every attempt to restart meant re-learning the chart from scratch. The ones I finished had a photo, a stitch count, and a one-line note waiting for me.
Running a stalled sampler back through a proper log, with weekly photo updates, a stash compare against what I already owned, and a rough estimate from a time calculator, turned "someday" into an actual date on the calendar. Seeing the percentage tick upward each week did more for motivation than any pep talk could.
Simone writes about stitching workflows and project tracking for Flossom.
— Simone
Turn your timeline into a finished piece with Flossom
Flossom is built around the exact habits this article just walked through: photo updates tied to each WIP, stitch and material logs, and a stash comparison that tells you what you're missing before you're standing in a craft store aisle guessing. Instead of juggling a spreadsheet, a notebook, and a folder of unsorted photos, everything lives in one place and syncs across your phone, tablet, and laptop.

The Project Time Calculator turns your logged stitches-per-hour into a real finish-date estimate, which is the single fastest way to know whether that Christmas ornament ships on time. The free tier covers DMC and Anchor threads with unlimited stash and three projects, so you can run it on one WIP right now and see how the math holds up against your own stitching pace. If you're juggling more than three, Pro unlocks all 55 brands and unlimited projects, along with a barcode scanner and camera color picker for stash entries you'd otherwise never get around to logging. Start with the calculator, then decide if your rotation needs the rest.
Sources
Recommended
We make Flossom — the calm app for cross-stitchers and embroiderers who want their stash, projects, fabric and shopping list in one tidy place.