How to Match Fabric and Thread Colors from a Photo
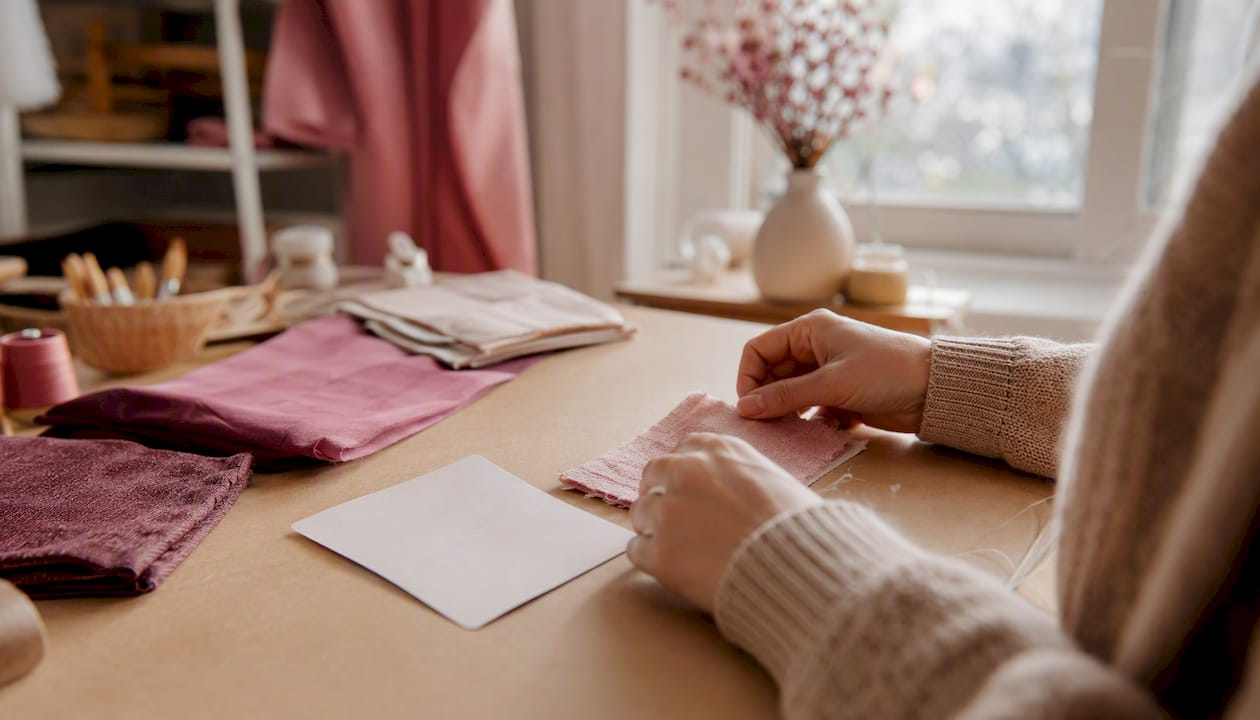
How to Match Fabric and Thread Colors from a Photo ! Hands arranging fabric swatch with lighting setup Yes, you can reliably match fabric or thread from a photo.
How to Match Fabric and Thread Colors from a Photo
Yes, you can reliably match fabric or thread from a photo. The workflow has four steps: capture a color-accurate image, sample the color with a calibrated picker, convert to your thread brand, and verify with a test stitch before committing. Skip any one of those steps and you're guessing. Screen-only matches carry real risk because a large majority of commercial digitizers report they never trust screen color without a physical sample.
The four essentials at a glance:
- Capture under neutral daylight or a 5000K–6500K light source with a neutral reference card in frame
- Sample using a multi-pixel average, not a single pixel, in a tool that reads Lab or hex values
- Convert to your thread brand using perceptual color matching (CIEDE2000), not raw RGB
- Verify with a test stitch on the actual fabric under daylight before you start the full project
Key Takeaways
Matching thread or fabric from a photo works reliably when you control the lighting, sample with a perceptual color tool, and always verify with a physical test stitch before starting the full project.
| Point | Details |
|---|---|
| Capture under 5000K–6500K light | Include a neutral reference card; disable flash and filters to get a color-accurate photo. |
| Sample with perceptual tools | Average five to seven pixels and use CIEDE2000 or Lab values, not raw RGB. |
| Convert, then verify physically | Thread can appear lighter once stitched; always pull physical skeins and test-stitch. |
| Save with full metadata | Record brand, code, fiber type, lighting notes, and a test-stitch photo for every verified match. |
| Flossom integrates the full workflow | Camera color picker, 55-brand conversion, stash entries, and auto-generated shopping lists in one app. |
Table of Contents
- How to match fabric from a photo: the capture checklist
- How to sample colors from your photo
- Convert sampled colors to thread brands and what to expect
- How to verify a match with a quick test stitch
- Save the match in your stash and plan the project
- Common pitfalls when matching from photos and how to fix them
- Flossom makes the photo-to-stash workflow faster
- The habit that actually saves time
- Sources
How to match fabric from a photo: the capture checklist
The photo is the foundation. A bad capture makes every downstream step harder.
Shoot under neutral daylight or a lamp rated 5000K–6500K with a high CRI. Avoid flash entirely. It flattens texture and blows out highlights, which shifts the color your picker reads. Shadows do the same thing from the other direction, so position the fabric flat and evenly lit.
| Setting | Why it matters |
|---|---|
| 5000K–6500K daylight lamp or window light | Minimizes metamerism; matches how you'll view the finished piece |
| High-CRI LED | Renders all hue families accurately, not just warm tones |
| Flash disabled | Prevents highlight blowout and false color shifts |
| Neutral reference card in frame | Gives your picker a white-balance anchor for correction |
| Highest resolution, exposure locked | Reduces noise in sampled pixels; prevents auto-exposure drift |
Fabric texture and weave angle also matter. Aida and evenweave both catch light differently depending on the angle, so shoot straight down, not at a diagonal. A slight tilt creates micro-shadows between the threads that darken the sampled color.
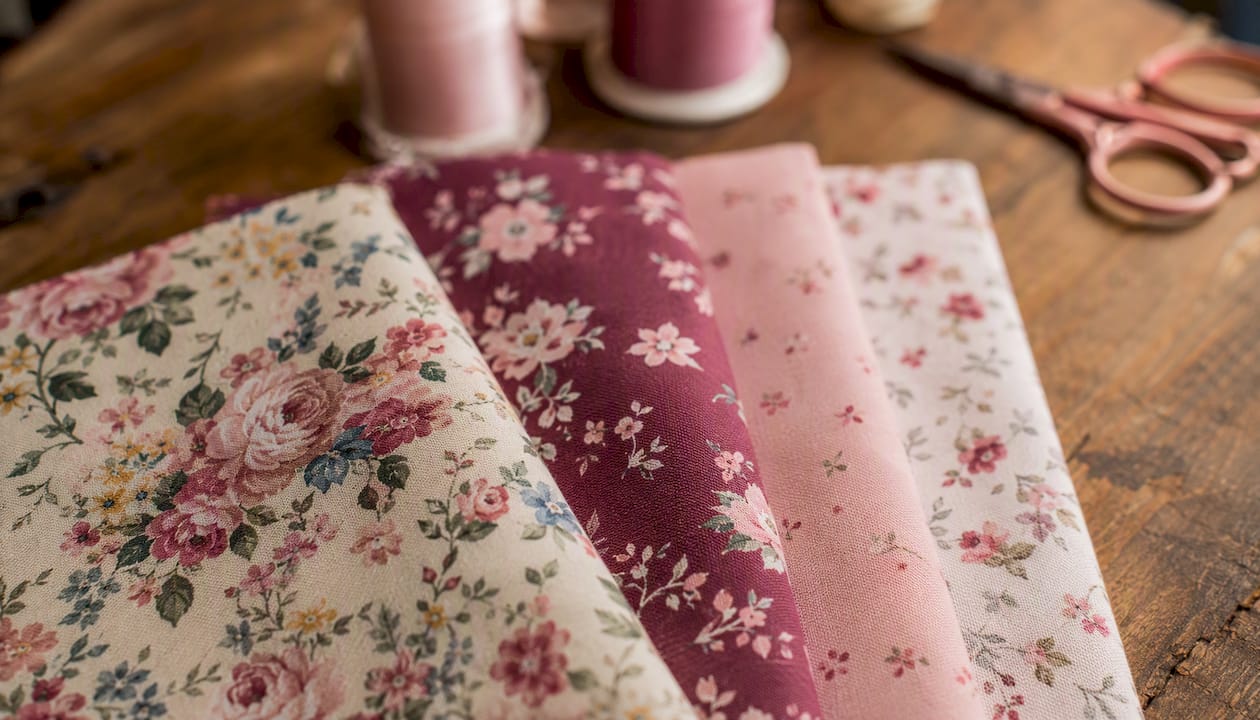
Pro Tip: Take three shots: one at a window in open shade, one under your daylight LED, and one with the fabric held next to your neutral card. Keep the shot that looks closest to how the fabric reads in your hand under natural light.
How to sample colors from your photo
Open the photo and crop tightly to the area you want to match. Before you pick, check that your neutral reference card reads as close to true white or mid-gray as possible. If it looks warm or cool, your lighting was off and you should retake the photo rather than try to correct it in software.
Use a tool that returns Lab, CIEDE2000, or at minimum hex plus RGB values. Single-pixel picks are noisy. Perceptual color spaces like CIELAB and CIEDE2000 model how human vision actually perceives color differences, which produces thread matches that look right rather than just measuring right.
- Open the cropped photo in your color-picker tool (phone eyedropper, desktop editor, or a stitching app with a built-in picker).
- Confirm the neutral reference reads neutral. If it doesn't, retake.
- Sample five to seven nearby points across the target area and average them. One pixel can land on a thread highlight or shadow.
- Record the hex, RGB, and Lab values together.
- Save the sample with context: fabric name, lighting used, photo filename, and the date.
Pro Tip: Name your saved samples with the fabric and lighting condition, for example "28ct antique white, window north, March 2026." Six months later, that context is the difference between reusing the match confidently and starting over.
Convert sampled colors to thread brands and what to expect
Conversion is always an approximation. Photo-to-thread conversions typically need manual swaps after you see the physical skeins, so treat the converter's output as a shortlist, not a final answer.
CIEDE2000-based converters outperform raw RGB matching because they weight hue, chroma, and lightness the way your eye does. Tools that surface the perceptual distance value let you judge whether a substitution will actually be visible in the finished piece.
A few practical expectations before you order thread:
- Undertones shift. A color that reads neutral on screen often has a warm or cool bias in hand.
- Sheen differences are real. Cotton floss, rayon, and polyester reflect light differently even at identical hue values.
- Stitch density changes perceived shade. Thread can appear lighter once stitched due to light refraction and spread across the fabric surface.
- Dye-lot variation exists. Two skeins of the same DMC number from different production runs can differ slightly.
| Fiber type | Sheen | Color stability | Best use case |
|---|---|---|---|
| Cotton (DMC, Anchor) | Matte to low | High; minimal shift when stitched | Most cross-stitch and evenweave work |
| Rayon | High | Moderate; heat-sensitive | Decorative accents, satin-stitch fills |
| Polyester | Medium | High; bleach-resistant | Machine embroidery, high-wear items |
| Metallic | Variable, sparkle | Low; photographs poorly | Highlights only; always test-stitch |
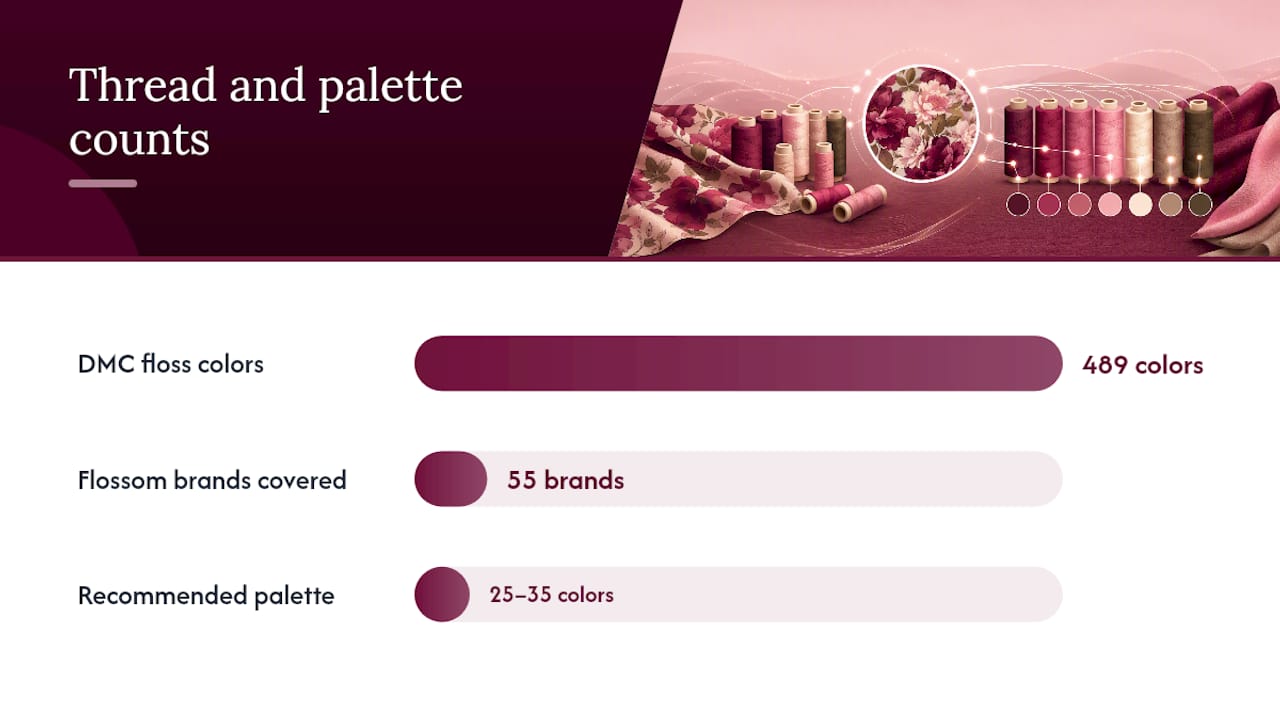
DMC offers 489 floss colors; Anchor's range is comparable. A physical DMC color card with real thread samples is far more accurate than any screen swatch. Flossom's thread converter covers 55 brands and uses the same conversion logic to surface nearest matches across DMC, Anchor, and 53 others. For converting between brands accurately, the converter is the fastest starting point, but pull the physical skeins before you finalize.
Pro Tip: Limit your working palette to 25–35 colors for most photo conversions. More colors than that and the pattern becomes hard to stitch; fewer and you lose the tonal range that makes the match convincing.
How to verify a match with a quick test stitch
Always test-stitch the critical colors on the actual fabric before starting the full project. Professional shops stitch a physical sample for customer approval before production for exactly this reason: digital-to-thread conversions can fail under different lighting or at scale.
- Pull your candidate skeins and lay them on the fabric in natural light before you stitch anything.
- Stitch a small swatch using the same stitch type and density you'll use in the project.
- View the swatch under at least two light sources: daylight and your room's artificial light. Metamerism is real, and a match that looks perfect under one light can read wrong under another.
- Photograph the swatch next to your original photo and neutral card. Save that image to your stash entry.
Pro Tip: If a color reads slightly off, try one shade lighter or darker within the same color family before switching families entirely. A single step in value often corrects the mismatch without disrupting the overall palette.
Save the match in your stash and plan the project
After verification, save the match with enough metadata to reuse it reliably. A stash entry without context is almost as useless as no entry at all.
For each verified match, record:
- Brand, color code, and color name
- Photo of the skein and the test-stitch swatch
- Fabric type, count, and dye lot if known
- Lighting notes and the original photo filename
- Stitch type used for the test
Then link the entry to your project or pattern so the shopping list reflects what you already own. Cataloging your fabric with this level of detail prevents duplicate purchases and makes it easy to pick up a WIP after a long break.
In Flossom, the workflow runs like this:
- Use the camera color picker to capture the sampled color directly from your photo.
- Convert to your preferred brand in-app.
- Create a stash entry for each candidate skein and attach the test-stitch photo.
- Link the entry to your pattern. Flossom compares what the pattern needs against your stash and generates a shopping list for anything you're short on.
- Set a low-stock alert so you know before you run out mid-project.
Palette-management tools like Needleply let you browse thread and fabric palettes across many manufacturers and export them for planning. Flossom goes further by integrating the picker, conversion, stash, and shopping list in one place, so the match you capture becomes a project-ready entry without switching apps.
Common pitfalls when matching from photos and how to fix them
Most matching failures trace back to one of a handful of predictable errors.
- Metamerism: colors that match under one light look different under another. Fix: always view candidates under both daylight and your room's artificial light before approving.
- Auto-exposure and filters: your phone's camera adjusts exposure and sometimes applies a filter automatically. Fix: disable filters, lock exposure before shooting, and include the neutral reference card so you can catch the shift.
- Sheen differences between brands: cotton and rayon at the same hue value look different in hand. Fix: note the fiber type in your stash entry and test-stitch before ordering in bulk.
- Tiny sample areas: picking color from a one-pixel area on a textured fabric returns noise, not the true color. Fix: average five to seven sample points across the target area.
- Metallic and specialty threads: they photograph poorly because the sparkle reads as white or blown-out highlight. Fix: always use a physical swatch for metallics.
- Retake the photo with the neutral reference card if the first capture looks warm or cool.
- Average multiple sample points rather than trusting a single pick.
- Pull physical skeins and test-stitch before finalizing any conversion.
- For brand-critical projects, large color-block areas, or logo work where Pantone-level accuracy matters, buy a small skein and stitch a sample rather than relying on a screen match alone.
Pro Tip: If you're working on a project where the color has to be exact, such as a portrait or a logo piece, treat the photo match as a first draft and the test stitch as the real answer.
Flossom makes the photo-to-stash workflow faster
Flossom connects every step in this workflow: camera color picking, brand conversion across 55 thread lines, stash cataloging, and shopping-list automation.

Capture your fabric or thread photo with the neutral card in frame, then open Flossom's camera color picker and tap the target color. The app converts it to the nearest DMC, Anchor, or any of 53 other brand matches and surfaces the perceptual distance so you can judge the substitution. Add the candidate skeins to a test stash entry, attach your test-stitch photo once you've verified the match, then approve or swap. When you link the entry to a pattern, Flossom auto-generates a shopping list that accounts for what you already own, and low-stock alerts flag when a color is running low before it stalls your project.
The free tier covers DMC and Anchor with unlimited stash entries and three projects. Pro unlocks all 55 brands, the camera color picker, fabric stash tracking, and unlimited projects. Start with the thread converter to see how your sampled color maps across brands, then save the match directly to your stash.
The habit that actually saves time
The single habit worth building: attach the test-stitch photo to the stash entry the same day you verify the match, and add a one-line lighting note.
Six months later, when you're picking up a paused WIP or starting a similar project, that photo and note tell you exactly what worked and under what conditions. Without it, you're back to square one, re-sampling, re-converting, and re-testing colors you already solved. The stash entry without the photo is a reminder; the one with the photo is a decision you never have to make twice.
Sources
- Embroidery Color Matching Guide - EnS
- The ultimate guide to DMC floss color matching | StitchLark
- Needleply — Thread, Bead & Fabric Palettes
- Embroidery Thread Color Matching: Pantone, RGB and Swatch Methods - Latest Embroidery
Recommended
We make Flossom — the calm app for cross-stitchers and embroiderers who want their stash, projects, fabric and shopping list in one tidy place.